- At-home ICI can be a real option—but it works best with a plan for timing, hygiene, and documentation.
- Pop culture makes pregnancy look effortless, yet most people are quietly doing spreadsheets, ovulation tests, and lots of waiting.
- Legal headlines are a wake-up call: a “known donor” arrangement can get complicated fast if you don’t formalize expectations.
- Safety isn’t just medical—it also includes screening, consent, and clear communication among everyone involved.
- A home insemination kit can support ICI at home, but it’s not a substitute for personalized medical or legal advice.
Between celebrity baby announcements, reality TV storylines, and the constant churn of “who’s expecting?” headlines, it can feel like pregnancy is happening everywhere all at once. In real life, many LGBTQ+ folks, solo parents by choice, and couples using donor sperm are weighing practical paths—especially options that don’t start with IVF.
At-home insemination (often ICI, intracervical insemination) sits in that conversation. It’s also showing up in the news for a less romantic reason: legal disputes over parentage after at-home insemination. If you’re considering a home insemination kit, this guide focuses on what people are asking right now—without hype, and with extra attention to safety, screening, and reducing legal risk.
Is at-home insemination (ICI) a realistic IVF alternative?
For some people, yes. ICI is often discussed as a lower-intervention starting point compared with IVF. It may appeal if you have regular cycles, are early in the trying process, or want to begin at home before moving to clinic-based care.
That said, ICI isn’t “IVF at home.” IVF is a medical process with lab fertilization and embryo transfer. ICI is insemination without those steps, and success depends on many variables like timing, sperm quality, age, and underlying fertility factors.
When ICI tends to be part of the conversation
- You’re using donor sperm and want a home-first approach.
- You’re building a family as a queer couple and want privacy and comfort.
- You’re trying to limit clinical appointments, at least initially.
- You’re exploring options before committing to higher-cost interventions.
What does “safe” at-home insemination actually mean?
Safety is more than “be careful.” It’s a set of choices that reduce preventable risks—especially infection risk and misunderstandings about consent or expectations.
Hygiene basics that matter
Use clean, single-use supplies. Avoid improvising with household items that aren’t designed for this purpose. If sperm is being transported, use appropriate containers and follow handling instructions to reduce contamination risk.
Screening: the part people skip in TV plots
On-screen, pregnancy storylines often jump from “decision” to “positive test” in one episode. In real life, many families think through STI screening, donor history, and how results are shared. Screening can help reduce infection risk and build trust, whether you’re using a known donor or working through a bank.
Medical note: Only a clinician can advise on what screening is appropriate for your situation. If you have symptoms like pelvic pain, fever, or unusual discharge, seek medical care promptly.
What’s the deal with known donors and legal parentage?
Recent reporting has highlighted a Florida Supreme Court decision that raised alarms for people using at-home insemination with known donors. The big takeaway isn’t that every arrangement becomes a court case. It’s that informal agreements can collide with state law in unpredictable ways—especially when insemination happens outside a clinic.
If you want the broader context behind the headlines, read more here: Florida Supreme Court makes ruling in at-home artificial insemination case.
Why at-home vs. clinic can change the legal picture
Some states treat clinic-assisted reproduction differently than DIY insemination when it comes to presumptions of parentage. That can affect how a donor is viewed in the eyes of the law, even if everyone agreed on boundaries at the start.
Practical ways to reduce legal risk (without giving legal advice)
- Talk early: expectations about contact, roles, and privacy should be explicit.
- Document the plan: written agreements can help, though enforceability varies.
- Consider legal counsel: a family lawyer familiar with assisted reproduction can explain local rules.
- Think about parentage steps: some families pursue second-parent adoption or parentage orders where available.
Legal note: This is general information, not legal advice. Laws vary widely by state and situation.
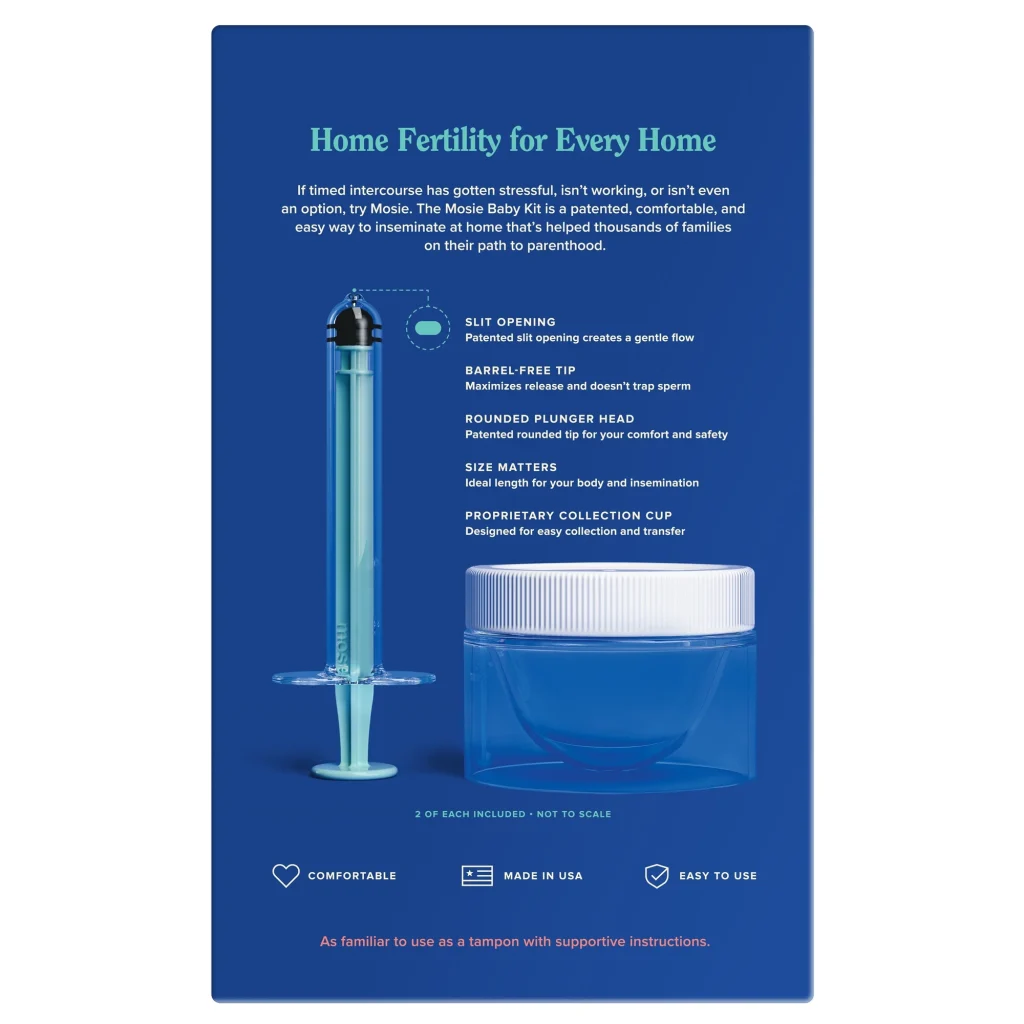
What should we look for in a home insemination kit?
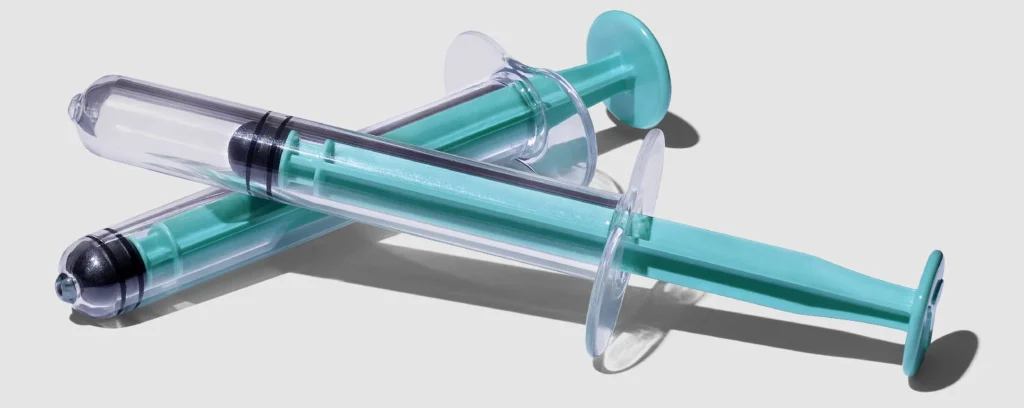
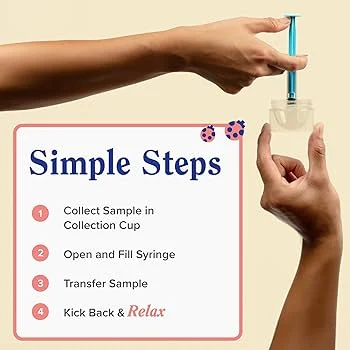
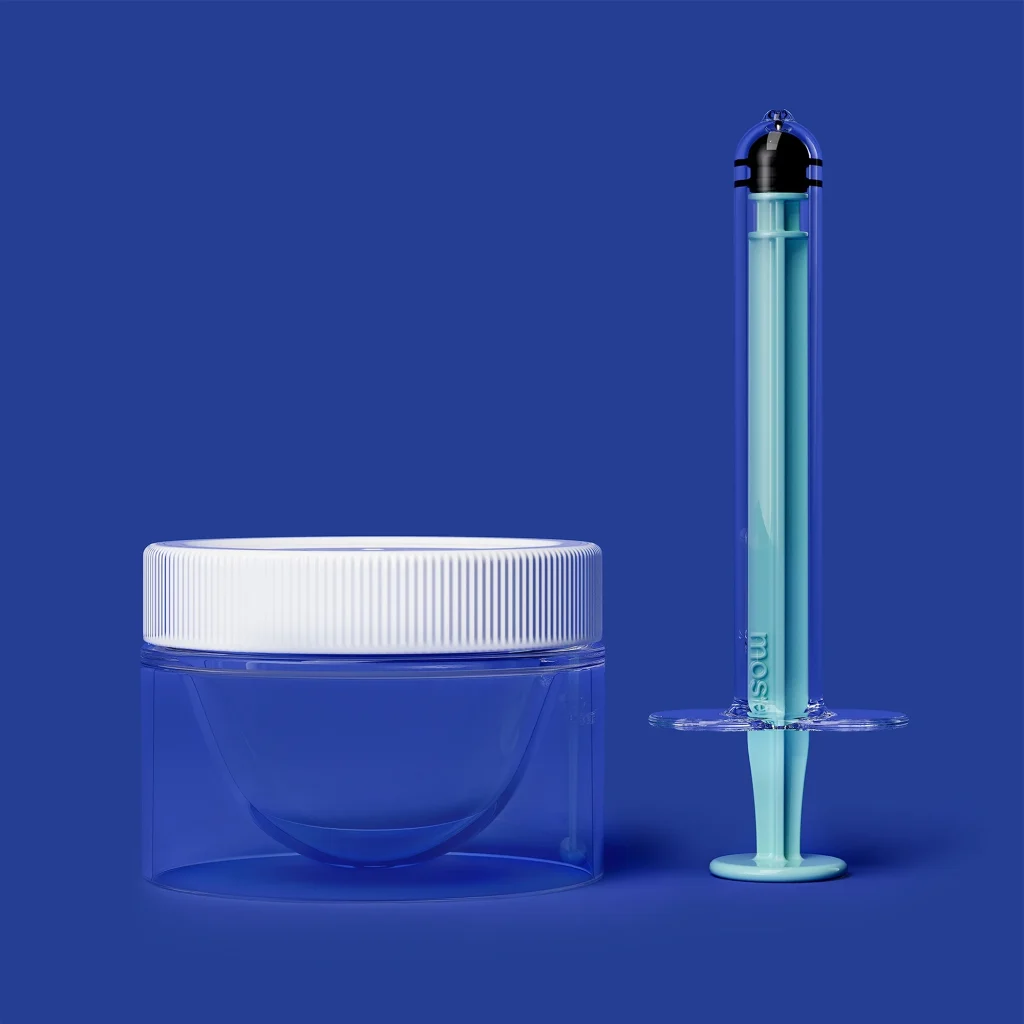
People usually want two things at once: a setup that feels simple, and a process that feels controlled. A kit can help by providing purpose-built components and straightforward guidance, so you’re not guessing or cobbling together supplies.
If you’re researching options, start with searches like at-home insemination kit for ICI and compare what’s included, how it’s used, and whether instructions emphasize cleanliness and comfort.
Comfort and consent are part of “good technique”
Whether you’re doing ICI with a partner, a friend, or solo, go at a pace that feels emotionally and physically safe. Many people build a small routine: privacy, a calm environment, and a plan for aftercare and rest. If anxiety spikes, that’s not a failure—it’s a signal to slow down and simplify.
How do we time ICI at home without turning life into a spreadsheet?
Timing matters, but it doesn’t have to take over your entire month. Many people focus on identifying ovulation and aiming insemination close to that window. Ovulation predictor kits, cycle tracking apps, and cervical mucus observations are common tools.
If your cycles are irregular, or if tracking becomes stressful, it may help to discuss options with a clinician. Sometimes a small amount of support (like basic lab work or an ultrasound) can save months of uncertainty.
Common questions people ask when the group chat gets real
Celebrity pregnancy news can be fun background noise. It also nudges people into private, honest conversations: “Could we do this?” “Should we do this at home?” “What if something goes sideways?” Those questions deserve grounded answers.
- “Is ICI ‘less legitimate’ than clinic care?” No. It’s a different level of intervention. For some, it’s a first step.
- “Do we need a contract with a known donor?” Many families choose one, but local law matters. Consider legal guidance.
- “What if we want the donor in the child’s life?” Talk roles and boundaries now, not later.
- “When do we switch to IUI or IVF?” If time is passing without results, or if you have known fertility concerns, a clinic consult can clarify next steps.
FAQ
Is ICI the same as IVF?
No. ICI places sperm in the vagina near the cervix, while IVF fertilizes eggs in a lab and transfers an embryo.
Can a known sperm donor become a legal parent after at-home insemination?
In some places, yes—especially if legal steps aren’t handled correctly. Laws vary, so get local legal guidance.
What’s the difference between ICI and IUI?
ICI is typically at home and doesn’t place sperm in the uterus. IUI is a clinical procedure that places washed sperm into the uterus.
How can I reduce infection risk with at-home insemination?
Use clean, single-use supplies, avoid reusing containers, and consider donor STI screening. Seek care if you develop concerning symptoms.
Does timing matter with a home insemination kit?
Yes. Many people try around ovulation using OPKs, cycle tracking, and body signs to narrow the window.
When should we consider a clinic instead of trying at home?
If you’ve tried for months without success, have irregular cycles, or want more structured screening and support, a clinic consult can help.
Ready to learn the basics before you try?
At-home ICI can feel empowering, especially when you pair it with smart screening, careful hygiene, and clear documentation. If you want a simple overview you can share with a partner or donor, start here:
How does at-home insemination (ICI) work?
Medical disclaimer: This article is for general education and is not medical advice. It does not diagnose, treat, or replace care from a licensed clinician. For personalized guidance—especially about fertility concerns, infections, or medications—talk with a healthcare professional.