Creating Your Own Miracle: A Step-by-Step Guide to Home Insemination
For many couples struggling with infertility, the option of home insemination can bring new hope. It is a simple and affordable method that allows couples to take control of their fertility journey and potentially conceive a child in the comfort of their own home. In this blog post, we will provide a step-by-step guide to home insemination, outlining everything you need to know and do to increase your chances of success.
Step 1: Understand the Basics of Home Insemination
Before embarking on the home insemination process, it is essential to understand the basics. Home insemination, also known as artificial insemination, is a technique where sperm is placed into the reproductive tract of a female in order to facilitate fertilization. This can be done with fresh or frozen sperm, and it can be performed at home using a variety of methods.
Step 2: Gather Your Supplies
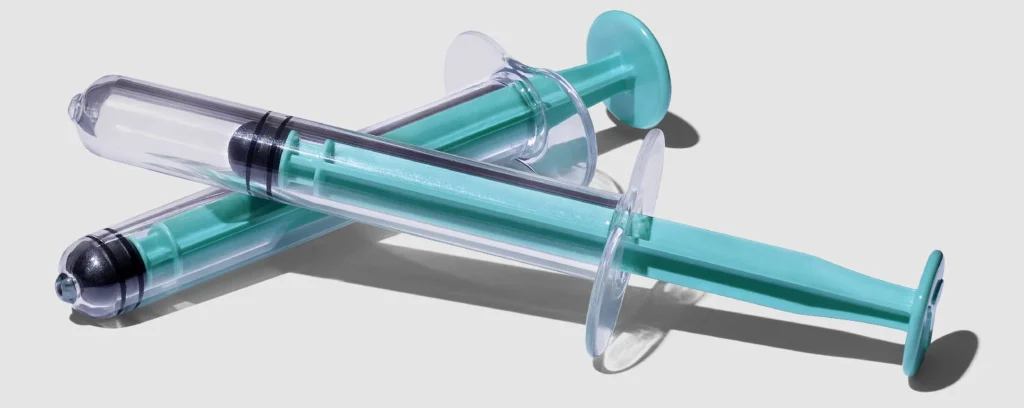
The next step is to gather all the necessary supplies for the home insemination process. These include a sterile collection cup, a sterile syringe, a sterile container, a timer or clock, and ovulation predictor kits (OPKs). You may also need a speculum, which is a tool used to hold the vagina open during the insemination process.
Step 3: Timing Is Everything
Timing is crucial when it comes to home insemination. It is essential to track your ovulation cycle and determine the best time to inseminate. This can be done using OPKs, which detect the surge of luteinizing hormone (LH) in your urine, signaling that ovulation is about to occur. It is recommended to inseminate within 24 hours of a positive OPK result, as sperm can survive in the reproductive tract for up to five days.
Step 4: Prepare the Sperm
If you are using frozen sperm, it is important to thaw it according to the instructions provided by the sperm bank. Once thawed, the sperm should be kept at room temperature until ready for use. If you are using fresh sperm, it should be collected on the day of insemination and kept at room temperature until ready for use.
Creating Your Own Miracle: A Step-by-Step Guide to Home Insemination
Step 5: Prepare the Insemination Site
Before beginning the insemination process, it is crucial to prepare the insemination site. This can be done by lying on your back with your hips slightly elevated. You can also use pillows to prop up your hips and make the process more comfortable. It is also recommended to empty your bladder before beginning the insemination process.
Step 6: Insert the Sperm
Using the sterile syringe, carefully draw up the sperm and insert it into the vagina. The sperm should be placed as close to the cervix as possible, which is the entrance to the uterus. It is recommended to use a speculum to hold the vagina open during this process, making it easier to get the sperm to the correct location.
Step 7: Rest and Relax
After the insemination is complete, it is essential to rest and relax for at least 10-15 minutes. This allows the sperm to have enough time to reach the egg and increase the chances of fertilization. Some couples even choose to stay lying down for up to an hour to ensure the best possible outcome.
Step 8: Monitor Symptoms and Take a Pregnancy Test
After the insemination, it is important to monitor your symptoms and take a pregnancy test at the appropriate time. If you experience any early pregnancy symptoms, such as nausea, breast tenderness, or fatigue, it may be a good sign that the insemination was successful. It is recommended to take a pregnancy test two weeks after the insemination to get an accurate result.
Additional Tips for Success:
– Stay hydrated: Drinking plenty of water can help thin out cervical mucus, making it easier for sperm to reach the egg.
– Consider using a fertility-friendly lubricant: Some lubricants can hinder sperm movement, so it is important to choose one that is sperm-friendly or use none at all.
– Have patience: It may take a few tries before successfully conceiving, so it is essential to keep a positive mindset and not get discouraged.
In conclusion, home insemination can be a viable option for couples struggling with infertility. With proper planning and execution, it can increase the chances of conceiving a child in the comfort of your own home. Remember to always consult with a medical professional before beginning any fertility treatments.
Leave a Reply