Blog Post:
In recent years, home insemination has become an increasingly popular option for couples and individuals looking to start or expand their families. With the advancement of technology and the increasing acceptance of non-traditional family structures, home insemination allows for a more private and intimate experience, while also being more cost-effective than other fertility treatments. However, preparing for home insemination can be a daunting task, especially for first-timers. In this blog post, we will discuss the steps you need to take to ensure a successful and safe home insemination process.
Step 1: Know Your Options
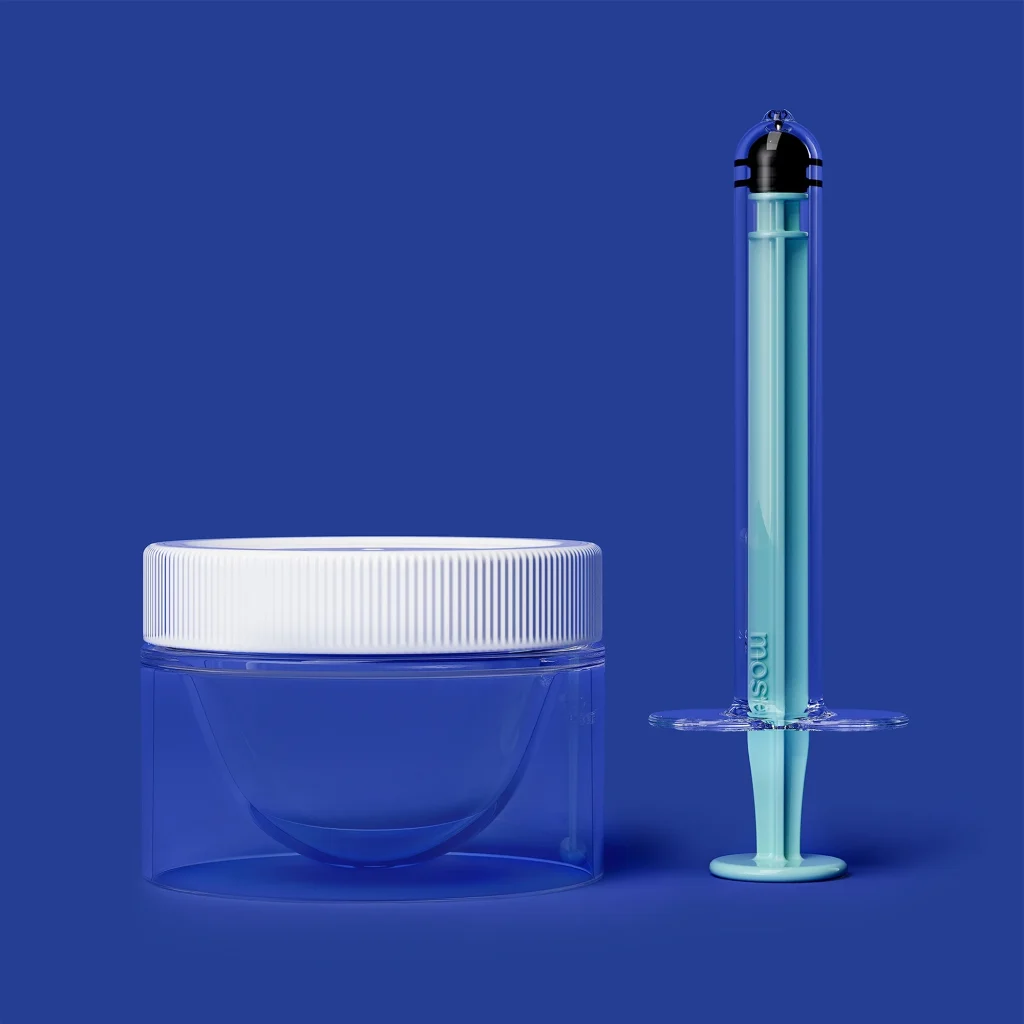
The first step in preparing for home insemination is to familiarize yourself with the various methods available. The most common method is known as intracervical insemination (ICI), which involves using a syringe to place the sperm near the cervix. Another method is intrauterine insemination (IUI), which involves using a catheter to deposit the sperm directly into the uterus. It is essential to research and understand the pros and cons of each method to determine which one is the best fit for you.
Step 2: Choose a Donor
One of the most critical factors in home insemination is choosing a donor. There are various options available, including using a known donor (a friend or family member), using a sperm bank, or using a fertility clinic. Each option has its own set of considerations, such as cost, anonymity, and legal implications. It is crucial to thoroughly research and understand the process and potential risks before making a decision.
Step 3: Prepare Your Home
and Ready: Preparing for Home Insemination
Once you have chosen a donor and method, it is time to prepare your home for the insemination process. The first step is to create a clean and comfortable environment. Make sure to thoroughly clean the room where the insemination will take place, and have all necessary supplies (such as a syringe, cups, and gloves) readily available. You may also want to consider setting the mood with some soft lighting and relaxing music to create a more comfortable and intimate experience.
Step 4: Monitor Your Ovulation
Timing is essential when it comes to home insemination. It is crucial to track your ovulation closely to ensure that you are inseminated during your most fertile window. There are various methods for tracking ovulation, such as using ovulation predictor kits, tracking basal body temperature, or monitoring cervical mucus. It is recommended to use multiple methods to ensure accuracy.
Step 5: Follow Safety Precautions
Safety should be a top priority during the home insemination process. It is crucial to follow proper hygiene practices, such as washing your hands and sterilizing all equipment before use. It is also recommended to wear gloves during the insemination process to prevent the risk of infection. Additionally, it is essential to use fresh sperm and not reuse any leftover samples to avoid contamination.
Step 6: Have Patience and Be Prepared for Possible Challenges
Home insemination is not a guarantee for pregnancy, and it may take several attempts before achieving success. It is essential to have patience and not get discouraged if the first or second try is unsuccessful. It is also crucial to be prepared for any potential challenges that may arise, such as difficulty finding the right donor or dealing with legal issues. Seek support from your partner, friends, or online support groups to help you through any challenges you may face.
In summary, home insemination can be a fulfilling and empowering experience, but it requires careful preparation and consideration. It is crucial to research and educate yourself on the various methods and options available, choose a donor carefully, and create a clean and comfortable environment. Tracking ovulation, following safety precautions, and having patience and support are also essential factors in the process. With proper preparation and a positive mindset, home insemination can be a successful and meaningful journey towards building your family.
Leave a Reply