Blog Post Title: DIY Home Insemination: A Bonding Experience for Couples
DIY home insemination is a method used by many couples who are trying to conceive. It involves using a syringe to inject semen into the cervix or vagina, bypassing the need for sexual intercourse. While it may sound like a daunting task, DIY home insemination can actually be a bonding experience for couples.
In this blog post, we will explore the benefits of DIY home insemination, the steps involved in the process, and how it can bring couples closer together.
Benefits of DIY Home Insemination:
1. A More Intimate Experience: For some couples, sex can become a chore when trying to conceive. DIY home insemination eliminates the pressure of timing intercourse and allows couples to focus on each other in a more intimate and relaxed setting.
2. More Control and Privacy: Many couples prefer the privacy of their own home rather than the sterile environment of a doctor’s office. DIY home insemination gives couples more control over the process and allows them to do it in the comfort of their own home.
3. Cost-Effective: Traditional methods of assisted reproduction can be expensive, with costs ranging from hundreds to thousands of dollars. DIY home insemination is a more affordable option for couples who are trying to conceive.
4. Can be Done at Any Time: Unlike traditional methods of assisted reproduction, DIY home insemination can be done at any time, without the need for appointments or scheduling. This can be especially helpful for couples with busy schedules.
Steps for DIY Home Insemination:
Step 1: Preparation
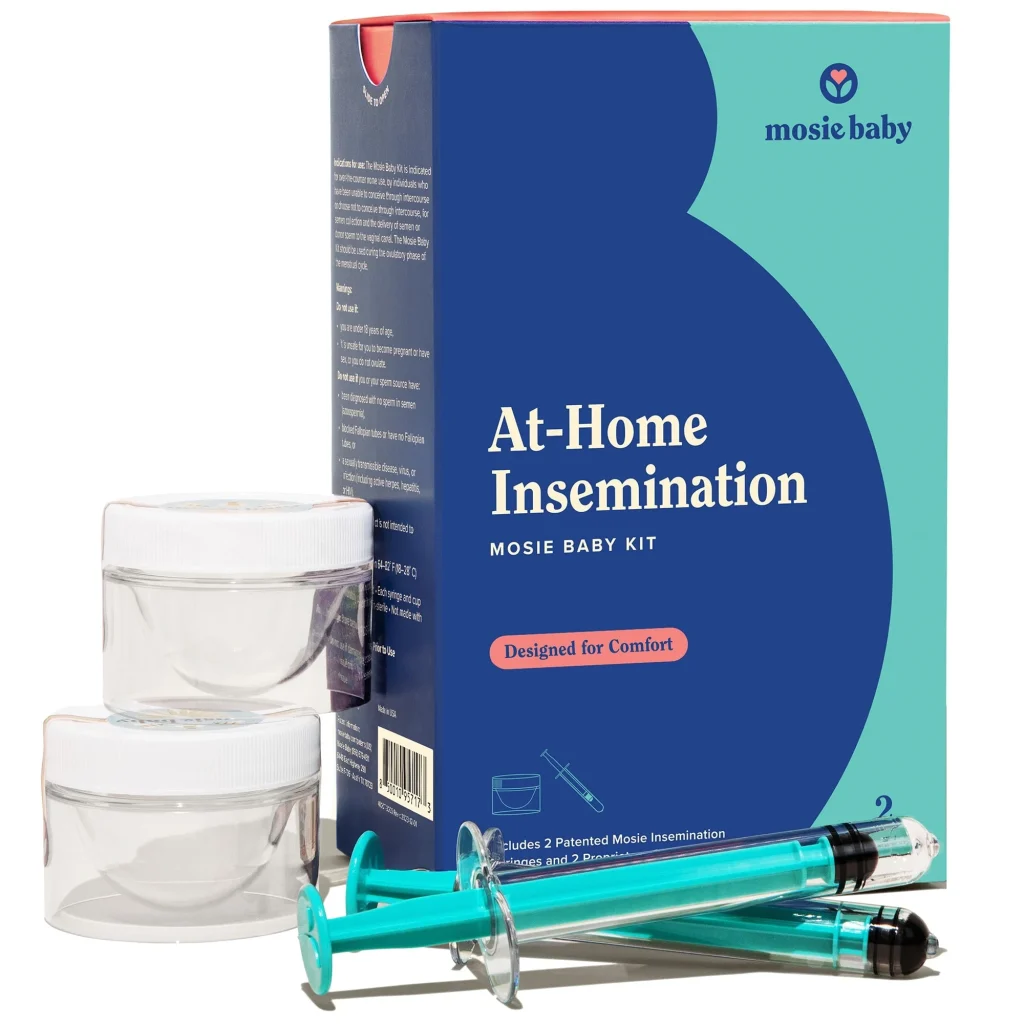
Before starting the insemination process, it is important to prepare the necessary materials. These include a sterile syringe, a sterile cup for the semen sample, and a sterile container for the insemination. It is also important to wash your hands thoroughly to avoid any contamination.
DIY Home Insemination: A Bonding Experience for Couples
Step 2: Collecting the Semen Sample
The semen sample can be collected through masturbation or by using a special condom that collects semen during sexual intercourse. The sample should be collected in the sterile cup and kept at body temperature until ready to use.
Step 3: Preparing the Syringe
The syringe should be cleaned and sterilized before use. It is important to not touch the tip of the syringe to avoid any contamination. Once cleaned, the syringe can be filled with the semen sample.
Step 4: Positioning
The person receiving the insemination should lie down comfortably on their back with a pillow under their hips. This will help to tilt the pelvis and make it easier for the syringe to reach the cervix.
Step 5: Inserting the Syringe
The syringe should be inserted into the vagina and directed towards the cervix. Be sure to avoid the urethra and bladder. Slowly push the plunger to release the semen into the cervix.
Step 6: Resting
After the insemination, it is recommended to stay in the same position for at least 15-20 minutes to allow the sperm to travel towards the egg.
Bonding Through DIY Home Insemination:
DIY home insemination can be a bonding experience for couples in many ways. Firstly, it requires trust and communication between partners. Both individuals must be on the same page and comfortable with the process.
Secondly, DIY home insemination allows for more intimacy and emotional connection between partners. The process involves working together and supporting each other, which can strengthen the bond between partners.
Lastly, DIY home insemination can also be a way for couples to feel more involved in the conception process. It allows them to take control and actively participate in the journey towards parenthood.
In conclusion, DIY home insemination can be a beneficial and bonding experience for couples trying to conceive. It offers more privacy, control, and intimacy, and can bring couples closer together. While it may not be suitable for everyone, it is a viable option for those looking for a more natural and cost-effective method of assisted reproduction.
Leave a Reply