


Is a home insemination kit actually worth it?

How do you time ICI so you don’t waste a cycle?
And what’s the one “grown-up” step people skip—until it becomes a problem?
This guide answers all three with a practical, budget-aware plan for at-home insemination (ICI). We’ll also touch on what people are talking about right now—from celebrity pregnancy chatter to court rulings—without letting the noise derail your next attempt.
What people are talking about right now (and why it matters)
Pregnancy news travels fast. A celebrity bump update or reality TV storyline can make conception look effortless, like it happens between filming schedules. That can be inspiring. It can also make real-life timelines feel unfair.
At the same time, reproductive health keeps showing up in legal and political headlines. Court cases and federal litigation discussions remind many families that access, rights, and parentage aren’t just “background issues.” They can affect your plan, especially if you’re using donor sperm.
Then there’s social media. Trends like “trimester zero” planning—pre-pregnancy checklists framed as must-dos—can be helpful in small doses, but they can also push people into perfectionism. If you’re trying ICI at home, the goal is simple: make each cycle count with safe steps and good timing.
If you want a quick overview of the legal conversation that’s been in the news, see this related coverage: Florida Supreme Court makes ruling in at-home artificial insemination case.
What matters medically (the basics that change outcomes)
ICI works best when timing is tight
ICI (intracervical insemination) places semen near the cervix. That means sperm still need to travel through the cervix and uterus to reach the egg. Timing matters because the egg’s fertile window is short, while sperm can survive longer under the right conditions.
For many people, the biggest “wasted cycle” problem isn’t the method. It’s inseminating too early, too late, or without confirming ovulation trends.
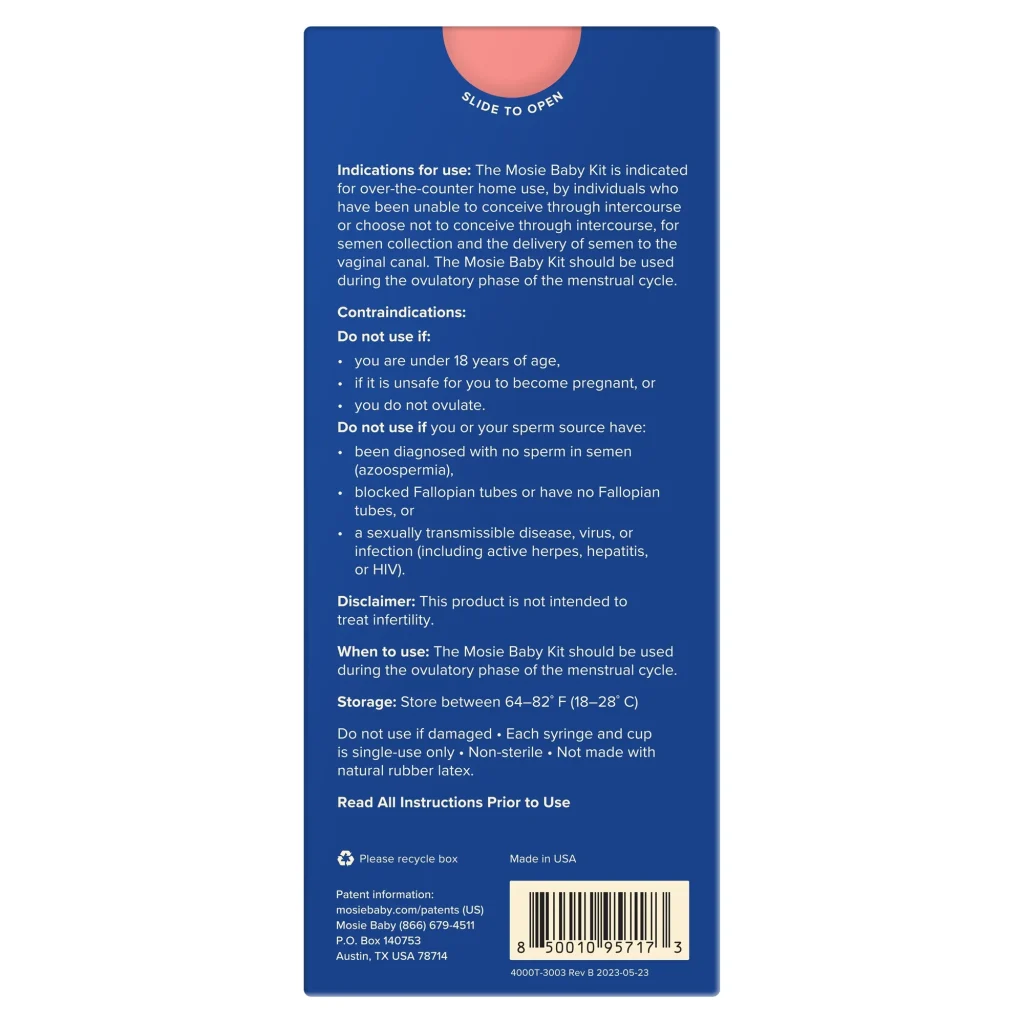
Safety is mostly about clean technique and appropriate materials
At-home insemination should never involve improvised tools that aren’t meant for the body. Clean hands, clean surfaces, and body-safe materials reduce infection risk. Avoid introducing anything that could irritate tissue or carry bacteria.
If you have pelvic pain, fever, foul-smelling discharge, or severe cramping after an attempt, seek medical care promptly.
Donor screening and storage choices can affect both health and logistics
Some people use banked donor sperm; others use a known donor. Each path comes with different considerations, including screening practices, quarantine policies, shipping/storage, and legal protections. If you’re choosing known-donor routes, plan beyond the insemination day itself.
How to try ICI at home (a cycle-saving, budget-first approach)
Step 1: Pick your tracking method and stick to it
You don’t need five apps and a spreadsheet. Choose one primary method and use it consistently for at least one full cycle:
- OPKs (ovulation predictor kits): Useful for catching the LH surge.
- Cervical mucus: Many people notice more slippery, clear, “egg-white” mucus near ovulation.
- Basal body temperature (BBT): Confirms ovulation after it happens; it’s best for learning patterns over time.
If your cycles are irregular, OPKs plus symptom tracking often feels more actionable than BBT alone.
Step 2: Decide your insemination window before emotions take over
Make a simple plan while you’re calm. For example: “We’ll inseminate the day of a positive OPK and consider one more attempt the next day.” This keeps you from panic-testing, overspending, or guessing late at night.
Budget tip: more attempts don’t automatically raise odds if they’re poorly timed. One well-timed attempt can beat three random ones.
Step 3: Set up a clean, low-friction routine
Think of insemination day like meal prep: you’re reducing last-minute mistakes. Wash hands, prepare supplies, and choose a private space where you won’t feel rushed.
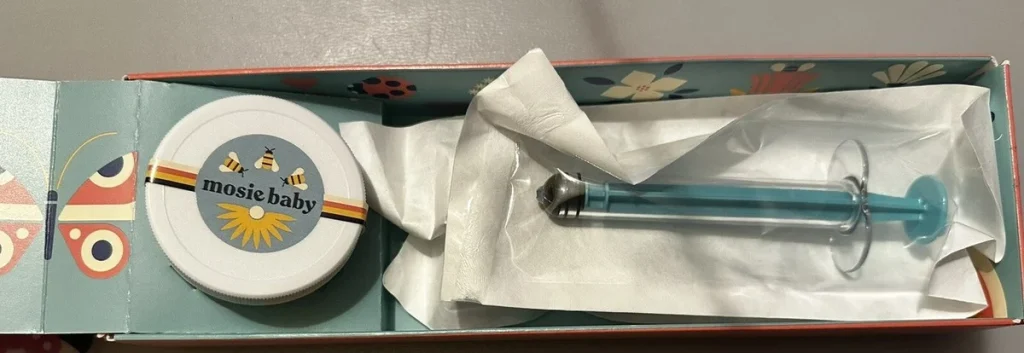
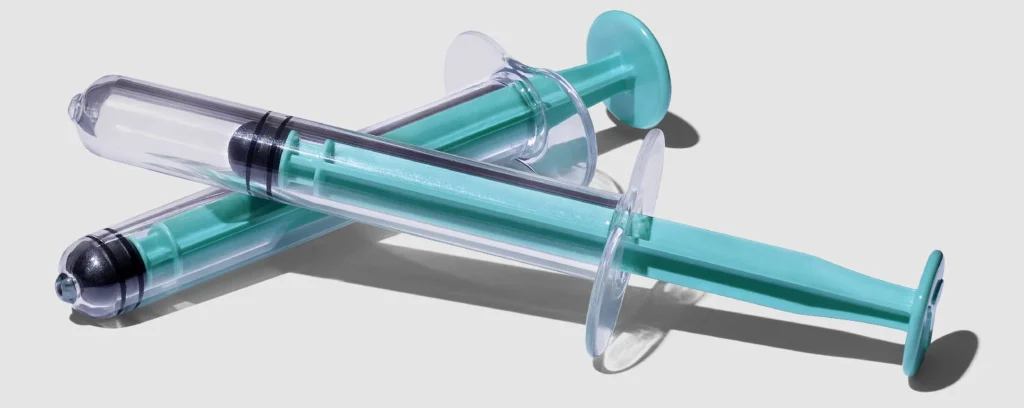
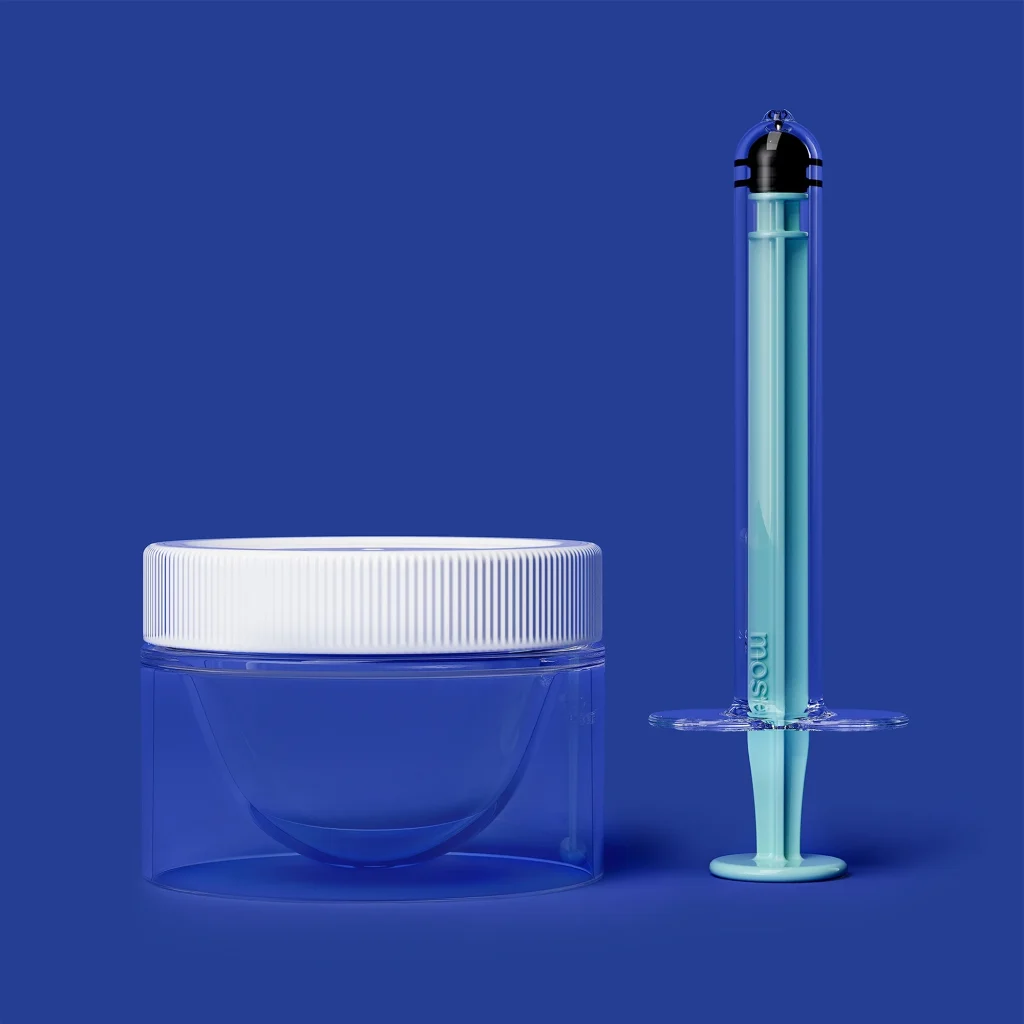
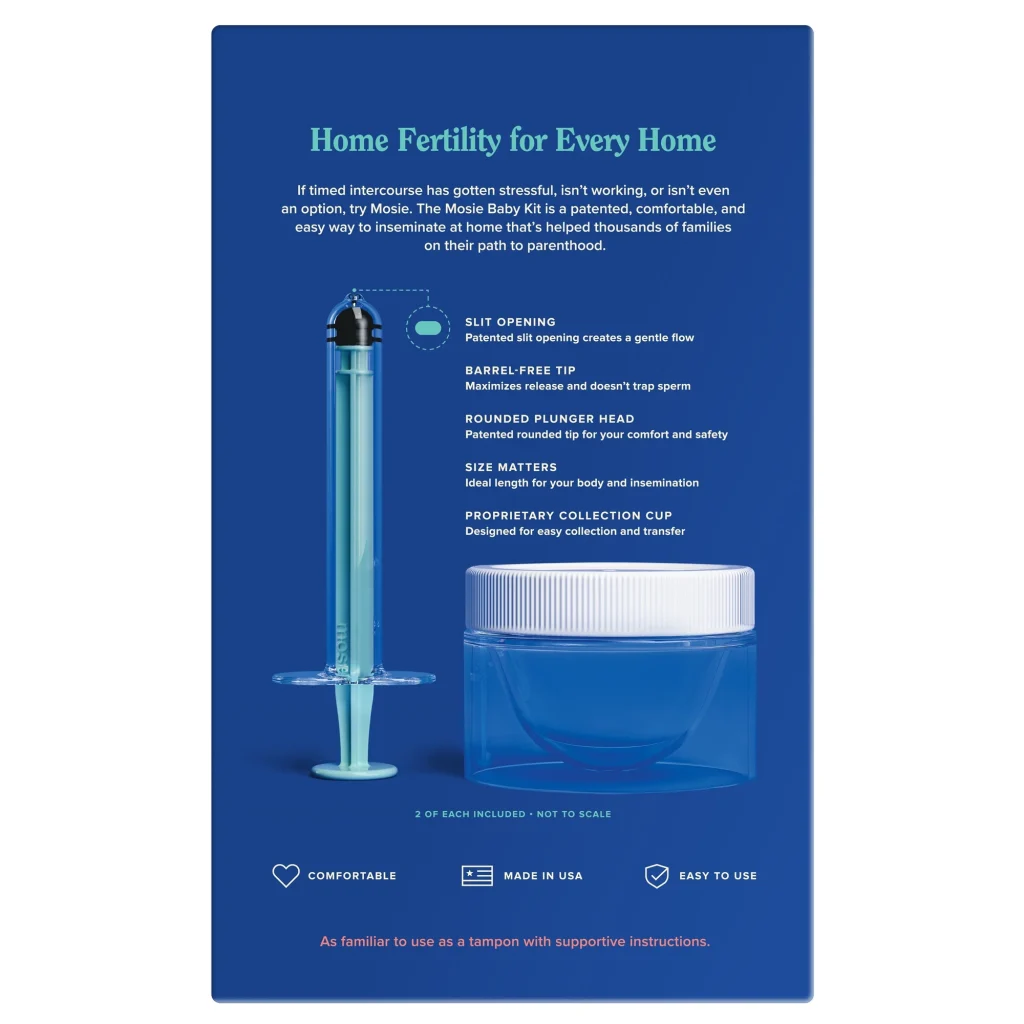
Use a product designed for ICI rather than makeshift tools. If you’re researching options, here’s a relevant link: at-home insemination kit for ICI.
Step 4: Keep expectations realistic for each cycle
Even with perfect timing, pregnancy may not happen right away. That’s not a personal failure and it’s not proof you “did it wrong.” The win is executing a safe, repeatable plan you can evaluate and adjust.
When it’s time to get extra help (without losing momentum)
At-home ICI can be a meaningful option, including for LGBTQ+ families and solo parents by choice. Still, some situations deserve a faster pivot to clinical support.
- Irregular or absent periods that make timing unpredictable.
- Known fertility factors (like endometriosis history, tubal concerns, or prior pelvic infections).
- Age considerations (many clinicians suggest earlier evaluation if you’re over 35).
- Several well-timed cycles without pregnancy, especially if you’ve confirmed ovulation patterns.
A clinician can discuss labs, ultrasound, and whether IUI or IVF makes sense. You can still keep your plan values—privacy, autonomy, budget—while getting better data.
FAQ (quick answers you can use today)
Is ICI the same as IUI?
No. ICI is typically at home and places semen near the cervix. IUI is a clinic procedure that places washed sperm in the uterus.
How many days should we try?
Many people aim for 1–2 attempts around the LH surge/ovulation window. Timing tends to matter more than frequency.
Can a known donor become a legal parent?
Depending on where you live and how you proceed, it can happen. Consider legal guidance and clear documentation before you try.
Do I need “trimester zero” planning?
You don’t need a trend-based checklist to start. Focus on basics: cycle tracking, safer materials, and addressing known health issues.
What’s the main safety issue?
Infection risk from unsafe materials or poor hygiene is a key concern. Use body-safe products and keep the process clean.
CTA: Ready to learn the process step-by-step?
If you want a clear, practical walkthrough of timing, setup, and what to expect, start here:
How does at-home insemination (ICI) work?
Medical disclaimer: This article is for general education and is not medical advice. It doesn’t diagnose, treat, or replace care from a qualified clinician. If you have severe pain, fever, heavy bleeding, or concerns about fertility or infection, seek medical care.