Tag: conception

  • Budget-Friendly DIY Home Insemination Techniques

    Blog Post Title: Budget-Friendly DIY Home Insemination Techniques: A Comprehensive Guide

    Summary:

    In recent years, more and more couples and individuals have turned to home insemination as a way to conceive a child. This method involves using readily available materials to inseminate at home, rather than going through expensive medical procedures. While home insemination may not be suitable for everyone, it can be a budget-friendly and convenient option for those who are unable to conceive through traditional means. In this blog post, we will discuss various budget-friendly DIY home insemination techniques, along with tips and precautions to ensure a safe and successful experience.

    First, it is important to understand the basics of home insemination. It involves placing sperm directly into the cervix or vagina during ovulation, allowing the sperm to travel to the fallopian tubes and fertilize an egg. This can be done with the help of a partner or through self-insemination. The success rate of home insemination varies, but with proper techniques and timing, it can be as high as 15-20%.

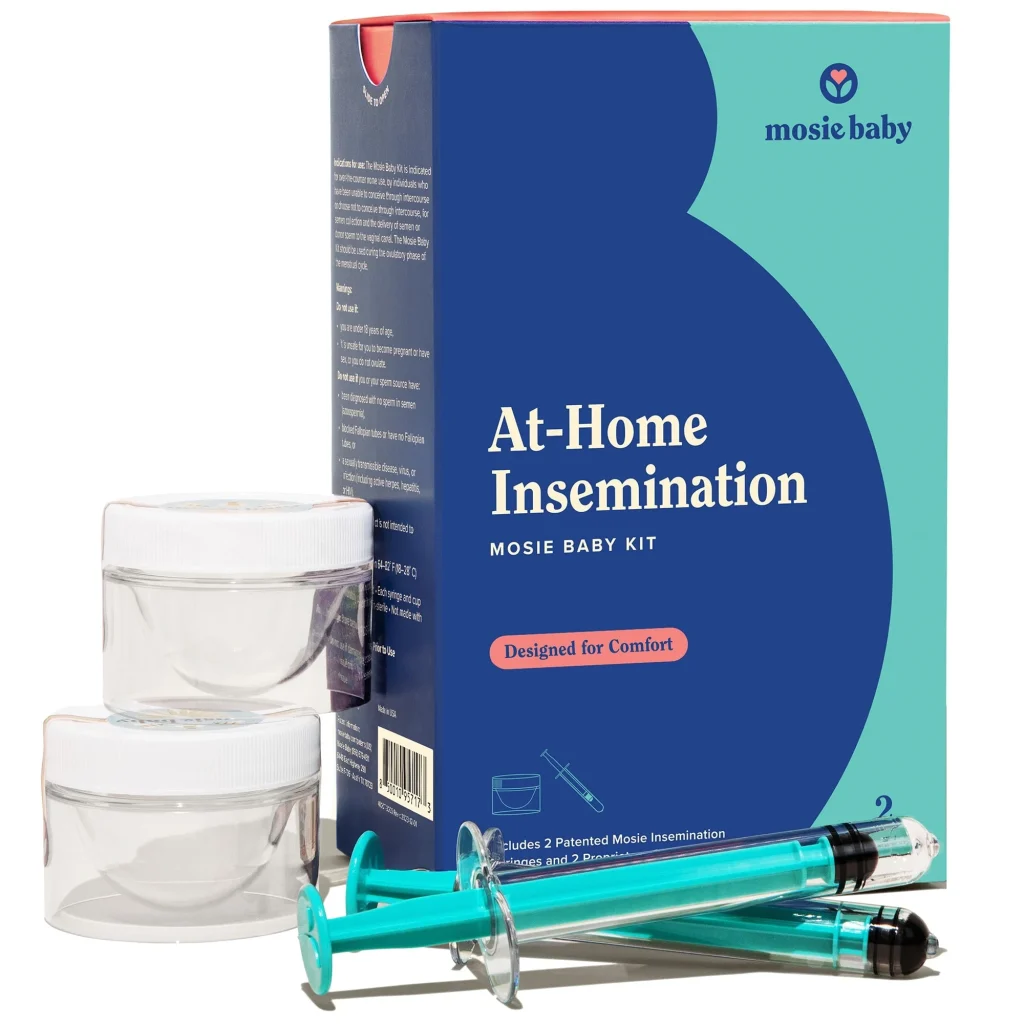
    One of the most popular DIY home insemination techniques is the “turkey baster” or syringe method. This involves using a sterile syringe, without a needle, to insert sperm into the vagina or cervix. It is important to make sure the syringe is sterile to avoid any risk of infection. This method can be done with a partner or can be self-inseminated using a mirror and a comfortable position.

    Another option is the cervical cap method, which involves using a cervical cap (a small silicone cup) to hold the sperm near the cervix for a longer period of time. This method is more effective than the syringe method as it allows the sperm to stay in the body for a longer duration, increasing the chances of conception. Cervical caps can be purchased online or at a pharmacy and are reusable, making them a cost-effective option in the long run.

    at-home insemination kit by Mosie Baby, featuring syringes and storage containers for comfort and convenience.

    Budget-Friendly DIY Home Insemination Techniques

    For those who prefer a more natural approach, the “soft cup” method can be used. This involves using a menstrual cup, which is a flexible cup used to collect menstrual fluid, to hold the sperm close to the cervix for several hours. This method has a success rate of around 30%, making it a popular choice for DIY home insemination.

    In addition to these methods, there are a few key tips to keep in mind for a successful home insemination experience. Firstly, it is important to track ovulation carefully using methods such as ovulation predictor kits or basal body temperature charting. This will help determine the most fertile days for insemination. Secondly, the sperm used for insemination should be fresh and high-quality. It is recommended to use sperm from a known donor or a reputable sperm bank.

    It is also crucial to maintain proper hygiene and sterilization during the insemination process. This includes washing hands, using sterile equipment, and avoiding any contamination. It is also recommended to stay in a lying position for at least 15-20 minutes after insemination to give the sperm enough time to travel to the fallopian tubes.

    While home insemination can be a budget-friendly option, it is important to note that it is not without risks. Infection and allergic reactions to sperm can occur, so it is important to consult with a healthcare provider before attempting home insemination. Additionally, it is important to have open and honest communication with any potential donor to ensure that both parties are comfortable and safe.

    In conclusion, home insemination can be a cost-effective and convenient option for couples and individuals who are trying to conceive. With proper techniques, timing, and precautions, it can be a successful method for achieving pregnancy. However, it is important to consider all factors and consult with a healthcare provider before attempting home insemination.

    SEO metadata:

  • DIY Home Insemination: A Step-by-Step Tutorial

    DIY Home Insemination: A Step-by-Step Tutorial

    Are you and your partner looking to start a family but struggling with traditional methods of conception? Or maybe you’re a single person who dreams of becoming a parent? Whatever your situation may be, DIY home insemination is a viable and affordable option for anyone looking to conceive. In this blog post, we will guide you through the step-by-step process of DIY home insemination, including the necessary supplies, preparation, and timing for optimal success.

    Step 1: Gather Supplies

    The first step in DIY home insemination is to gather all the necessary supplies. These include a sterile cup, a sterile syringe, and a sterile container to hold the semen. It’s important to use sterile supplies to reduce the risk of infection and ensure the safety of both the donor and the recipient.

    Step 2: Choose a Donor

    Choosing a donor is a crucial step in the home insemination process. Options for donors include a partner, a known donor, or a sperm bank. If using a partner or known donor, it’s vital to have open and honest communication about expectations, boundaries, and any legal agreements. If using a sperm bank, make sure to do thorough research and choose a reputable and trustworthy one.

    Step 3: Prepare the Donor

    Before collecting the semen, the donor should abstain from ejaculation for at least 2-3 days. This will ensure a higher sperm count and increase the chances of success. The donor should also wash their hands thoroughly and sanitize the genital area before collecting the semen.

    Step 4: Collect the Semen

    The donor can collect the semen in the sterile cup provided. It’s essential to avoid any contact with the cup or the genital area to maintain the sterility of the sample. If using a known donor, it’s recommended to use a condom or sterile cup to collect the semen.

    Step 5: Load the Syringe

    hand holding a syringe with a blue plunger against a solid blue background

    DIY Home Insemination: A Step-by-Step Tutorial

    Using a sterile syringe, carefully draw the semen from the cup and load it into the syringe. It’s crucial to avoid touching the tip of the syringe to maintain sterility. If using a sperm bank, the semen will already be loaded into a sterile container, and you can skip this step.

    Step 6: Prepare the Recipient

    The recipient should lie down on their back with their legs elevated and hips slightly tilted. This position will help the sperm travel towards the cervix. It’s also recommended to insert a menstrual cup or soft cup into the vagina to keep the semen close to the cervix.

    Step 7: Insert the Syringe

    Using a sterile syringe, carefully insert the tip into the vagina and slowly push the plunger to release the semen near the cervix. It’s essential to avoid pushing too hard or too deep to prevent any discomfort.

    Step 8: Rest and Relax

    After insemination, the recipient should remain in the same position for at least 20-30 minutes to allow the sperm to swim towards the cervix. This time is also an excellent opportunity for the recipient to relax and stay calm, which can increase the chances of successful conception.

    Step 9: Repeat the Process

    For optimal success, it’s recommended to repeat the insemination process for 2-3 consecutive days, starting a day before ovulation. This will ensure a better chance of sperm meeting the egg.

    Step 10: Take a Pregnancy Test

    After insemination, the recipient should wait until the expected time of their period to take a pregnancy test. If the test is positive, congratulations, you’re pregnant! If not, don’t be discouraged and try again in the next ovulation cycle.

    In summary, DIY home insemination is a simple and affordable option for anyone looking to conceive. With the right supplies, preparation, and timing, the chances of successful conception are high. However, it’s essential to keep in mind that DIY home insemination may not work for everyone, and seeking the advice of a healthcare professional is always recommended.