


Sperm Meets Egg: The Science Behind At-Home Insemination
In today’s world, there are many different paths to parenthood. While in vitro fertilization (IVF) and artificial insemination are commonly known methods, there is another option that is gaining popularity – at-home insemination. This method involves using a syringe or a menstrual cup to deposit sperm into the vagina, allowing for natural fertilization to occur. But how effective is this method? What are the risks involved? And most importantly, what is the science behind it? In this blog post, we will explore the science behind at-home insemination and provide you with all the information you need to know before considering this option for starting a family.
Understanding the Basics of At-Home Insemination
At-home insemination, also known as self-insemination, is a process where sperm is manually inserted into the vagina at the time of ovulation, to increase the chances of fertilization. This method is often used by same-sex couples, single women, or couples with fertility issues. It can be done using fresh sperm from a sperm donor or frozen sperm from a sperm bank. The procedure is relatively simple and can be done in the comfort and privacy of one’s own home.
The Science Behind At-Home Insemination
The goal of at-home insemination is to bring sperm closer to the cervix, increasing the chances of sperm reaching and fertilizing the egg. This method is based on the same principle as natural conception, where sperm is deposited into the vagina during intercourse and travels through the cervix to reach the egg. However, in at-home insemination, the sperm is manually inserted into the vagina, bypassing the need for sexual intercourse.
Timing is Key
Timing is crucial when it comes to at-home insemination. It is recommended to perform insemination around the time of ovulation, which is typically 12-24 hours after the release of the egg. This increases the chances of the sperm reaching the egg and fertilizing it. There are several ways to track ovulation, such as using ovulation predictor kits, tracking basal body temperature, or monitoring changes in cervical mucus. It is essential to have a good understanding of one’s menstrual cycle to ensure the timing is accurate.
Preparing for Insemination

Sperm Meets Egg: The Science Behind At-Home Insemination
Before the procedure, it is necessary to prepare the sperm for insertion. If using frozen sperm from a sperm bank, it must be thawed according to the instructions provided. Fresh sperm from a sperm donor should be collected in a sterile container and kept at room temperature before inserting it into the vagina. It is important to note that the sperm should be used within an hour of collection to ensure its viability.
The Procedure
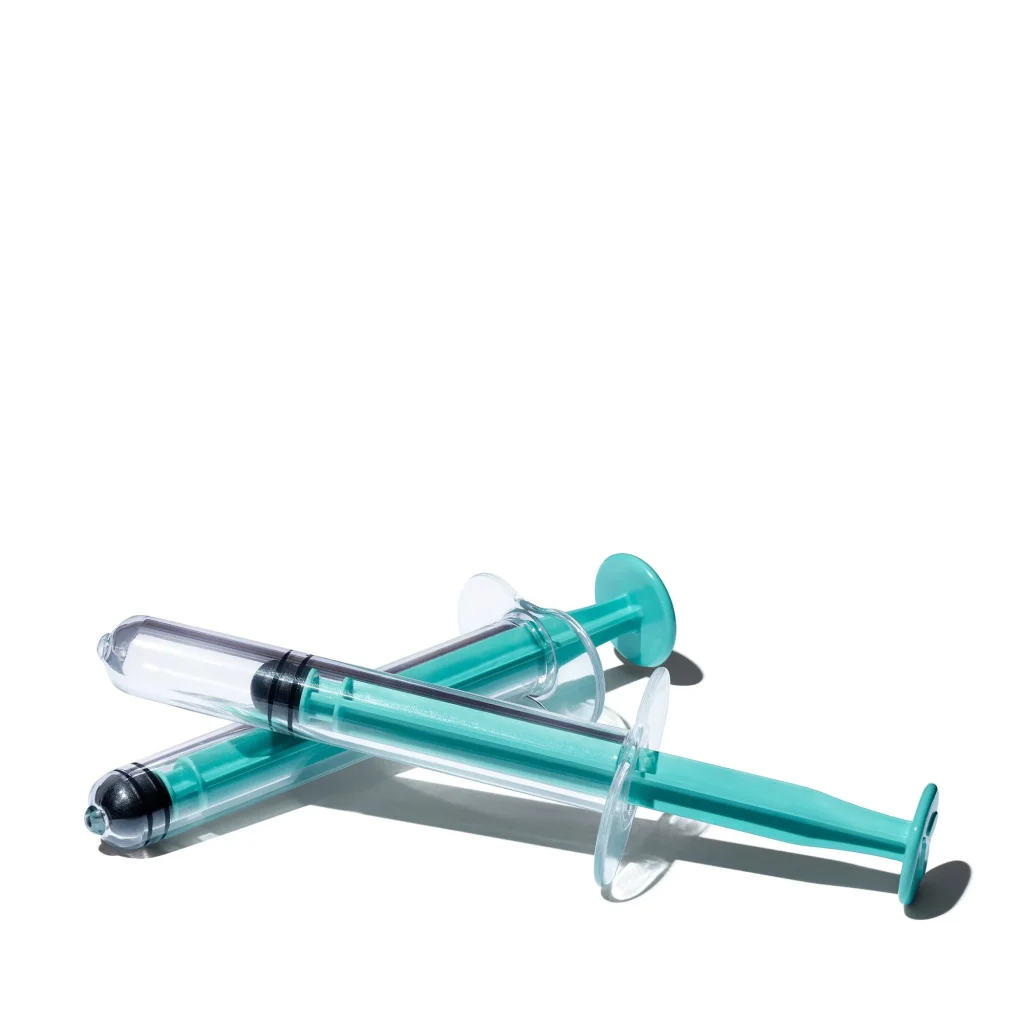
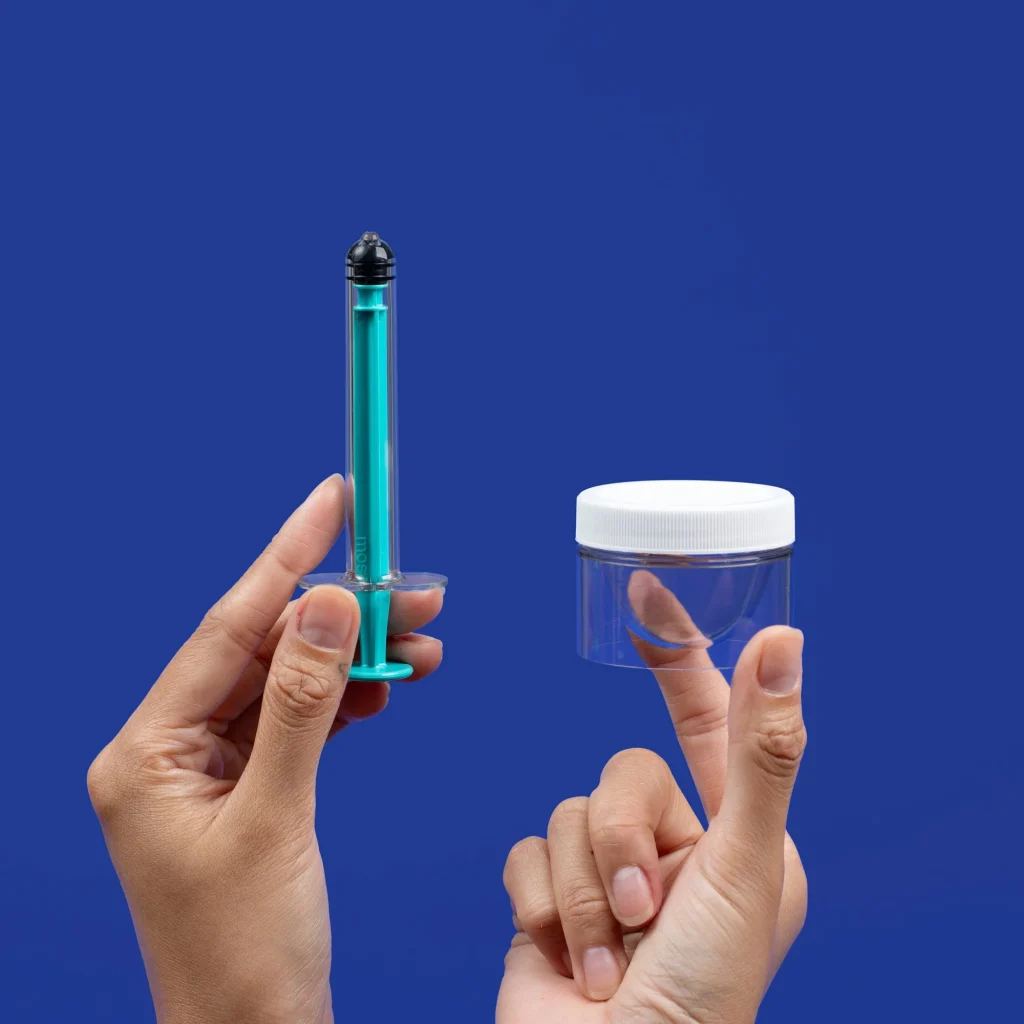
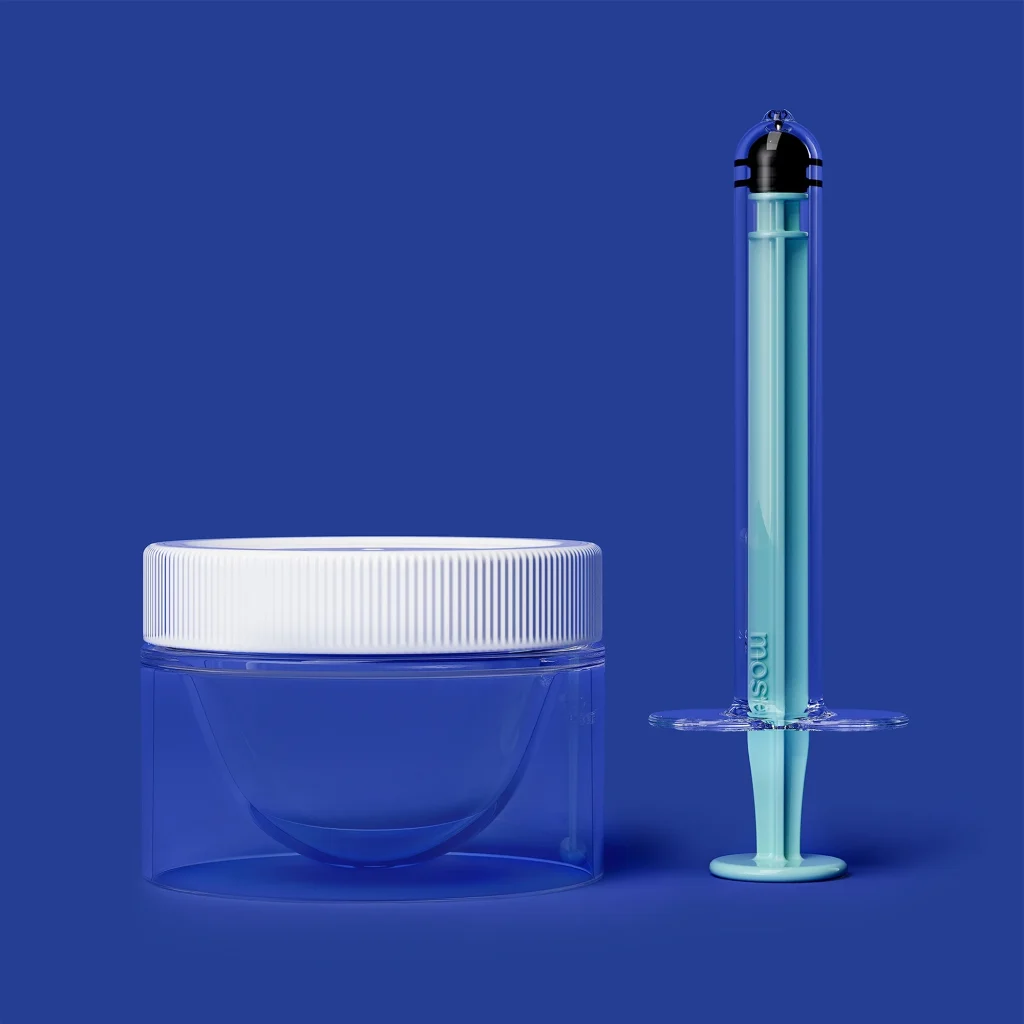
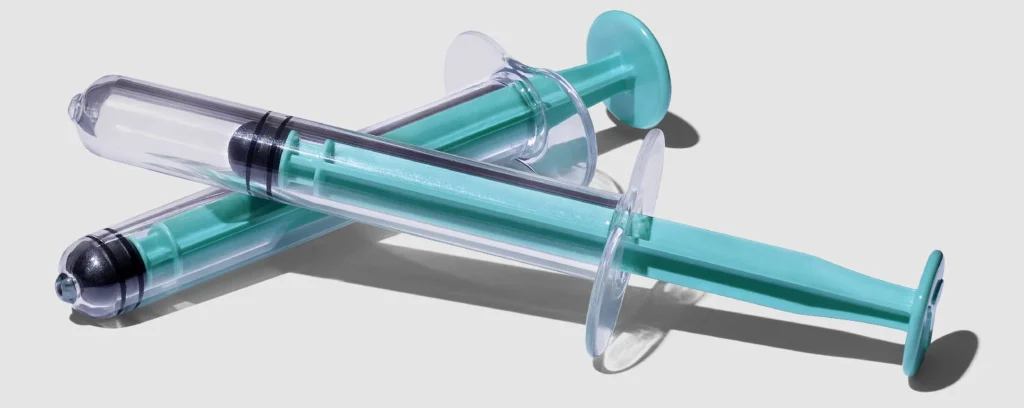
At-home insemination can be performed using a syringe or a menstrual cup. The syringe method involves filling a sterile syringe with the prepared sperm and inserting it into the vagina as close to the cervix as possible. The menstrual cup method involves filling the cup with the sperm and placing it in the vagina, allowing the sperm to be released near the cervix. Both methods aim to keep the sperm close to the cervix, increasing the chances of fertilization.
Risks and Considerations
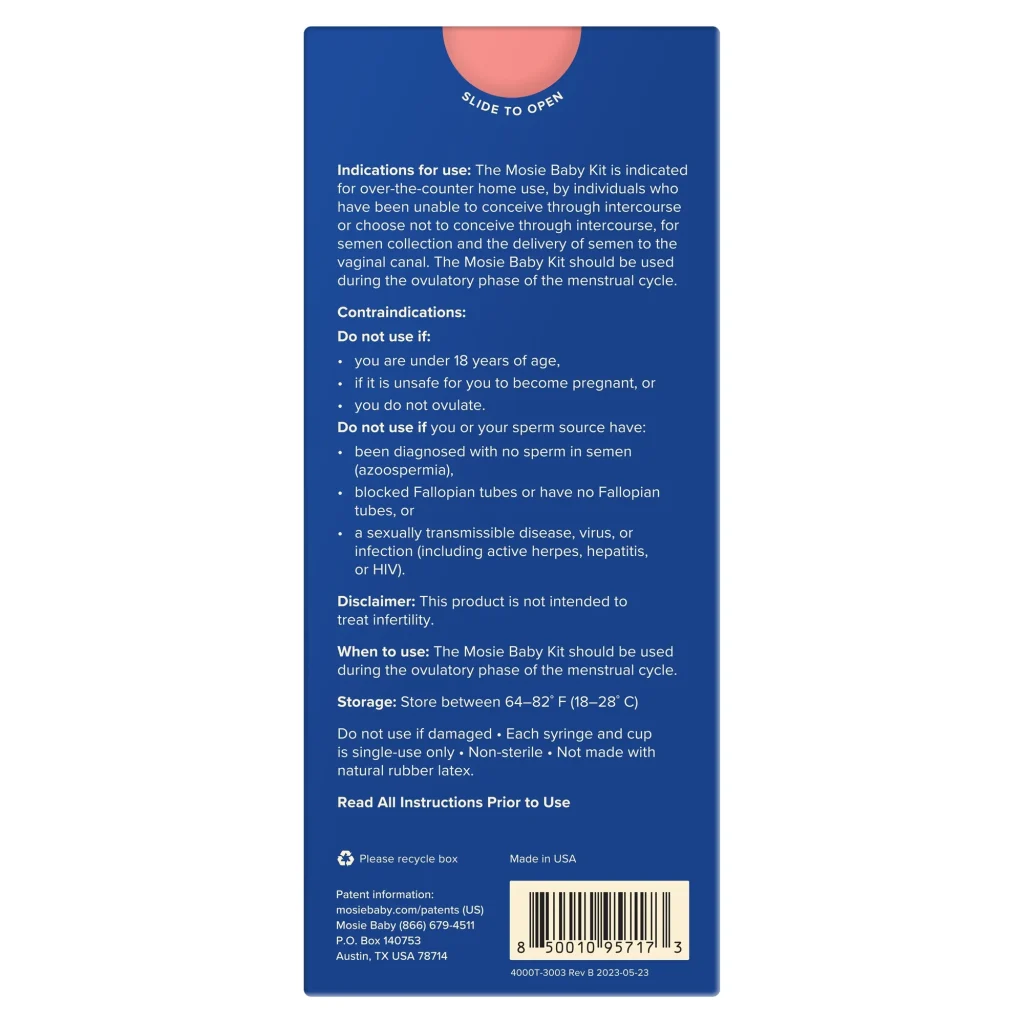
While at-home insemination is a relatively simple and cost-effective method, there are some risks and considerations that should be taken into account. Firstly, there is no guarantee of success, and it may take multiple attempts before achieving pregnancy. Secondly, there is a risk of infection if proper hygiene is not maintained during the procedure. It is crucial to use sterile equipment and wash hands before and after the procedure. Lastly, there is a potential risk of the sperm donor having a sexually transmitted infection, which could be passed on during insemination.
Success Rates
The success rates of at-home insemination vary and depend on factors such as the age and fertility of the person receiving the sperm, the quality of the sperm, and the timing of the procedure. According to a study published in the Journal of Obstetrics and Gynaecology Canada, the success rate of at-home insemination ranges from 10-15% per cycle. However, this success rate can increase to 50% if the procedure is done by a healthcare professional.
Summary
At-home insemination is a method of fertility treatment that is gaining popularity as an alternative to traditional methods. This procedure involves manually inserting sperm into the vagina during ovulation, with the goal of increasing the chances of fertilization. It is a relatively simple and cost-effective method, but it is essential to understand the science behind it, prepare correctly, and consider the potential risks and success rates before attempting at-home insemination.