


Blog Post:
Home insemination, also known as self-insemination, is the process of using a donor’s sperm to conceive a child without the involvement of a medical professional. This method has gained popularity in recent years, as it offers a more private and affordable option for couples or individuals looking to start a family. However, success rates for home insemination can vary greatly, and one of the key factors that can impact these rates is diet and lifestyle. In this blog post, we will explore the influence of diet and lifestyle on home insemination success rates and provide tips for optimizing your chances of success.
The Importance of Diet and Lifestyle in Home Insemination:
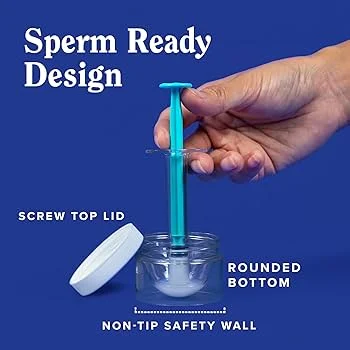
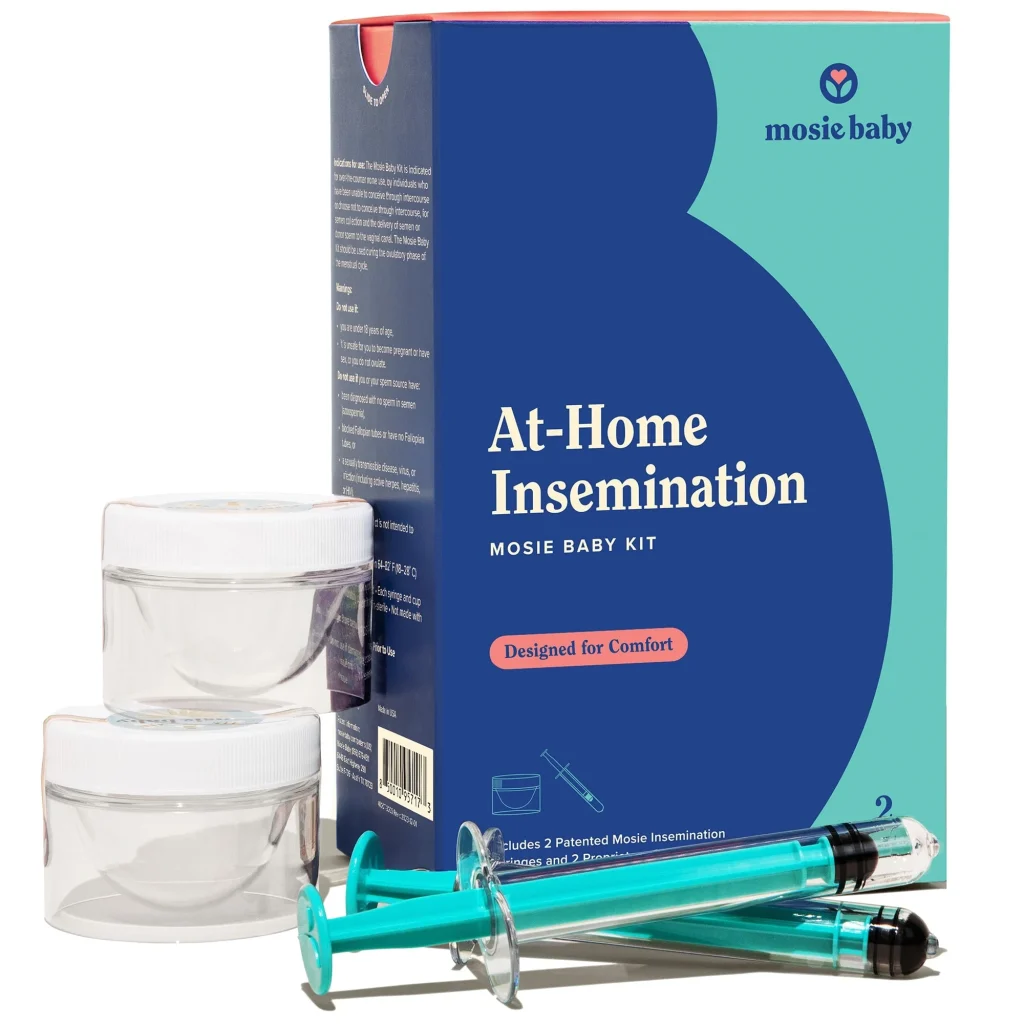
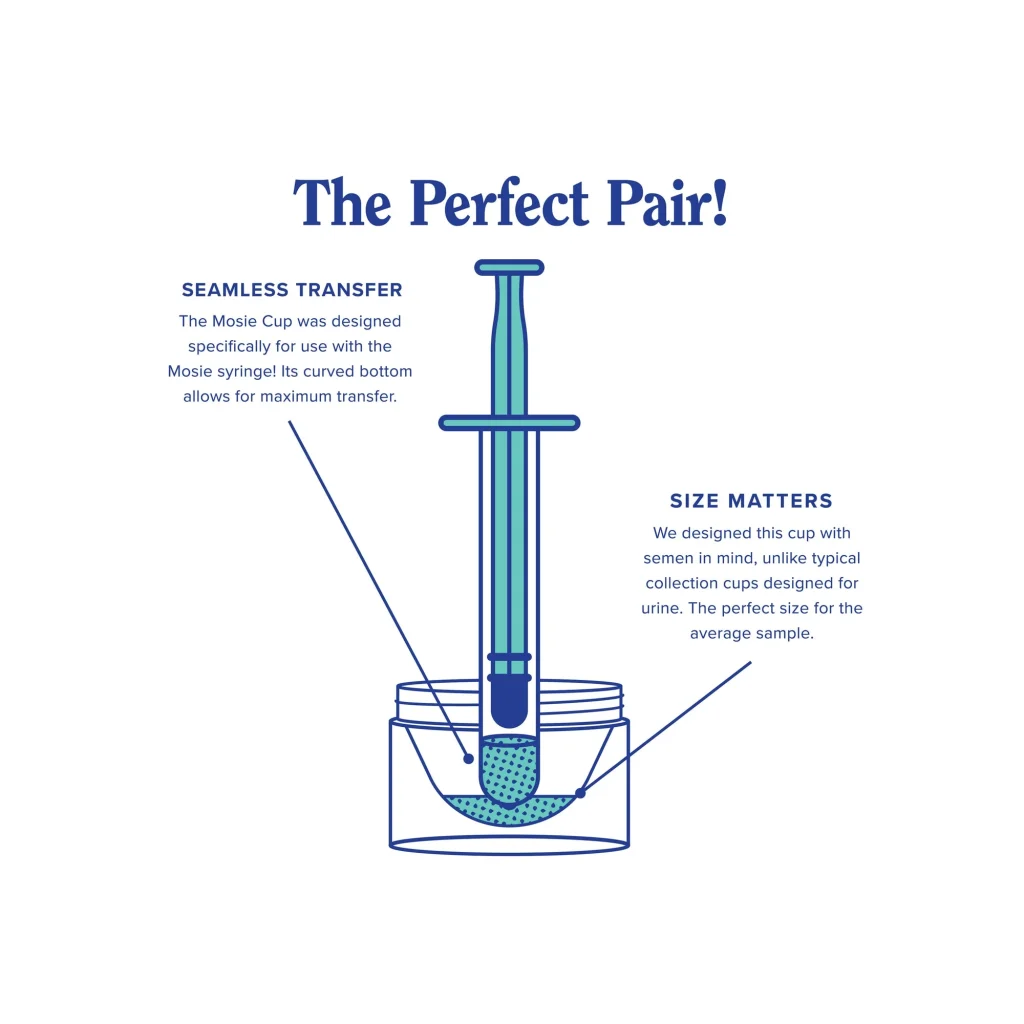
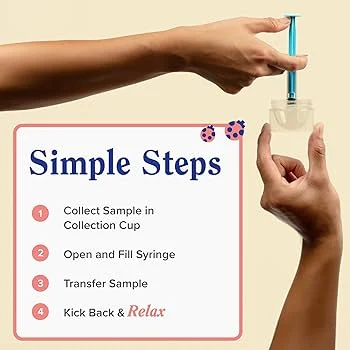
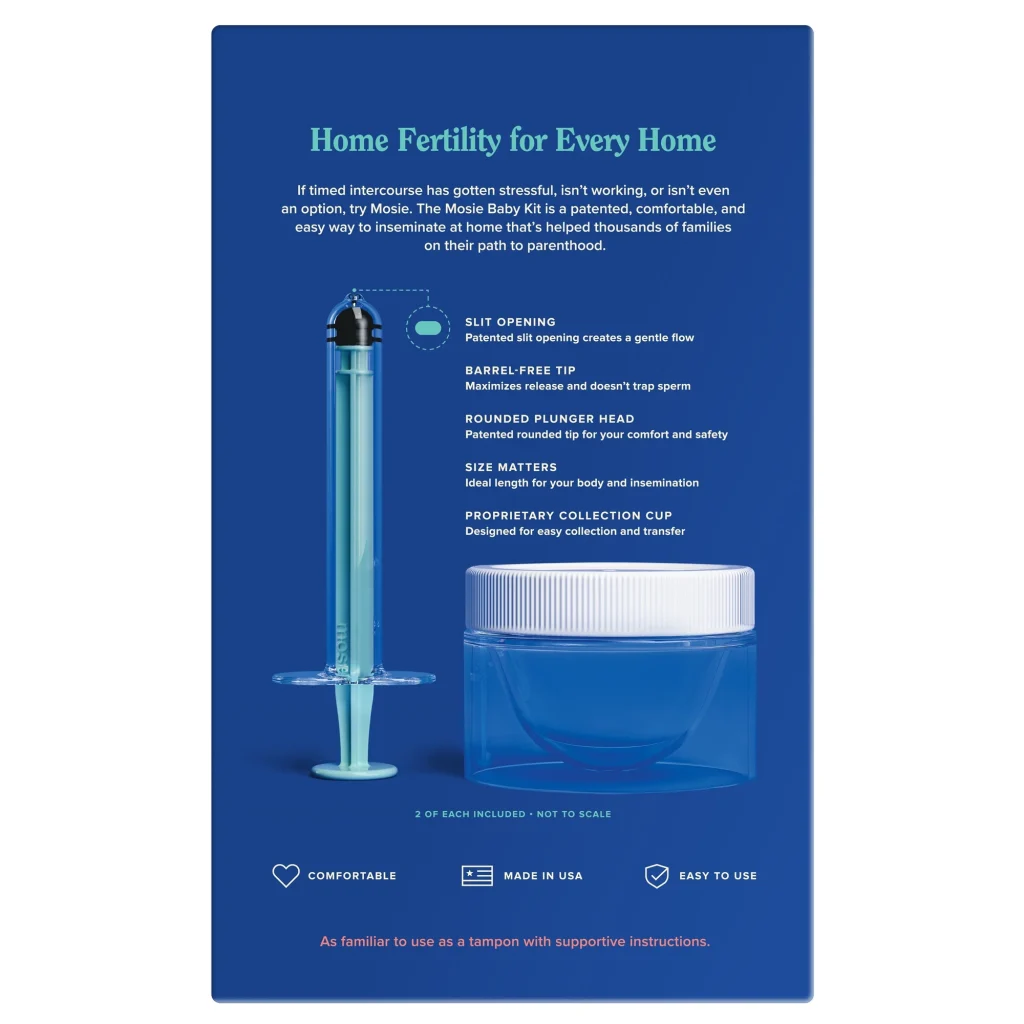
Before delving into the specifics of how diet and lifestyle can impact home insemination success rates, it is important to understand the basics of the process. Home insemination typically involves using a donor’s sperm, either through a sperm bank or a known donor, and self-administering the insemination at home. This is often done using an insemination kit, which includes a syringe and instructions for the procedure.
While home insemination may seem like a simple process, there are many factors that can affect its success. One of the most crucial factors is the health and well-being of the person who is trying to conceive. This includes factors such as diet, exercise, stress levels, and overall lifestyle habits.
Diet and Home Insemination Success Rates:
The saying “you are what you eat” holds true when it comes to home insemination success rates. A healthy, balanced diet is essential for overall reproductive health and can greatly impact the chances of successful home insemination. Here are some dietary factors to consider when trying to conceive through home insemination:
1. Nutrient-rich Foods:
Eating a variety of nutrient-rich foods is crucial for reproductive health. This includes foods high in antioxidants, such as fruits and vegetables, which can help protect sperm and eggs from damage. Additionally, foods high in omega-3 fatty acids, such as fish and nuts, can help improve sperm quality and motility.
2. Avoiding Processed Foods:
Processed foods are often high in unhealthy fats and sugars, which can negatively impact reproductive health. These foods can lead to hormonal imbalances and inflammation, which can affect fertility. It is best to limit or avoid processed foods when trying to conceive through home insemination.
3. Folic Acid:
Folic acid, also known as vitamin B9, is essential for reproductive health. It helps with the production of healthy eggs and sperm and can reduce the risk of birth defects. Foods rich in folic acid include leafy greens, beans, and citrus fruits.
Lifestyle and Home Insemination Success Rates:
In addition to diet, lifestyle habits can also play a significant role in home insemination success rates. Here are some lifestyle factors to consider when trying to conceive at home:
1. Exercise:

The Influence of Diet and Lifestyle on Home Insemination Success Rates
Regular physical activity can help improve overall health and increase fertility. It can also help reduce stress and maintain a healthy weight, both of which can impact home insemination success rates. However, it is important to avoid overexertion, as excessive exercise can negatively affect fertility.
2. Stress Management:
Stress can have a significant impact on reproductive health. It can disrupt hormonal balance and affect ovulation and sperm production. Finding ways to manage stress, such as through meditation or yoga, can help improve home insemination success rates.
3. Avoiding Harmful Substances:
Smoking, excessive alcohol consumption, and drug use can all negatively impact home insemination success rates. These substances can affect hormone levels and sperm quality, making it more difficult to conceive.
Tips for Optimizing Home Insemination Success Rates:
While diet and lifestyle play a crucial role in home insemination success rates, there are also other factors to consider. Here are some additional tips for optimizing your chances of success:
1. Timing is Key:
Timing is crucial when it comes to home insemination. It is important to track your ovulation cycle and inseminate during your most fertile days. This can increase the chances of sperm reaching the egg and fertilizing it.
2. Use High-Quality Sperm:
Using high-quality sperm is essential for successful home insemination. If using a sperm bank, make sure to choose a reputable one with high success rates. If using a known donor, it is recommended to have their sperm tested beforehand.
3. Follow Instructions Carefully:
It is important to follow the instructions included with your insemination kit carefully. This includes properly preparing the sperm and administering it according to the instructions. Deviating from the instructions can decrease the chances of success.
Summary:
In summary, diet and lifestyle can greatly influence home insemination success rates. A healthy, balanced diet and regular exercise can improve overall reproductive health and increase fertility. Managing stress and avoiding harmful substances can also have a positive impact. Additionally, timing, using high-quality sperm, and following instructions carefully are essential for optimizing home insemination success rates.
SEO Metadata: