Is a home insemination kit actually enough for ICI?
When should you try so you’re not guessing?
And what’s the simplest way to do it without turning your bedroom into a science lab?

Yes, a home insemination kit can be a practical way to try intracervical insemination (ICI) at home. Timing matters more than fancy add-ons. A calm setup, clean technique, and a plan for comfort will do more for your experience than internet hacks.
One more reality check: fertility talk is everywhere right now—“pre-pregnancy planning” trends on social media, supplement marketing, celebrity bump chatter, and even courtroom headlines. When the news cycle gets loud, stick to what you can control: the window, the tools, and your process.
Quick overview: what ICI is (and what it isn’t)
ICI is a method where semen is placed in the vagina, close to the cervix, using a syringe-style applicator. It’s different from intercourse and different from clinic procedures like IUI or IVF.
People consider ICI for lots of reasons: LGBTQ+ family-building, solo parenthood, fertility factor workups in progress, or simply wanting to start with a lower-intervention option before moving to clinic care. It can also be part of an IVF “alternative” conversation, meaning it may be tried before IVF—not that it replaces IVF for every situation.
Legal note, kept simple: Some recent headlines have reminded people that “at-home” doesn’t automatically mean “clear-cut,” especially with known donors. If you’re using a donor and you want clarity around parental rights, it’s worth understanding what your state or country requires. For background reading, see this coverage: Florida Supreme Court makes ruling in at-home artificial insemination case.
Timing that makes sense (without the hype)
Social media loves a “do-everything-perfectly” preconception storyline. In real life, timing is the big lever, and you can keep it straightforward.
Find your fertile window with a simple plan
- Track your cycle (app, notes, or calendar).
- Use ovulation predictor tests (OPKs) if they work for you.
- Watch cervical mucus changes as an extra clue (some people notice it becomes clearer and more slippery near ovulation).
When to try
Many people try ICI once they see an OPK surge and may try again within the next day, depending on sperm availability and what feels manageable. If you’re working with frozen sperm, planning becomes even more important because thawed samples have a shorter usable window.
Supplies checklist: keep it clean, comfortable, and ready
You don’t need a counter full of gadgets. You do need a setup that avoids contamination and reduces stress.
Core items
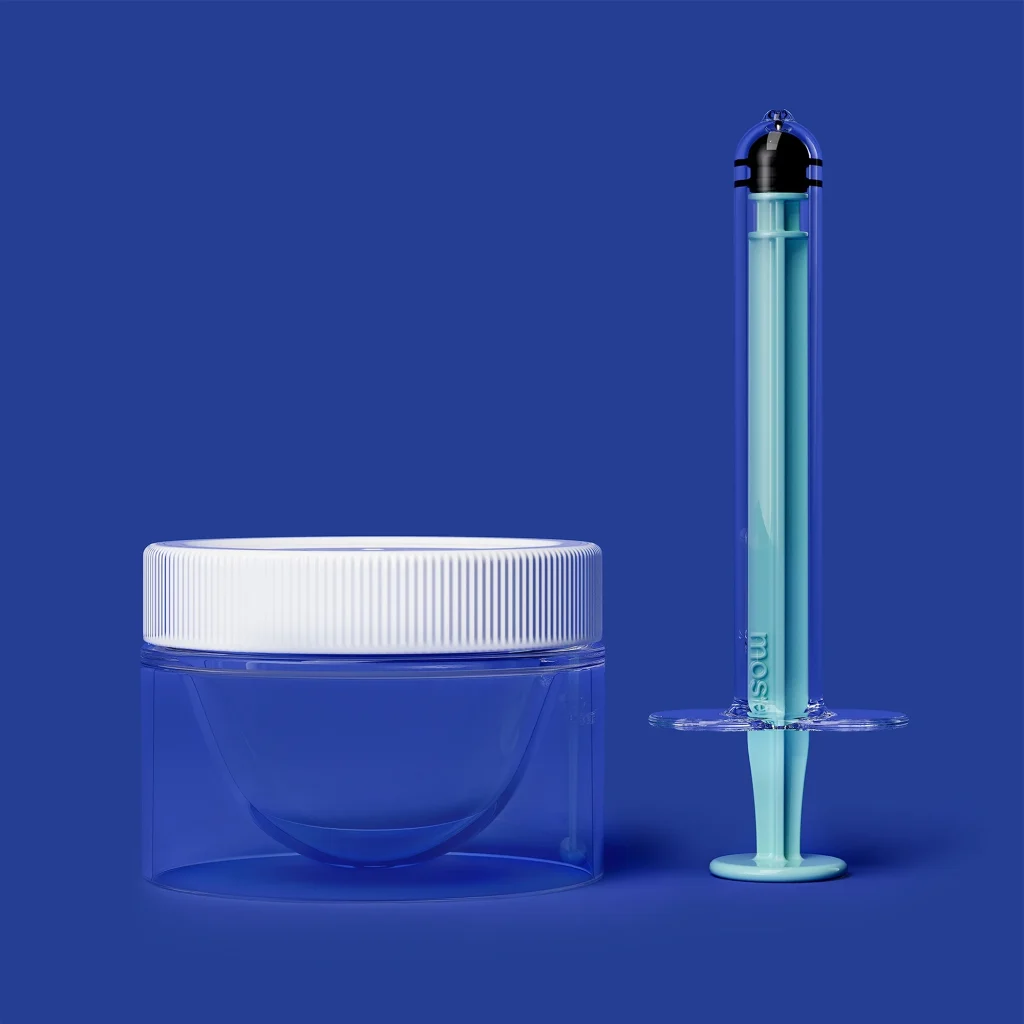
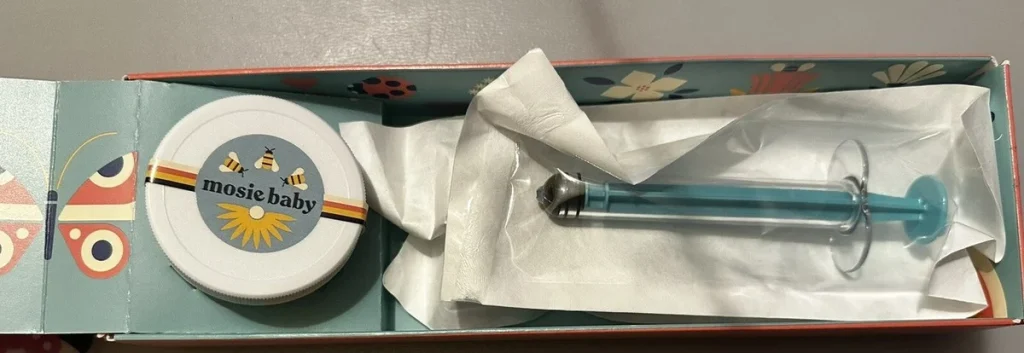
- Home insemination kit designed for ICI (syringe-style applicator).
- Clean collection container (if collecting at home).
- Water-based lubricant (optional; avoid sperm-toxic ingredients and avoid oil-based products).
- Towels or disposable pads for easy cleanup.
- Timer (your phone is fine) so resting afterward doesn’t feel endless.
Nice-to-have comfort items
- Pillow to support hips if you prefer that position.
- Dim lighting / calming playlist to reduce performance pressure.
- Gloves if it helps you feel more comfortable with handling.
If you’re looking for a purpose-built option, start here: at-home insemination kit for ICI.
Step-by-step ICI at home: a clean, no-rush workflow
This is a general technique overview. Always follow the instructions that come with your specific kit and any guidance from your fertility clinic or sperm bank.
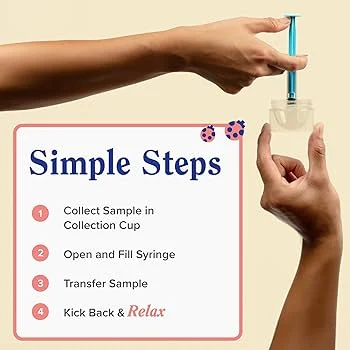
1) Set up your space first
Wash your hands. Lay down a towel or pad. Put everything within reach so you’re not standing up mid-process.
2) Prepare the sample
If using fresh semen, use a clean container and allow time for liquefaction if needed (often around 15–30 minutes, but follow your provider’s guidance). If using frozen sperm, follow thaw instructions exactly and keep timing tight.
3) Load the syringe slowly
Draw the sample into the syringe gently to reduce bubbles. If the kit includes a rounded tip or design meant for comfort, use it as directed.
4) Get into a comfortable position
Many people choose lying on their back with knees bent. Others prefer a slight hip lift. Pick what helps you relax your pelvic floor. Tension makes everything harder.
5) Insert and inseminate near the cervix
Insert the syringe comfortably into the vagina (not into the cervix). Depress the plunger slowly. A steady pace tends to feel better and reduces immediate leakage.
6) Stay relaxed for a short rest
Remain lying down for about 10–20 minutes if that feels right. Use the time to breathe, listen to something soothing, or just zone out. Some fluid leakage afterward is common and not a sign it “didn’t work.”
7) Cleanup and notes
Dispose of single-use items. Wash reusable items only if the product instructions say they’re reusable. Jot down the date/time, OPK result, and any symptoms so next cycle is easier to plan.
Common mistakes that waste a cycle (or just make it stressful)
Chasing trends instead of the window
“Trimester zero” style content can be motivating, but it can also create pressure. Don’t let a checklist replace timing and consistency.
Using the wrong lubricant
Some lubes can be unfriendly to sperm. If you use lube, choose a fertility-friendly, water-based option and use a small amount.
Rushing the setup
Scrambling for supplies increases stress and spills. Set up first, then begin.
Assuming legal protection is automatic
Especially with known donors, paperwork and processes may matter. Headlines about donor rights have put this back in the spotlight for a reason. Consider legal guidance tailored to your location and family plan.
Overcomplicating positioning
You don’t need acrobatics. Choose a position you can hold comfortably. The goal is calm and close-to-cervix placement, not perfection.
FAQ: fast answers before you try
Is ICI a good IVF alternative?
For some people, ICI is a reasonable earlier step before IVF. For others, IVF may be recommended sooner based on age, tube factors, sperm parameters, or time trying. A clinician can help you decide.
Can I do ICI if I have irregular cycles?
You can try, but timing can be harder. OPKs, symptom tracking, and clinician support can make the window easier to identify.
Do I need a speculum?
Usually no for basic ICI with a syringe-style kit. If you’re considering tools beyond a standard kit, talk with a clinician to avoid injury or infection risk.
Next step: choose a kit and keep your plan simple
If you want a streamlined approach, start with the essentials: timing + a clean setup + a comfortable technique. Then iterate next cycle using the notes you took.
How does at-home insemination (ICI) work?
Medical disclaimer: This article is for general education and is not medical or legal advice. It does not diagnose or treat any condition. For personalized guidance—especially around fertility history, medications, infections, pain, or donor/legal arrangements—talk with a qualified clinician and, when relevant, a family law attorney in your area.