Blog Post:
For couples who are looking to conceive a child at home, home insemination can be a great option. This process allows for the collection and insertion of sperm into the vagina at home, eliminating the need for expensive medical procedures. However, home insemination can seem like a daunting process for beginners. In this guide, we will provide step-by-step instructions for home insemination so that you can feel confident and comfortable in this process.
Step 1: Know Your Cycle
The first step in home insemination is to have a good understanding of your menstrual cycle. Knowing when you are ovulating is crucial for successful insemination. Ovulation typically occurs around day 14 of a 28-day cycle, but this can vary from person to person. Tracking your cycle and using ovulation prediction kits can help you determine the best time for insemination.
Step 2: Choose a Donor
For home insemination, you have the option to choose a known donor or purchase sperm from a sperm bank. If you decide to use a known donor, it is important to have a legal agreement in place to protect all parties involved. If you choose to purchase sperm from a sperm bank, make sure to do your research and choose a reputable one.
Step 3: Prepare the Sperm
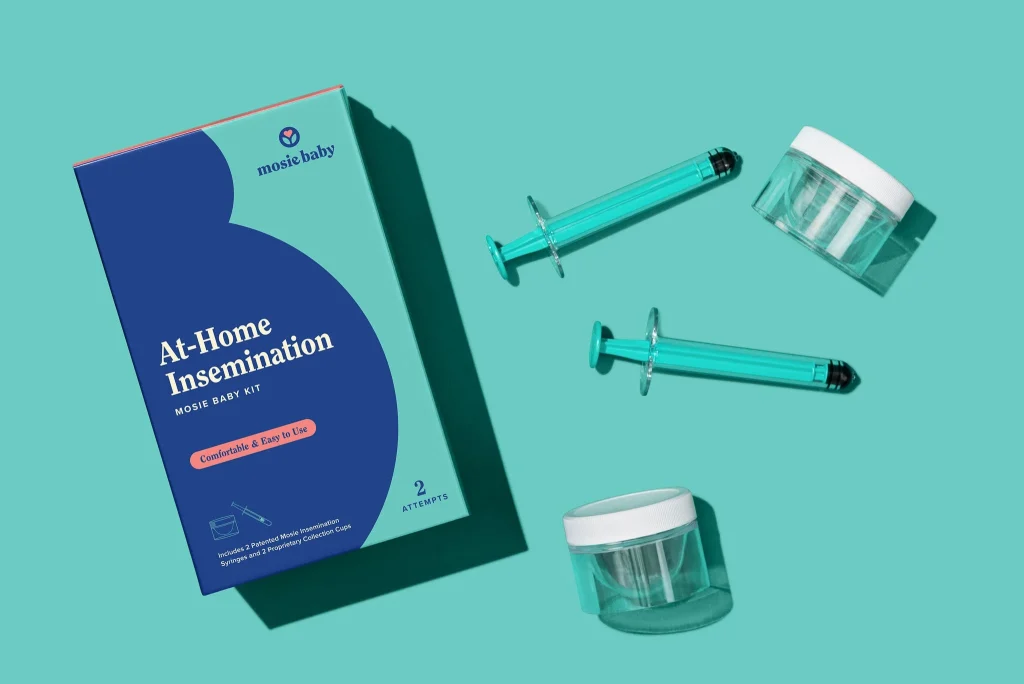
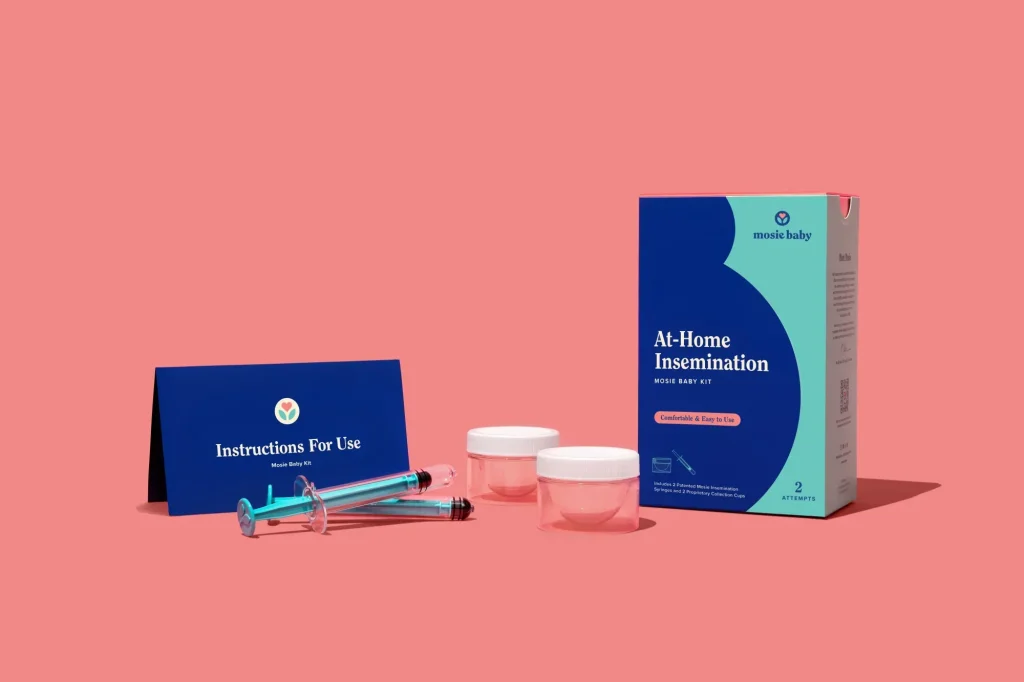
Before insemination, the sperm needs to be collected and prepared. If using a known donor, the sperm should be collected in a sterile container using a sperm collection kit. If using sperm from a sperm bank, it will typically come in a frozen state and needs to be thawed according to the instructions provided. Once the sperm is collected or thawed, it should be kept at room temperature until ready to use.

A Beginner's Guide to Home Insemination: Step-by-Step Instructions
Step 4: Prepare the Body
The recipient of the sperm should also prepare their body for insemination. This can include taking fertility supplements, eating a healthy diet, and abstaining from alcohol and caffeine. It is also important to have a clean and relaxed environment for insemination.
Step 5: Inserting the Sperm
There are a few different methods for inserting the sperm, including using a needleless syringe, cervical cap, or soft cup. The most common method is using a needleless syringe, which can be purchased at a pharmacy. The recipient should lay down with their legs elevated and use the syringe to deposit the sperm into the vagina as close to the cervix as possible.
Step 6: Rest and Relax
After the sperm has been inserted, it is important to rest and relax for at least 15 minutes. This allows the sperm to swim towards the cervix and increases the chances of conception. Some people also recommend using a heating pad or lying down with a pillow under the hips to help the sperm reach the cervix.
Step 7: Follow Up
After insemination, it is important to follow up with a pregnancy test or visit to the doctor to confirm pregnancy. Home insemination may not be successful on the first try, so it is important to be patient and try again during the next ovulation cycle if needed.
In summary, home insemination can be a simple and effective way for couples to conceive a child at home. By understanding your cycle, choosing a donor, preparing the sperm and body, and using the correct method for insertion, you can increase your chances of success. Remember to rest and follow up after insemination, and don’t be discouraged if it doesn’t work the first time. With patience and perseverance, home insemination can be a great option for starting a family.