Tag: pregnancy test

  • What to Expect: The Process of At-Home Insemination with Frozen Sperm

    Blog Post Title: What to Expect: The Process of At-Home Insemination with Frozen Sperm

    In recent years, more and more couples and individuals are turning to at-home insemination as a way to start or expand their families. This process involves using frozen sperm, often from a sperm bank, to fertilize an egg in the comfort and privacy of your own home. While it may seem like a daunting task, at-home insemination is a safe and effective option for those looking to conceive. In this blog post, we will discuss what to expect during the process of at-home insemination with frozen sperm.

    Step 1: Choosing a Sperm Donor
    The first step in the process of at-home insemination is selecting a sperm donor. This can be done through a sperm bank or through a known donor. If using a sperm bank, you will have access to information such as the donor’s physical characteristics, medical history, and personal statement. It is important to thoroughly research and consider all factors before making a decision. If using a known donor, it is important to have a legal contract in place and to ensure that the donor has undergone proper medical screenings.

    Step 2: Ordering Frozen Sperm
    Once you have chosen a sperm donor, the next step is to order the frozen sperm. This can be done through a sperm bank or fertility clinic. The sperm will be shipped in a cryogenic tank to maintain its viability. It is important to carefully follow the instructions for handling and thawing the sperm to maintain its quality.

    Step 3: Tracking Ovulation
    Timing is crucial when it comes to at-home insemination. It is important to track your ovulation cycle to determine the best time to inseminate. This can be done through methods such as tracking basal body temperature, using ovulation predictor kits, or monitoring cervical mucus changes. It is recommended to have the insemination within 24 hours of ovulation for the best chances of success.

    Mosie Baby kit for at-home insemination with syringes and collection cups on a teal background.

    What to Expect: The Process of At-Home Insemination with Frozen Sperm

    Step 4: Preparing for Insemination
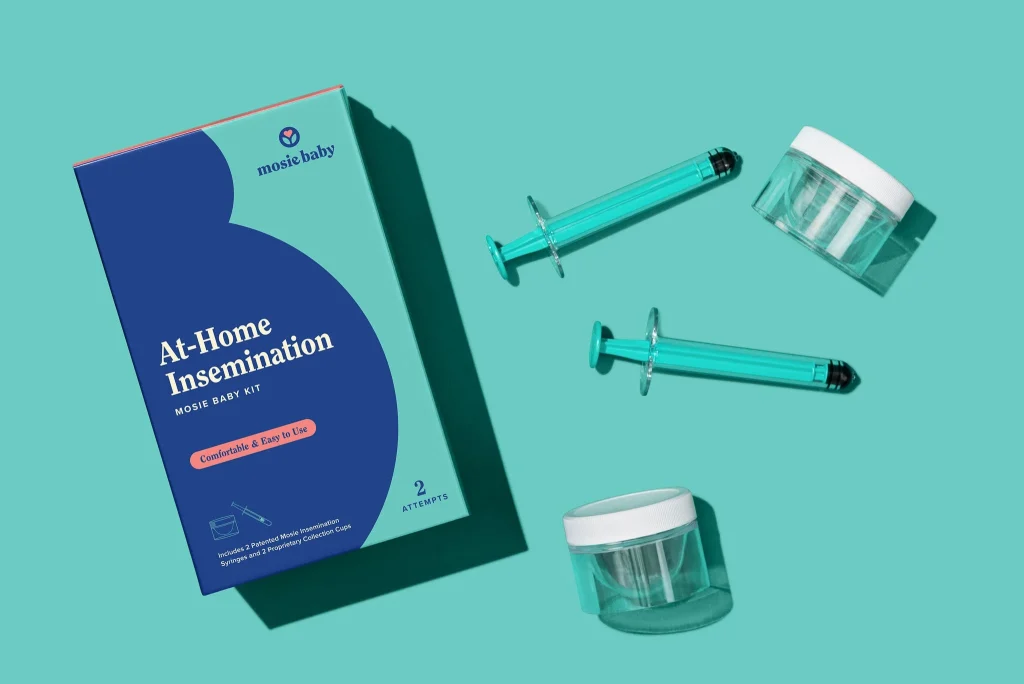
    Before insemination, it is important to prepare the necessary supplies. This includes a sterile cup to collect the sperm, a sterile syringe to transfer the sperm, and a speculum to help position the syringe correctly. It is also recommended to have a warm towel and lubricant on hand to make the process more comfortable.

    Step 5: Insemination Process
    The actual insemination process is relatively simple and can be done at home with the help of a partner or alone. The sperm should be thawed according to the instructions provided by the sperm bank or clinic. Using the sterile syringe, the sperm is then drawn up and transferred to the sterile cup. The speculum is inserted into the vagina to help guide the syringe to the cervix. The sperm is then slowly injected into the cervix using the syringe.

    Step 6: Resting and Monitoring
    After the insemination, it is recommended to remain lying down for at least 15-20 minutes to give the sperm time to reach the fallopian tubes. It is also important to monitor any symptoms or changes in the following days and weeks. Some common early signs of pregnancy include nausea, breast tenderness, and fatigue.

    Step 7: Taking a Pregnancy Test
    The waiting game can be difficult, but it is important to wait at least two weeks after insemination to take a pregnancy test. This allows enough time for the fertilized egg to implant and for the body to produce enough pregnancy hormones to be detected on a test. It is recommended to take a home pregnancy test first, and if positive, to follow up with a blood test at a doctor’s office for confirmation.

    At-home insemination with frozen sperm can be a successful and fulfilling option for those looking to start a family. It is important to do thorough research, follow instructions carefully, and seek medical advice if needed. By following these steps and being patient, you can increase your chances of a successful pregnancy and bring a new life into your home.

    In summary, at-home insemination with frozen sperm involves choosing a sperm donor, ordering frozen sperm, tracking ovulation, preparing for insemination, the actual insemination process, resting and monitoring, and taking a pregnancy test. With patience, research, and proper preparation, at-home insemination can be a successful and rewarding option for those looking to conceive.

  • Essential Tools for a Successful Home Insemination Kit

    Blog Post Title: Essential Tools for a Successful Home Insemination Kit

    In recent years, there has been a rise in the use of home insemination kits as a means of achieving pregnancy. These kits provide a more cost-effective and convenient option for couples or individuals who are trying to conceive without medical intervention. However, to ensure the success of home insemination, it is crucial to have the right tools at hand. In this blog post, we will discuss the essential tools for a successful home insemination kit.

    1. Ovulation Predictor Kits (OPKs)

    The first and most crucial tool for a successful home insemination kit is an ovulation predictor kit (OPK). These kits detect the luteinizing hormone (LH) surge, which occurs approximately 24-36 hours before ovulation. By tracking your LH surge, you can determine the best time to inseminate and increase your chances of conception. OPKs come in different forms, such as urine-based test strips or digital monitors, and can be easily purchased at drugstores or online.

    2. Pre-Seed Lubricant

    Pre-Seed lubricant is specially formulated for couples trying to conceive. Unlike regular lubricants, Pre-Seed mimics the body’s natural fertile fluids and helps sperm reach the egg safely. It also provides a sperm-friendly environment and enhances sperm motility, making it an essential tool for successful home insemination.

    3. Syringes or Applicators

    Syringes or applicators are necessary tools for delivering sperm to the cervix during home insemination. These tools come in different sizes, and it is essential to choose the appropriate size based on the volume of the sperm sample. It is also crucial to use sterile syringes or applicators to avoid introducing any bacteria into the cervix.

    4. Speculum

    A speculum is a tool used to open the vaginal walls and provide a clear view of the cervix. It is an essential tool for home insemination as it helps ensure that the sperm is deposited near the cervix. You can purchase a speculum at a drugstore, or your doctor may provide you with one for home insemination.

    5. Collection Cups

    Insemination kits usually come with collection cups, but if not, it is essential to have a sterile cup on hand to collect the sperm sample. It is important to use a clean and sterile cup to avoid any contamination that may affect sperm quality.

    hands holding a syringe above a collection cup with instructions for using a home insemination kit

    Essential Tools for a Successful Home Insemination Kit

    6. Timer or Stopwatch

    Timing is crucial when it comes to home insemination. It is recommended to inseminate within 12 hours of ovulation for the best chances of conception. Therefore, it is essential to have a timer or stopwatch to keep track of the timing and ensure that the sperm reaches the cervix at the right time.

    7. Softcups

    Softcups are small, flexible cups that are inserted into the vagina to hold the sperm close to the cervix. These cups are not necessary for home insemination, but they can be beneficial in keeping the sperm in the right place and increase the chances of conception.

    8. Pregnancy Tests

    After insemination, the waiting game begins. It is essential to have pregnancy tests on hand to check for a positive result. You can purchase home pregnancy tests at a drugstore or online. It is recommended to wait at least 14 days after insemination to take a pregnancy test for accurate results.

    9. Thermometer

    Another essential tool for home insemination is a basal body thermometer. This thermometer helps track your body temperature, which can indicate when ovulation occurs. A slight increase in temperature can be a sign of ovulation, and it is crucial to record your temperature daily to determine your most fertile days.

    10. Step-by-Step Instructions

    Last but not least, having clear and detailed instructions is crucial for a successful home insemination. Make sure to carefully read and follow the instructions that come with your kit. You can also find online resources and videos that provide step-by-step guidance for home insemination.

    In conclusion, having the right tools is essential for a successful home insemination kit. Ovulation predictor kits, Pre-Seed lubricant, syringes or applicators, a speculum, collection cups, a timer or stopwatch, softcups, pregnancy tests, a basal body thermometer, and step-by-step instructions are all crucial components of a successful home insemination. By using these tools correctly and at the right time, you can increase your chances of conception and achieve your dream of starting a family.

    Summary:

    Home insemination kits provide a convenient and cost-effective option for couples or individuals trying to conceive. However, to ensure the success of home insemination, it is crucial to have the right tools at hand. These include ovulation predictor kits, Pre-Seed lubricant, syringes or applicators, a speculum, collection cups, a timer or stopwatch, softcups, pregnancy tests, a basal body thermometer, and step-by-step instructions. By using these tools correctly and at the right time, you can increase your chances of conception and achieve your dream of starting a family.