Tag: sterile environment

  • Preparing for a Home Insemination Cycle as a Same-Sex Couple

    Blog Post: Preparing for a Home Insemination Cycle as a Same-Sex Couple

    As a same-sex couple, the journey to starting a family may involve different methods than a traditional heterosexual couple. One of these methods is home insemination, where sperm from a donor is used to fertilize the egg of one partner. This process can be an exciting and emotional experience, but it also requires careful preparation and planning. In this blog post, we will discuss the steps and considerations involved in preparing for a home insemination cycle as a same-sex couple.

    1. Find a sperm donor

    The first step in home insemination is finding a sperm donor. There are various options available, including using a known donor (a friend or family member) or using a sperm bank. Whichever option you choose, it is important to thoroughly research and consider the legal, medical, and emotional implications. If using a known donor, it is recommended to have a legal contract in place to protect all parties involved.

    2. Understand your menstrual cycle

    In order for home insemination to be successful, it is important to understand your menstrual cycle. This includes knowing the length of your cycle, when you ovulate, and when is the best time to inseminate. There are various ovulation predictor kits available that can help you track your cycle and determine the best time for insemination.

    3. Create a comfortable and sterile environment

    Home insemination requires a sterile environment to minimize the risk of infection. It is important to thoroughly clean and disinfect the area where the insemination will take place, as well as any equipment that will be used. It is also recommended to wear gloves and use sterile syringes during the process.

    Illustration explaining the Mosie Baby home insemination kit features and design benefits.

    Preparing for a Home Insemination Cycle as a Same-Sex Couple

    4. Gather necessary supplies

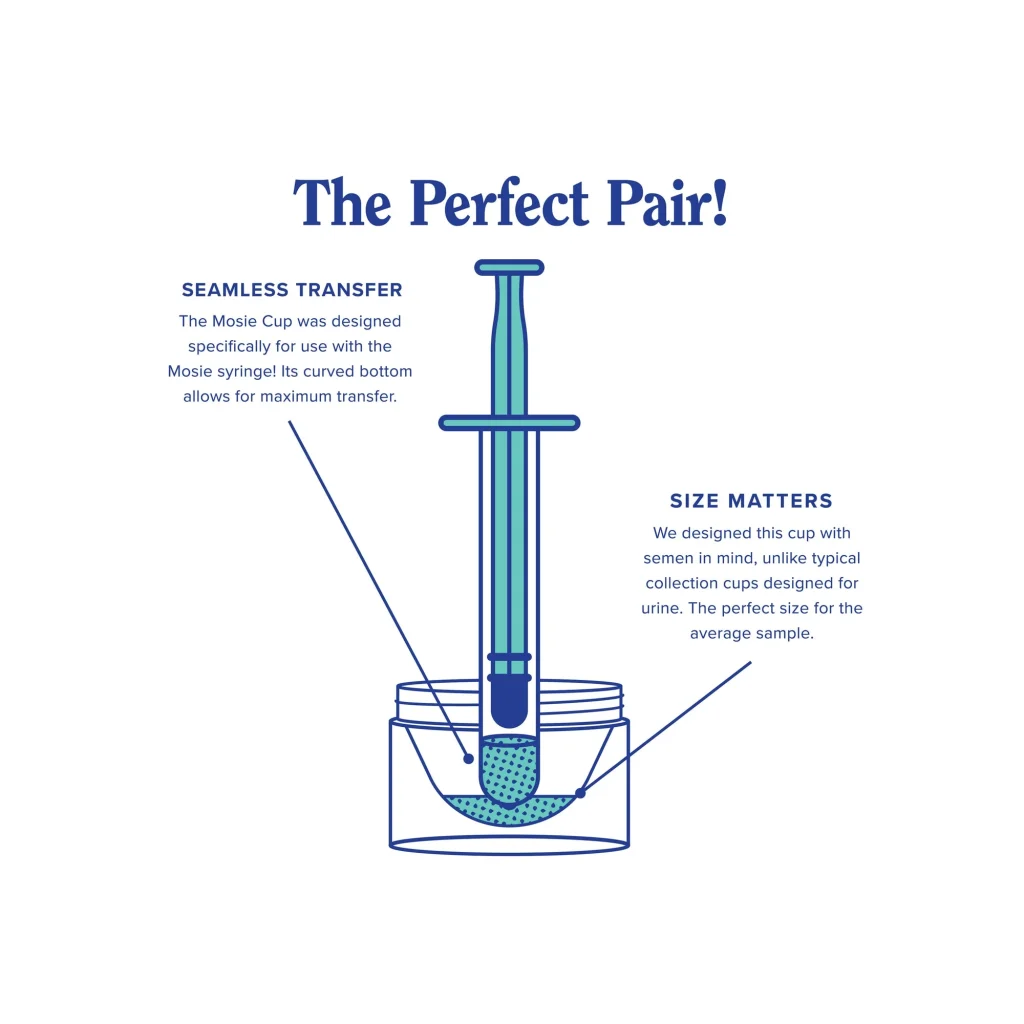
    To prepare for a home insemination, you will need to gather necessary supplies such as sterile syringes, specimen cups, and fertility-friendly lubricant. You may also want to consider purchasing a speculum to help with the insemination process.

    5. Determine the method of insemination

    There are two main methods of home insemination – intracervical insemination (ICI) and intrauterine insemination (IUI). ICI involves placing the sperm at the entrance of the cervix, while IUI involves placing the sperm directly into the uterus. It is important to discuss with your healthcare provider which method is best for you and your partner.

    6. Communicate with your partner

    Home insemination can be an emotional and intimate process, and it is important to communicate with your partner throughout the journey. Discuss your feelings, fears, and expectations to ensure that you are both on the same page.

    7. Be patient and stay positive

    Home insemination may not be successful on the first try, and it is important to be patient and stay positive. It may take a few cycles before pregnancy occurs, so it is important to stay committed to the process and not get discouraged.

    In summary, preparing for a home insemination cycle as a same-sex couple involves finding a sperm donor, understanding your menstrual cycle, creating a sterile environment, gathering necessary supplies, determining the method of insemination, and communicating with your partner. It is also important to stay patient and positive throughout the process. With proper preparation and communication, home insemination can be a beautiful and successful way for same-sex couples to start their journey towards parenthood.

  • Preparing Your Home Insemination Kit: Must-Have Supplies

    Blog Post Title: Preparing Your Home Insemination Kit: Must-Have Supplies

    Summary:

    Home insemination has become a popular and convenient option for couples or individuals who are trying to conceive. It offers a less invasive and more affordable alternative to traditional fertility treatments. However, for a successful home insemination, it is essential to have a well-prepared insemination kit. In this blog post, we will discuss the must-have supplies for a home insemination kit and how to properly prepare them.

    First, let’s start with the basics. The essential supplies for a home insemination kit include a sterile syringe, ovulation predictor kit, and sperm collection cup. These items can be purchased from a fertility clinic or online. It is crucial to ensure that all these supplies are sterile and have not passed their expiration date.

    Next, you will need to have a good quality lubricant. A sperm-friendly lubricant, also known as a fertility lubricant, is essential for successful insemination. Regular lubricants can be harmful to sperm and can decrease their motility, making it harder for them to reach the egg. Fertility lubricants, on the other hand, are specially designed to mimic the body’s natural cervical mucus and support sperm motility.

    Another crucial item for your home insemination kit is a speculum. A speculum is a medical device that helps to open the vagina and provide better access to the cervix. It is essential to have a speculum that is the right size for you and is comfortable to use. You can purchase a speculum from a medical supply store or online.

    two clear cups labeled "Mosie's Cup" and "Other's Cup" on a blue background, designed for insemination use

    Preparing Your Home Insemination Kit: Must-Have Supplies

    In addition to these basic supplies, there are a few other items that can make the home insemination process more comfortable and efficient. These include a mirror, a timer, and a comfortable place to lie down. A mirror can help you see your vaginal opening and cervix, making it easier to insert the syringe into the right position. A timer can be useful for tracking the time between sperm collection and insemination, as timing is crucial for successful conception. Lastly, having a comfortable place to lie down, such as a bed or couch, will make the process more relaxed and less stressful.

    Now that we have discussed the must-have supplies for a home insemination kit let’s move on to how to prepare them. First and foremost, it is crucial to follow the instructions provided with each item carefully. For example, if you are using an ovulation predictor kit, make sure to follow the instructions for timing and interpreting the results. It is also essential to maintain a sterile environment while preparing the kit. Wash your hands thoroughly before handling any of the supplies, and use sterile gloves if necessary.

    When preparing the sperm collection cup, make sure to use a sterile cup and avoid any contact with the inside of the cup. After collecting the sperm, cover the cup with a sterile lid and store it in a warm place until the time of insemination.

    For the syringe, it is essential to use a new and sterile one for each insemination attempt. Before use, make sure to remove the plunger and rinse the syringe with warm water. Then, reattach the plunger and draw the sperm into the syringe. It is important to keep the syringe in a warm place until the time of insemination.

    When it comes to the speculum, it is crucial to sterilize it before and after each use. You can do this by boiling it in water for a few minutes or using a sterilizing solution. It is also essential to use a sterile lubricant on the speculum before insertion to make the process more comfortable.

    In conclusion, having a well-prepared home insemination kit is crucial for a successful home insemination. The must-have supplies include a sterile syringe, ovulation predictor kit, sperm collection cup, speculum, sperm-friendly lubricant, mirror, timer, and a comfortable place to lie down. It is important to follow the instructions carefully and maintain a sterile environment when preparing the kit. With the right supplies and preparation, home insemination can be a convenient and effective option for those trying to conceive.

  • Maximizing Your Chances of Success with DIY IUI

    Maximizing Your Chances of Success with DIY IUI

    DIY (Do-It-Yourself) IUI (Intrauterine Insemination) is a popular method for couples struggling with infertility to increase their chances of conceiving without expensive medical procedures. However, it requires careful planning and execution to be successful. In this blog post, we will discuss the steps you can take to maximize your chances of success with DIY IUI.

    1. Understand the Process

    The first step to success with DIY IUI is to fully understand the process. Intrauterine insemination involves placing sperm directly into the uterus during the woman’s ovulation period to increase the chances of fertilization. It is important to know the timing and techniques involved to increase the chances of success.

    2. Track Ovulation

    Timing is crucial for successful DIY IUI. Tracking ovulation is the key to determining the best time for insemination. There are various methods to track ovulation, such as using ovulation predictor kits, monitoring basal body temperature, or tracking changes in cervical mucus. By knowing your ovulation period, you can plan the IUI procedure accordingly.

    3. Prepare the Sperm

    The quality of the sperm used in DIY IUI plays a significant role in its success. It is important to prepare the sperm correctly before insemination. The sperm should be washed and concentrated to remove any immotile sperm or debris, which can affect the success rate. This can be done at home or by purchasing pre-washed sperm from a sperm bank.

    4. Create a Sterile Environment

    To avoid any risk of infection, it is crucial to create a sterile environment for the DIY IUI procedure. This can be achieved by thoroughly washing your hands and using sterile equipment. It is recommended to use a sterile catheter or syringe for the insemination process.

    Mosie Baby Kit with syringe and container, highlighting safety and usability features on a blue background.

    Maximizing Your Chances of Success with DIY IUI

    5. Positioning Matters

    The position during insemination can also impact the success rate. It is best to lie down with your hips slightly elevated for at least 20-30 minutes after insemination. This allows the sperm to travel towards the cervix and increases the chances of fertilization.

    6. Consider Using Supplements

    Certain supplements can improve the quality of sperm and increase the chances of conception. Supplements like Coenzyme Q10, Vitamin C, and Zinc have been shown to improve sperm count, motility, and morphology. It is recommended to consult with a doctor before taking any supplements.

    7. Stay Positive and Reduce Stress

    Stress can affect fertility and reduce the chances of success with DIY IUI. It is important to stay positive and relaxed during the process. You can try relaxation techniques like deep breathing, yoga, or meditation to reduce stress levels.

    8. Be Patient and Persistent

    DIY IUI may not be successful on the first try. It is important to be patient and persistent. It may take multiple attempts to achieve pregnancy. It is recommended to wait at least a month before trying again.

    9. Consult with a Doctor

    It is always advisable to consult with a doctor before attempting DIY IUI. They can provide guidance and support, as well as perform necessary tests to ensure the procedure is safe and appropriate for your situation.

    In summary, DIY IUI can be a successful method for couples struggling with infertility to conceive. By understanding the process, tracking ovulation, preparing the sperm correctly, creating a sterile environment, using proper positioning, considering supplements, reducing stress, and being patient and persistent, you can maximize your chances of success with DIY IUI. However, it is important to consult with a doctor before attempting this procedure to ensure it is safe and appropriate for your situation.

  • Tips for Successful Home Insemination

    Blog Post Title: Tips for Successful Home Insemination: A Step-by-Step Guide

    Summary:

    Home insemination is an increasingly popular method of conceiving for individuals or couples who are unable or unwilling to use traditional methods of assisted reproduction. It involves the injection of sperm into the vagina or cervix in order to fertilize an egg and achieve pregnancy. While this process may seem daunting at first, with the right preparation and guidance, it can be a successful and rewarding experience. In this blog post, we will discuss the step-by-step process of home insemination and provide tips for a successful outcome.

    Step 1: Know the Basics of Home Insemination

    Before embarking on the home insemination process, it is important to have a basic understanding of how it works. There are two main methods of home insemination – intracervical insemination (ICI) and intrauterine insemination (IUI). ICI involves depositing sperm into the cervix using a syringe or soft cup, while IUI involves inserting the sperm directly into the uterus using a catheter. Both methods have a high success rate when done correctly.

    Step 2: Prepare the Sperm

    The success of home insemination heavily depends on the quality and viability of the sperm. If using a sperm donor, it is important to choose a reputable sperm bank that screens donors for genetic and infectious diseases. If using sperm from a known donor, it is crucial to have them undergo medical testing and screening to ensure their sperm is healthy and free of any diseases. Frozen sperm should be thawed according to the instructions provided by the sperm bank, while fresh sperm should be collected on the day of insemination.

    Step 3: Track Ovulation

    two clear cups labeled "Mosie's Cup" and "Other's Cup" on a blue background, designed for insemination use

    Tips for Successful Home Insemination

    Timing is crucial in home insemination as sperm needs to be present in the reproductive tract around the time of ovulation to increase the chances of fertilization. There are various methods to track ovulation such as using ovulation predictor kits, tracking basal body temperature, and monitoring cervical mucus changes. It is important to start tracking early and have sperm ready for insemination when ovulation is imminent.

    Step 4: Create a Sterile Environment

    Home insemination should be done in a clean and sterile environment to avoid any risk of infection. The insemination area should be thoroughly cleaned and disinfected, and all equipment used should be sterile or properly sanitized. It is recommended to wear gloves during the process and to use a sterile lubricant if needed.

    Step 5: Choose the Right Position

    The position during insemination can affect the success rate. It is recommended to lay down with hips elevated for at least 15 minutes after insemination to allow the sperm to travel towards the cervix. Some people also choose to use a fertility-friendly lubricant or a menstrual cup to help keep the sperm near the cervix. It is important to remain in this position until the sperm has been deposited and then to continue lying down for a few more minutes.

    Step 6: Be Patient and Positive

    Home insemination may not result in pregnancy on the first try, and it may take a few cycles before success is achieved. It is important to remain patient and positive throughout the process. Stress and anxiety can negatively impact fertility, so it is important to find ways to relax and stay calm. It can also be helpful to have a support system or to seek the guidance of a fertility specialist.

    In conclusion, home insemination can be a successful and empowering way to conceive. With proper preparation and following these tips, individuals or couples can increase their chances of achieving a positive outcome. However, it is important to remember that every person’s body is different, and what works for one may not work for another. It is important to listen to your body and seek the guidance of a medical professional if needed.

    SEO metadata: