Tag: sterile supplies

  • A Step-by-Step Guide to Performing IUI at Home

    Blog Post Title: A Step-by-Step Guide to Performing IUI at Home

    Intrauterine insemination (IUI) is a common fertility treatment in which sperm is inserted directly into a woman’s uterus to increase the chances of pregnancy. While typically performed in a medical facility, it is possible to do IUI at home with the proper knowledge and equipment. This option may be more convenient and cost-effective for some couples. In this blog post, we will provide a comprehensive guide on how to perform IUI at home.

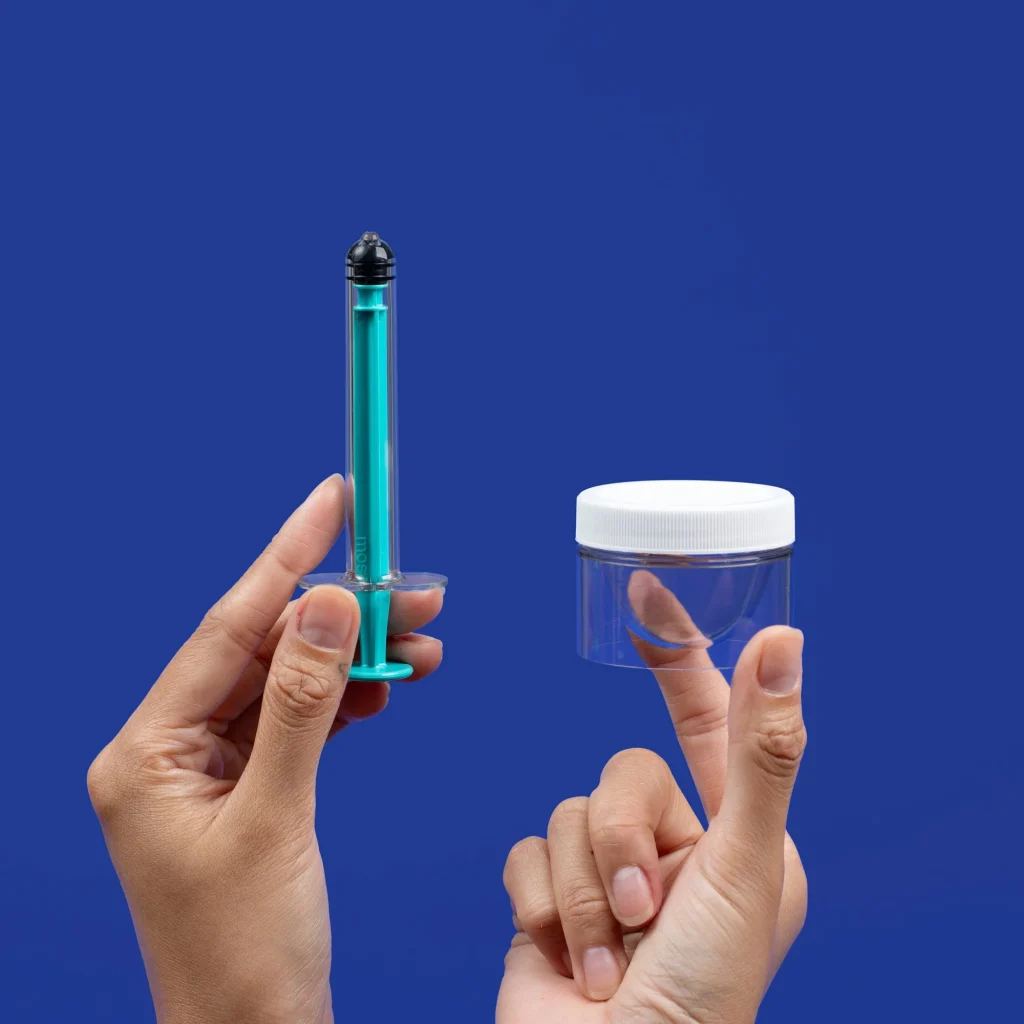
    Step 1: Gather the Necessary Supplies
    To perform IUI at home, you will need a few essential supplies, including a sterile IUI catheter, a sterile syringe, a sterile container for the sperm, a speculum, a timer, and a clean towel or cloth. These supplies can be purchased online or at a medical supply store. It is crucial to ensure that all the equipment is sterile to prevent any potential infections.

    Step 2: Determine the Ovulation Window
    Timing is crucial when it comes to IUI. It is essential to know when you are ovulating to increase the chances of success. You can use an ovulation predictor kit or track your basal body temperature to determine your ovulation window. Once you have pinpointed your ovulation, plan to perform IUI within 24 hours of ovulation.

    Step 3: Collect the Sperm Sample
    The sperm sample can be obtained from a sperm bank or from your partner. If using a sperm bank, follow their instructions for collecting and storing the sample. If using your partner’s sperm, it is best to collect it through masturbation into a sterile container. The sample should be kept at room temperature and used within one hour.

    Step 4: Prepare the Sperm Sample
    Before inserting the sperm into the uterus, it needs to be prepared. This process is known as “washing” the sperm. To do this, mix the sperm sample with a sperm washing solution, and then centrifuge it to separate the sperm from the semen. Once the sperm is washed, it can be loaded into a sterile syringe for insertion.

    Step 5: Prepare Yourself
    The person performing the IUI should be in a comfortable position, lying down with their legs elevated. It is also essential to have a clean towel or cloth nearby to wipe away any excess sperm after the procedure.

    at-home intravaginal insemination kit with syringe and container for fresh or donor sperm conception

    A Step-by-Step Guide to Performing IUI at Home

    Step 6: Insert the Speculum
    Using a sterile speculum, gently insert it into the vagina, and open it to expose the cervix. This may be easier with the help of a partner. It is crucial to use a sterile speculum to avoid any potential infections.

    Step 7: Insert the Catheter
    Once the cervix is visible, the sterile IUI catheter can be inserted through the cervix and into the uterus. The catheter should be inserted as far as it can go without causing any discomfort.

    Step 8: Release the Sperm
    Slowly and gently inject the washed sperm into the uterus using the sterile syringe. Once the sperm is released, the catheter can be removed, and the speculum can be taken out.

    Step 9: Rest and Relax
    After the procedure, it is recommended to rest for at least 15 minutes with your legs elevated to allow the sperm to travel up the uterus. This will increase the chances of fertilization.

    Step 10: Follow-Up
    It is essential to follow up with your doctor to confirm ovulation and to monitor the success of the IUI. A pregnancy test can be taken after two weeks to determine if the procedure was successful.

    In conclusion, performing IUI at home is a viable option for couples struggling with fertility. However, it is essential to consult with a doctor and follow proper guidelines to ensure the procedure is performed safely and effectively. With the right knowledge and supplies, IUI at home can be a convenient and cost-effective option for couples hoping to start a family.

    Summary:
    IUI, or intrauterine insemination, is a common fertility treatment that can be done at home with proper knowledge and equipment. This blog post provides a step-by-step guide on how to perform IUI at home. The necessary supplies, timing, and preparation are crucial for a successful procedure. It is essential to consult with a doctor and follow proper guidelines for a safe and effective experience.

  • The Dos and Don’ts of Home Insemination: A Step-by-Step Guide

    Blog Post:

    Home insemination, also known as self-insemination, is a method of trying to conceive without medical assistance. It involves using a syringe to deposit semen into the vagina, cervix, or uterus, with the goal of fertilizing the egg. This method is often preferred by couples who are trying to conceive in the comfort of their own home, or those who are facing fertility challenges. However, it is important to understand the dos and don’ts of home insemination to increase the chances of success and avoid potential risks. In this step-by-step guide, we will discuss the dos and don’ts of home insemination to help you navigate this process with confidence.

    Do: Consult with a Fertility Specialist
    Before starting home insemination, it is crucial to consult with a fertility specialist. They can provide you with personalized advice based on your medical history and guide you through the process. They can also perform tests to determine the best time for insemination and offer other fertility treatments if needed.

    Don’t: Assume Home Insemination is Right for You
    Home insemination is not suitable for everyone. It is essential to understand the potential risks and limitations of this method. For example, if you have a history of sexually transmitted infections (STIs), it is not safe to use home insemination. It is also not recommended for individuals with certain medical conditions or those with unexplained infertility.

    Do: Prepare for the Process
    Preparing for home insemination is essential to ensure a smooth and safe procedure. The following are some steps you should take:

    1. Track Your Ovulation: The most critical step is to track your ovulation to determine the best time for insemination. You can use ovulation predictor kits, track your basal body temperature, or monitor changes in cervical mucus to identify your most fertile days.

    2. Gather Supplies: You will need a sterile syringe, sterile container to collect semen, and a sterile cup to inseminate. It is crucial to use new, unopened supplies to prevent any contamination.

    3. Create a Comfortable Environment: Home insemination is a personal and intimate process, so it is crucial to create a comfortable environment. Make sure you have a private and quiet space, and have everything you need within reach.

    Don’t: Use Non-Sterile Supplies
    The use of non-sterile supplies can increase the risk of infection or damage to the sperm. It is essential to use only sterile supplies provided by your fertility specialist or purchased from a reputable source.

    Do: Collect and Prepare Semen Correctly
    Collecting semen for home insemination should be done correctly to ensure the best chances of success. Here are some tips to follow:

    1. Abstain from ejaculation for 2-5 days before collection to increase sperm count.

    syringe and container for home insemination kit against a blue background

    The Dos and Don'ts of Home Insemination: A Step-by-Step Guide

    2. Collect semen in a sterile container provided by your fertility specialist.

    3. Keep semen at body temperature, preferably in a pocket close to your body, until insemination.

    Don’t: Use Lubricants
    Lubricants can interfere with sperm motility and decrease the chances of fertilization. It is essential to avoid using any lubricants during the home insemination process.

    Do: Follow Proper Insemination Technique
    The following are the steps to follow for home insemination:

    1. Fill the syringe with semen, and remove any air bubbles.

    2. Lie down in a comfortable position with your hips elevated, and insert the syringe into the vagina, aiming towards the cervix.

    3. Slowly push the plunger to deposit the semen into the cervix or uterus.

    4. Remain lying down for 15-20 minutes to allow the sperm to swim towards the egg.

    Don’t: Use Excessive Force
    It is essential to use gentle pressure when depositing the semen to avoid any discomfort or injury. Using excessive force can also push the semen out of the cervix, decreasing the chances of fertilization.

    Do: Take a Pregnancy Test
    After two weeks, take a pregnancy test to determine if the insemination was successful. If the test is positive, schedule an appointment with your fertility specialist for further monitoring. If the test is negative, you can try home insemination again during your next fertile window.

    Don’t: Get Discouraged
    Home insemination may not be successful on the first try. It is essential to stay positive and continue trying during your fertile window. If you have been trying for a few months with no success, consult with your fertility specialist for further guidance.

    In summary, home insemination can be an effective method of trying to conceive, but it is crucial to follow the dos and don’ts to increase the chances of success. Consult with a fertility specialist, prepare for the process, and follow proper technique and hygiene to ensure a safe and effective home insemination.