The Power of Positive Thinking: A Step-by-Step Guide to Home Insemination
Home insemination, also known as self-insemination, is the process of using a donor’s sperm to become pregnant without medical assistance. It has become a popular choice for individuals and couples who want to start a family but may face barriers such as financial limitations or discrimination. While the process may seem daunting, having a positive mindset can make all the difference. In this blog post, we will discuss the power of positive thinking and provide a step-by-step guide to home insemination.
Step 1: Educate Yourself
The first step in home insemination is to educate yourself about the process. There are various resources available online, such as blogs, forums, and support groups, where you can learn about the different methods, success rates, and potential risks. It is essential to have a thorough understanding of the process to make informed decisions and alleviate any fears or doubts you may have.
Step 2: Choose Your Donor
The next step is to choose a donor. You can either use a known donor, such as a friend or family member, or an anonymous donor from a sperm bank. It is crucial to consider factors such as health history, physical characteristics, and personal values when selecting a donor. You may also want to consider getting a medical check-up to ensure you are healthy and ready for pregnancy.
Step 3: Gather Your Supplies
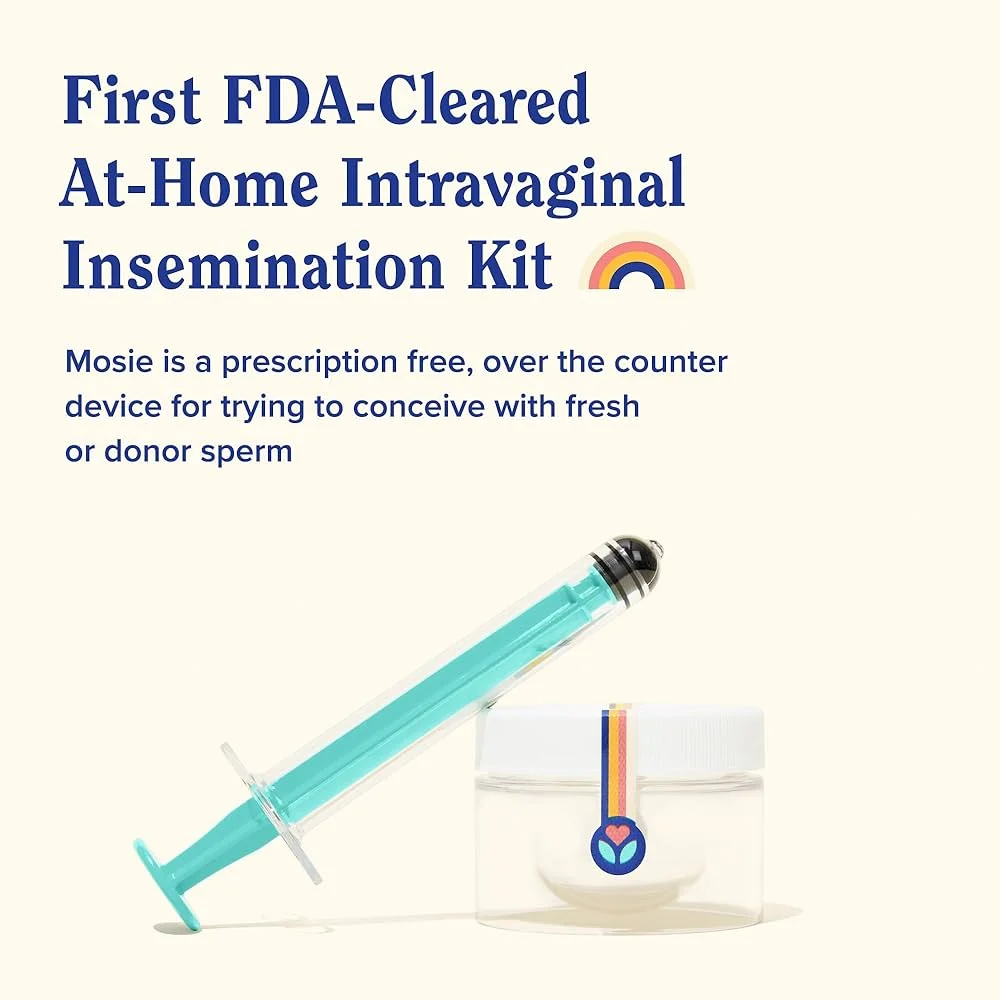
Before starting the insemination process, make sure you have all the necessary supplies. These may include a sterile collection cup, a syringe, ovulation predictor kits, and pregnancy tests. It is also essential to have a clean and comfortable space to perform the insemination.
Step 4: Track Your Ovulation
The Power of Positive Thinking: A Step-by-Step Guide to Home Insemination
Timing is crucial when it comes to home insemination. It is essential to track your ovulation to determine the best time to inseminate. You can use ovulation predictor kits or track your basal body temperature to pinpoint when you are most fertile. This step is crucial for increasing your chances of success.
Step 5: Prepare for Insemination
On the day of insemination, make sure you have followed all the instructions for collecting the sperm. It is essential to keep the sperm at room temperature and use it within an hour of collection. You may also want to take a relaxing bath or listen to calming music to help you relax and prepare your body for the insemination.
Step 6: Perform the Insemination
Once you are relaxed and ready, it is time to perform the insemination. The process involves using a syringe to insert the sperm into the vagina near the cervix. It is essential to remain in a comfortable position for about 15-20 minutes to allow the sperm to reach the cervix and improve the chances of fertilization.
Step 7: Stay Positive
After the insemination, it is crucial to stay positive and maintain a healthy mindset. While home insemination can be a challenging and emotional journey, having a positive attitude can increase your chances of success. Surround yourself with supportive friends and family, practice relaxation techniques, and visualize a positive outcome.
Step 8: Patience and Persistence
It is essential to remember that home insemination may not result in pregnancy on the first try. It may take several attempts before you conceive, and it is crucial to be patient and persistent. Each cycle presents a new opportunity for success, and staying positive can help you overcome any setbacks or challenges.
In conclusion, home insemination is a viable option for individuals and couples who want to start a family. While the process may seem daunting, having a positive mindset can make all the difference. By educating yourself, choosing the right donor, tracking your ovulation, and staying positive and persistent, you can increase your chances of success. Remember that each journey is unique, and having a positive attitude can help you overcome any obstacles and achieve your dream of starting a family.
Leave a Reply