Preparing Your Body for Home Insemination: A Step-by-Step Guide
Home insemination, also known as at-home insemination, is a method of conceiving a child without medical intervention. It involves using a syringe or a fertility kit to deposit sperm into the vagina, cervix, or uterus in order to fertilize an egg. This method is becoming increasingly popular among couples and individuals who are looking to start a family, but may face challenges in conceiving naturally. If you are considering home insemination, it is important to prepare your body in order to increase the chances of a successful pregnancy. In this blog post, we will provide a step-by-step guide on how to prepare your body for home insemination.
Step 1: Consult with a Fertility Specialist
Before embarking on home insemination, it is important to consult with a fertility specialist. They can help you determine if home insemination is the right option for you and your partner, and provide guidance on the best methods and timing for insemination. They can also conduct tests to assess your fertility and overall health, and provide any necessary treatments or supplements to optimize your chances of conception.
Step 2: Track Your Ovulation
Timing is crucial when it comes to home insemination. It is important to track your ovulation in order to determine the best time for insemination. Ovulation predictor kits, basal body temperature monitoring, and tracking changes in cervical mucus are all effective methods for tracking ovulation. These methods can help you pinpoint your most fertile days, which are typically the five days leading up to ovulation and the day of ovulation itself.
Step 3: Maintain a Healthy Diet and Lifestyle
Eating a healthy and balanced diet is important for overall health and fertility. Make sure to include plenty of fruits, vegetables, whole grains, and lean proteins in your diet. Avoid processed foods, excessive caffeine and alcohol, and smoking, as they can negatively impact fertility. Regular exercise can also improve fertility by reducing stress and maintaining a healthy weight.
Step 4: Take Fertility Supplements
Certain supplements have been shown to improve fertility and increase the chances of conception. These include folic acid, which can prevent birth defects, and Coenzyme Q10, which can improve egg quality. Consult with your fertility specialist to determine which supplements are right for you.
Step 5: Prepare Your Vagina for Insemination

Preparing Your Body for Home Insemination: A Step-by-Step Guide
In order to increase the chances of successful insemination, it is important to prepare your vagina beforehand. This can be done by using a water-based lubricant or a fertility-friendly lubricant. It is important to avoid using oil-based lubricants, which can harm sperm and decrease their motility.
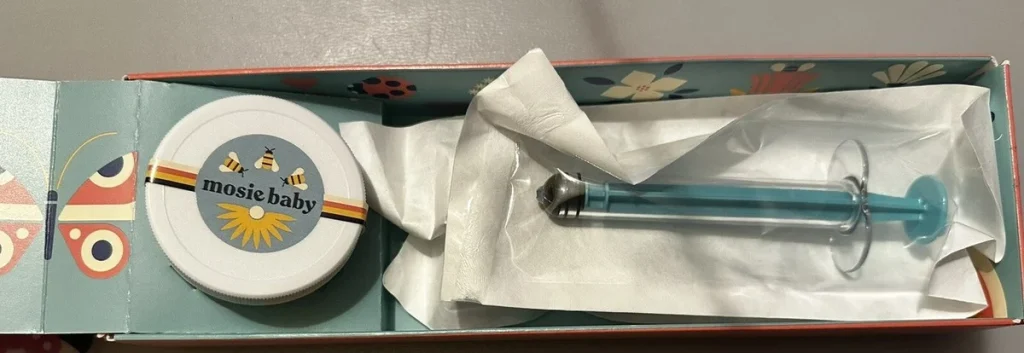
Step 6: Gather Your Supplies
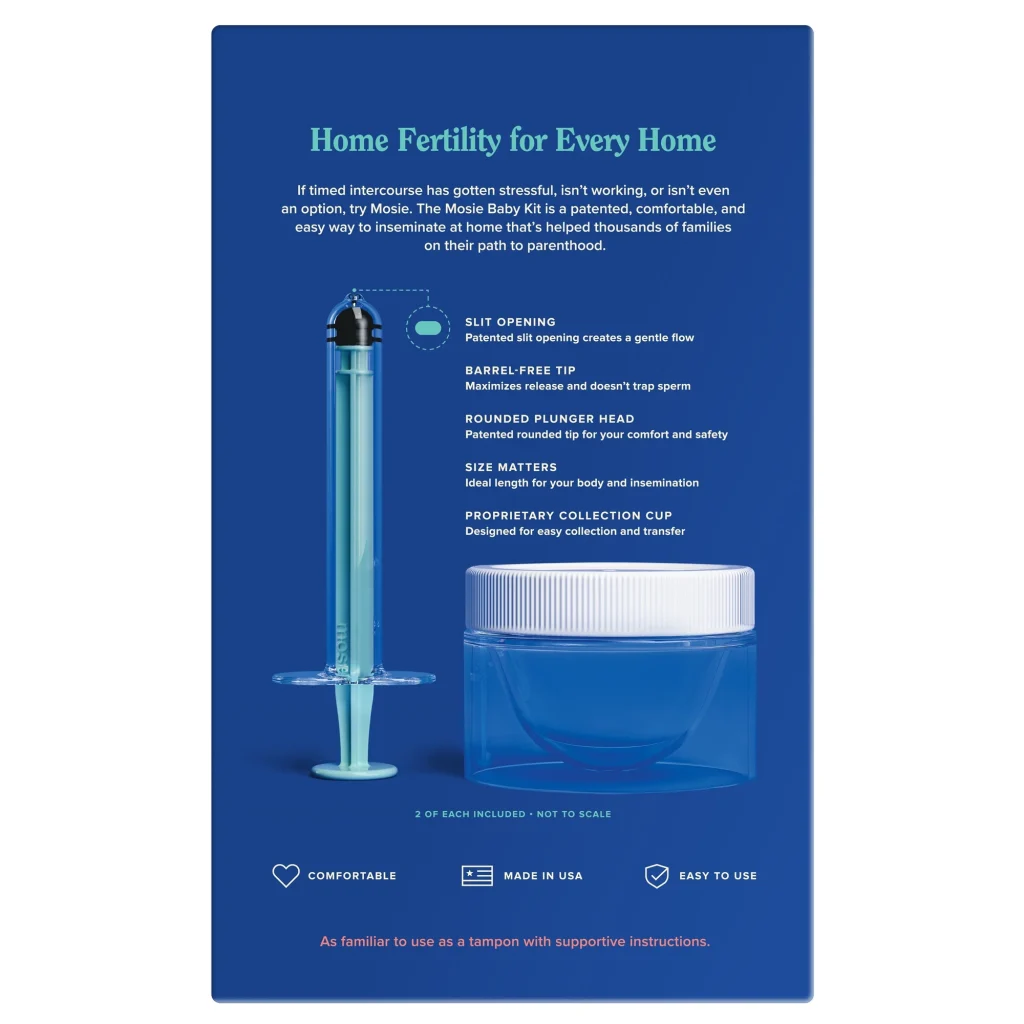
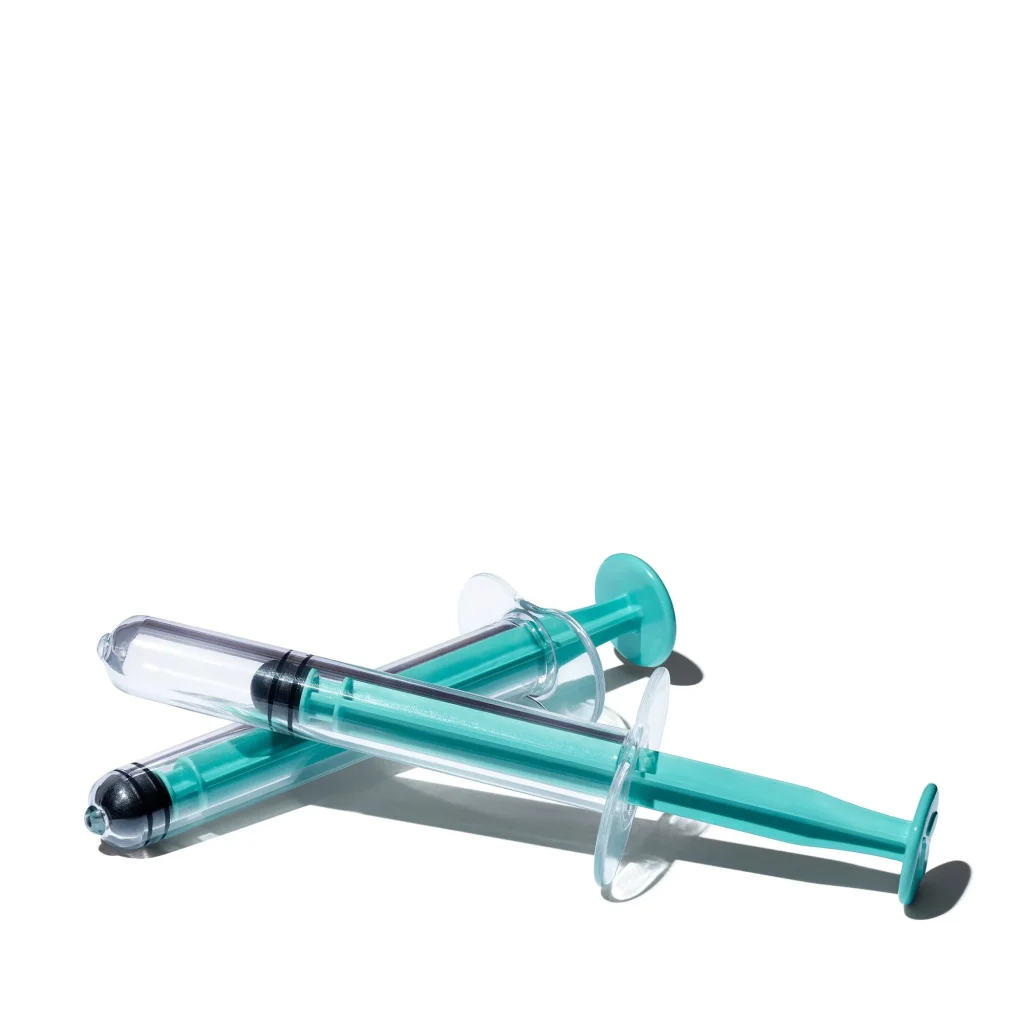
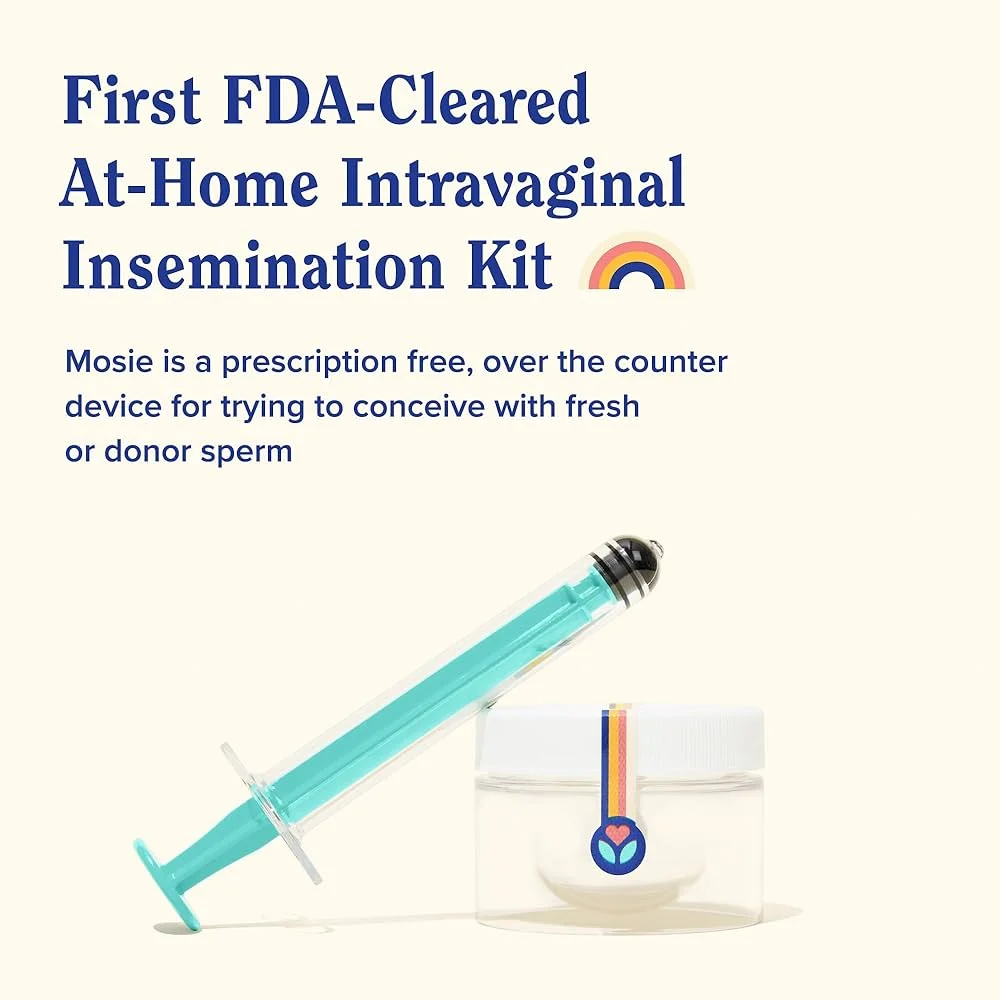
Before beginning the insemination process, make sure you have all the necessary supplies. This may include a syringe or fertility kit, cups for collecting and storing sperm, and a timer. It is also important to have a clean and comfortable space for the insemination process.
Step 7: Follow the Instructions for Insemination
When it comes to actually performing the insemination, it is important to follow the instructions provided by your fertility specialist or the instructions included with the fertility kit. Generally, the process involves collecting sperm in a cup, filling the syringe, and then carefully inserting the syringe into the vagina, cervix, or uterus.
Step 8: Rest and Relax After Insemination
After the insemination process, it is important to rest and relax for at least 15-20 minutes. This will allow the sperm to travel to the egg and improve the chances of fertilization. It is also recommended to avoid any strenuous activities or intercourse for the rest of the day.
Step 9: Monitor for Pregnancy
After insemination, it may take up to two weeks to determine if pregnancy has occurred. Monitor for early pregnancy symptoms such as breast tenderness, fatigue, and nausea. If you suspect you may be pregnant, take a home pregnancy test or consult with your fertility specialist for a blood test.
In conclusion, home insemination can be an effective method for conceiving a child, but it is important to properly prepare your body in order to increase the chances of success. Consult with a fertility specialist, track your ovulation, maintain a healthy diet and lifestyle, take fertility supplements, prepare your vagina, gather your supplies, and follow the instructions for insemination. By taking these steps, you can optimize your chances of a successful pregnancy and start your journey to parenthood.
Summary:
Home insemination is a popular method of conceiving a child without medical intervention. To increase the chances of success, it is important to prepare your body beforehand. This includes consulting with a fertility specialist, tracking ovulation, maintaining a healthy diet and lifestyle, taking fertility supplements, preparing the vagina, and following the instructions for insemination. After insemination, it is important to rest and monitor for pregnancy symptoms. By following these steps, you can increase the chances of a successful pregnancy and start your journey to parenthood.