Tag: ovulation

  • The Ultimate Guide to Home Insemination: Step-by-Step Instructions

    Summary:

    Home insemination is a process that allows individuals or couples to conceive a child in the comfort and privacy of their own home. This option is often chosen by those who are facing fertility issues, same-sex couples, or single individuals who want to start a family. However, the process can seem daunting and overwhelming for those who are new to it. In this ultimate guide to home insemination, we will provide step-by-step instructions on how to successfully perform this procedure at home.

    Step 1: Understand the Risks and Benefits

    Before jumping into the process of home insemination, it is important to understand the potential risks and benefits. Home insemination is a safe and effective method for conceiving a child, but it does come with some risks such as the possibility of infection or failure to conceive. On the other hand, the benefits include privacy, convenience, and cost-effectiveness compared to other fertility treatments.

    Step 2: Choose a Donor

    The next step is to choose a donor. This can either be a known donor, such as a friend or family member, or an anonymous donor from a sperm bank. It is important to consider factors such as health history, physical characteristics, and compatibility with your values and beliefs when selecting a donor.

    Step 3: Gather Supplies

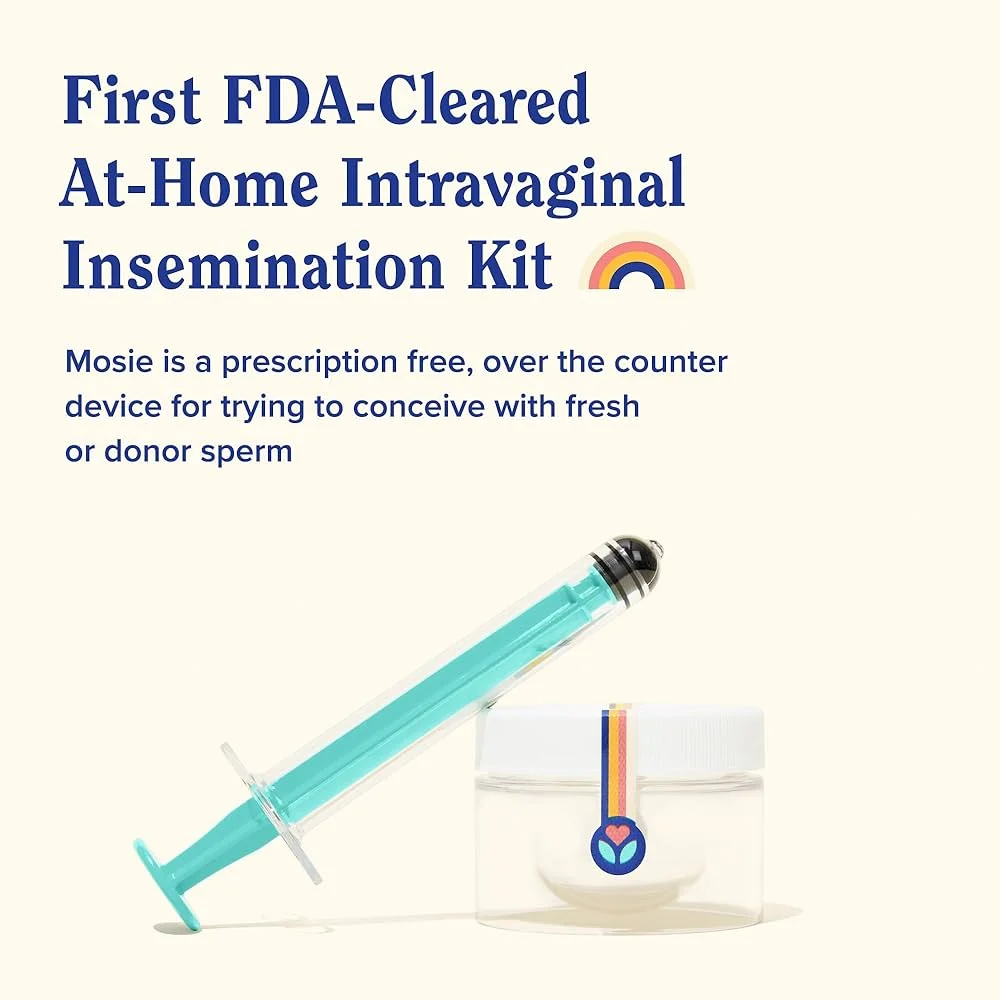
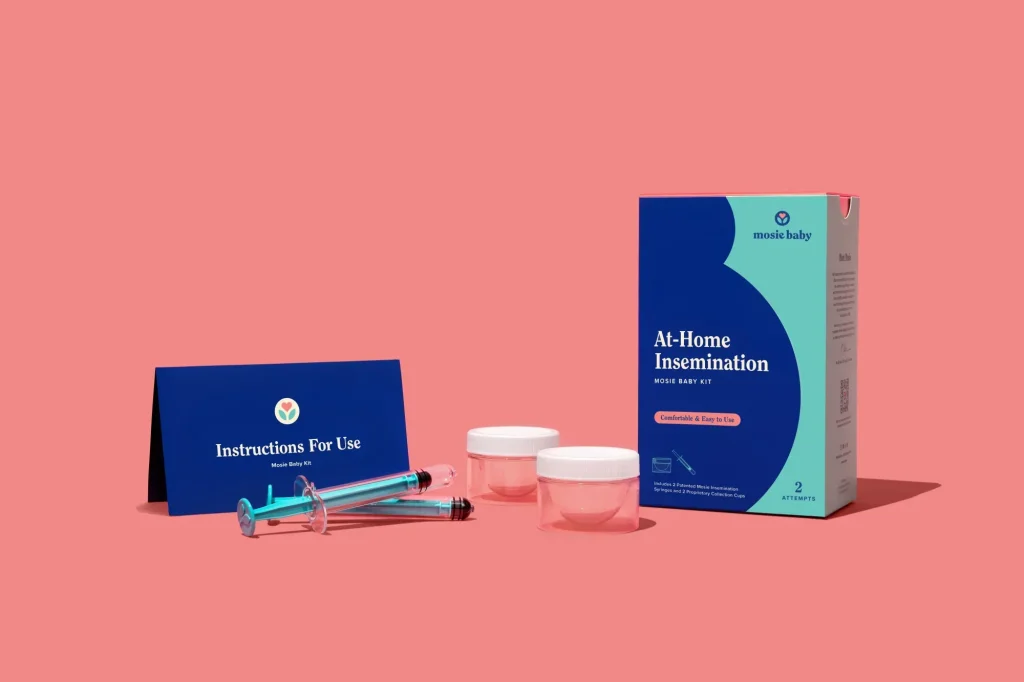
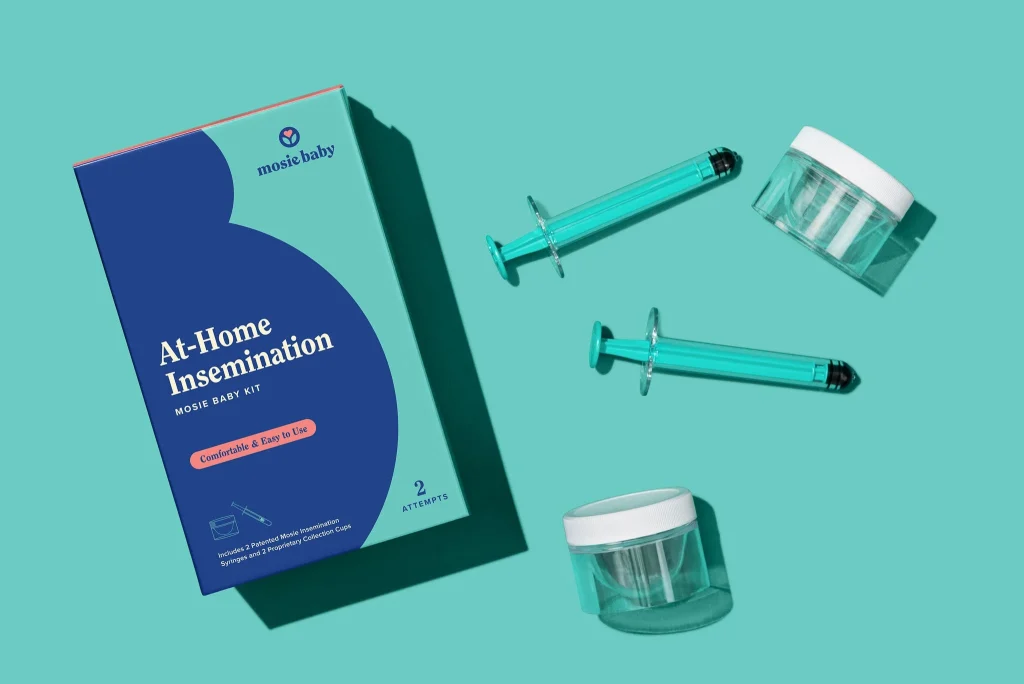
    Once you have chosen a donor, it is time to gather all the necessary supplies. These include a sterile collection cup, ovulation predictor kits, a syringe, and a sterile container to hold the sperm. It is important to ensure that all the supplies are sterile to avoid any potential infections.

    Step 4: Track Your Ovulation

    Tracking your ovulation is crucial in the home insemination process. This can be done through various methods such as tracking your menstrual cycle, using ovulation predictor kits, or monitoring your basal body temperature. Knowing when you are ovulating will increase the chances of successful insemination.

    Mosie Baby kit for at-home insemination with syringes and collection cups on a teal background.

    The Ultimate Guide to Home Insemination: Step-by-Step Instructions

    Step 5: Collect the Sperm

    Once you have determined your ovulation window, it is time to collect the sperm from the donor. If using a known donor, make sure he follows the appropriate guidelines for collection and storage of the sperm. If using a sperm bank, the sperm will be shipped to your home in a frozen state.

    Step 6: Prepare for Insemination

    Before starting the insemination process, make sure to wash your hands thoroughly and sanitize all the supplies. The donor should also wash his hands and genitals before collecting the sperm. The sperm should then be transferred into the sterile container and kept at room temperature.

    Step 7: Perform the Insemination

    Using a syringe, carefully draw the sperm from the sterile container and insert it into your vagina. The best position for insemination is lying down with your hips elevated. Gently insert the syringe as far as possible and slowly release the sperm. Remain in this position for 15-20 minutes to allow the sperm to reach the cervix.

    Step 8: Monitor and Repeat

    After the insemination, it is important to monitor your body for any changes or signs of ovulation. If successful, you may experience symptoms such as increased vaginal discharge, cramping, or spotting. If you do not conceive, you can repeat the process during your next ovulation window.

    Step 9: Take a Pregnancy Test

    About two weeks after insemination, you can take a home pregnancy test to determine if you have successfully conceived. If the test is positive, congratulations! If not, you can repeat the process until you achieve a successful pregnancy.

    In conclusion, home insemination is a viable and safe option for those who want to conceive a child in the comfort of their own home. By following these step-by-step instructions, you can increase your chances of successful insemination and start your journey towards parenthood.

  • DIY Home Insemination: A Natural and Holistic Approach to Conception

    Blog post:

    DIY Home Insemination: A Natural and Holistic Approach to Conception

    Conceiving a child is a beautiful and life-changing experience, but for some couples, it can be a long and frustrating journey. While there are many medical interventions available, some couples may prefer a more natural and holistic approach to conception. One alternative method that has gained popularity in recent years is DIY home insemination. This process involves using a syringe or a homemade device to deposit sperm into the vagina, with the goal of achieving pregnancy. In this blog post, we will explore the basics of DIY home insemination, its benefits and risks, and how to do it successfully.

    What is DIY Home Insemination?

    DIY home insemination, also known as self-insemination, is a method of conception that involves depositing sperm into the vagina without the assistance of a medical professional. This can be done using a syringe, a menstrual cup, or a homemade device like a turkey baster. The idea behind this method is to mimic the natural process of intercourse, where sperm is deposited into the vagina and travels to the fallopian tubes to fertilize an egg.

    Benefits of DIY Home Insemination

    One of the biggest benefits of DIY home insemination is the control and privacy it offers. Couples can perform the procedure in the comfort of their own home and at a time that is convenient for them. It also eliminates the need for medical appointments and invasive procedures, which can be costly and emotionally taxing.

    Another advantage of DIY home insemination is its affordability. While fertility treatments can be expensive, DIY home insemination can be done with basic household items, making it a more accessible option for couples on a budget.

    Additionally, DIY home insemination can be a more intimate and personal experience for couples. It allows them to be actively involved in the conception process and can strengthen their bond as they work towards a common goal.

    at-home intravaginal insemination kit with syringe and container for fresh or donor sperm conception

    DIY Home Insemination: A Natural and Holistic Approach to Conception

    Risks of DIY Home Insemination

    As with any method of conception, there are risks associated with DIY home insemination. One of the main concerns is the risk of infection. It is crucial to use sterile equipment and follow proper hygiene practices to reduce the risk of introducing harmful bacteria into the vagina.

    Another potential risk is the reliability of the sperm used. If the sperm is not from a known donor or a fertility clinic, there is a higher chance of it being of low quality or carrying genetic diseases. It is essential to thoroughly screen the donor and perform necessary tests to ensure the safety of the mother and potential child.

    How to Do DIY Home Insemination

    Before starting the DIY home insemination process, it is crucial to track ovulation and have a basic understanding of the menstrual cycle. This will help determine the best time for insemination, as sperm can survive in the female reproductive tract for up to five days, but the egg is only viable for 12-24 hours after ovulation.

    Next, it is essential to choose a suitable method of insemination. A syringe with a long, thin tip is the most commonly used tool, as it allows for precise placement of the sperm. A menstrual cup can also be used, but it does not provide as much control. A homemade device like a turkey baster can also be used, but it may not be as sterile as a syringe.

    Once the equipment is chosen, it is essential to prepare the sperm. The sperm should be placed in a sterile container and kept at body temperature until it is time for insemination. It is crucial to avoid exposing the sperm to extreme temperatures or air, as this can damage it.

    To perform the insemination, the woman should lie on her back with her hips elevated. The sperm should be drawn up into the syringe and then inserted into the vagina. It is essential to avoid touching the vaginal walls to minimize the risk of infection. Once the sperm is deposited, the woman should remain lying down for 15-20 minutes to allow the sperm to travel through the cervix.

    Summary:

    DIY home insemination is a natural and holistic approach to conception that allows couples to perform the insemination process in the comfort of their own home. It offers control, privacy, and affordability, but comes with potential risks such as infection and the reliability of the sperm used. To perform DIY home insemination, it is crucial to track ovulation, choose a suitable method, and prepare the sperm before depositing it into the vagina.

  • The Importance of Tracking Ovulation for DIY Home Insemination

    Blog Post Title: The Importance of Tracking Ovulation for DIY Home Insemination

    Introduction:

    For couples or individuals who are trying to conceive through DIY home insemination, tracking ovulation is a crucial step in the process. Ovulation is the release of an egg from the ovary, and it is the most fertile time for a woman to conceive. By tracking ovulation, you can increase your chances of successful insemination and ultimately, pregnancy. In this blog post, we will discuss the importance of tracking ovulation for DIY home insemination and provide tips on how to do it effectively.

    The Importance of Tracking Ovulation:

    1. Increases Chances of Successful Insemination:

    Timing is everything when it comes to conceiving. By tracking ovulation, you can determine the most fertile days in your menstrual cycle and plan for insemination during that time. This increases the chances of the sperm meeting the egg and fertilizing it. Ovulation generally occurs around day 14 of a 28-day cycle, but it can vary from woman to woman. By tracking your ovulation, you can pinpoint the exact day of ovulation and plan for insemination accordingly.

    2. Saves Time and Money:

    DIY home insemination can be a more affordable option for those trying to conceive. However, it can also be a time-consuming and costly process if not done correctly. By tracking ovulation, you can avoid unnecessary inseminations that may not result in pregnancy. This not only saves you time and effort but also reduces the cost of supplies needed for each insemination attempt.

    3. Reduces Stress and Anxiety:

    The journey to conception can be a stressful and emotional one. By tracking ovulation, you can eliminate the guesswork and uncertainty of when the best time for insemination is. This can help relieve some of the stress and anxiety that comes with trying to conceive. Knowing that you are timing insemination correctly can also improve your overall mental well-being during this process.

    4. Identifies Fertility Issues:

    For some women, irregular ovulation or a lack of ovulation can be a barrier to conception. By tracking ovulation, you can identify any potential fertility issues and seek medical advice if needed. This can save you time and heartache in the long run by addressing any underlying issues that may be hindering your chances of getting pregnant.

    5. Allows for Personalized Timing:

    Mosie Baby at-home insemination kit box featuring instructions and details for two attempts.

    The Importance of Tracking Ovulation for DIY Home Insemination

    Every woman’s body is different, and ovulation can vary from month to month. By tracking ovulation, you can personalize the timing of insemination based on your body’s specific ovulation patterns. This can be especially helpful for women with irregular cycles or those who are using fertility treatments to induce ovulation. Personalized timing can increase the success rate of insemination and ultimately, pregnancy.

    Tips for Tracking Ovulation:

    1. Use an Ovulation Predictor Kit (OPK):

    An OPK is a simple and affordable tool that can help you determine when you are ovulating. It works by detecting the surge of luteinizing hormone (LH) in your urine, which happens about 24-36 hours before ovulation. OPKs are available at most drugstores and can be used at home to track ovulation.

    2. Track Your Basal Body Temperature (BBT):

    BBT is the body’s lowest resting temperature, and it can rise slightly during ovulation. By tracking your BBT daily, you can identify a pattern and determine when ovulation is likely to occur. BBT tracking requires consistency and a BBT thermometer, which can be purchased at most drugstores.

    3. Monitor Cervical Mucus Changes:

    As ovulation approaches, the consistency and amount of cervical mucus change. It becomes more clear, slippery, and stretchy, resembling the consistency of egg whites. By monitoring these changes, you can determine when you are most fertile and plan for insemination accordingly.

    4. Use a Fertility Tracking App:

    In today’s digital age, there are numerous fertility tracking apps available that can help you monitor your menstrual cycle and track ovulation. These apps use a combination of methods, such as BBT tracking and period tracking, to predict when you are most likely to ovulate. They also provide valuable insights and tips on how to increase your chances of conception.

    Conclusion:

    Tracking ovulation is a crucial step in the DIY home insemination process. It not only increases the chances of successful insemination but also saves time, reduces stress, and allows for personalized timing. By using the tips mentioned in this blog post, you can effectively track your ovulation and increase your chances of conceiving. Remember, every woman’s body is unique, and it may take some trial and error to find the best method for tracking ovulation that works for you.

    Summary:

    Tracking ovulation is essential for DIY home insemination as it increases the chances of successful insemination, saves time and money, reduces stress and anxiety, identifies fertility issues, and allows for personalized timing. Tips for tracking ovulation include using an OPK, tracking BBT, monitoring cervical mucus changes, and using a fertility tracking app. By tracking ovulation effectively, you can increase your chances of conceiving and fulfill your dream of starting a family.

  • DIY Home Insemination: A Natural Alternative to IVF

    DIY Home Insemination: A Natural Alternative to IVF

    In recent years, there has been a growing interest in alternative methods of conception, particularly for those who are struggling with fertility issues. While in vitro fertilization (IVF) has been the go-to option for many couples, it can be expensive, emotionally taxing, and not always successful. As a result, DIY home insemination has emerged as a natural and affordable alternative to IVF. In this blog post, we will explore what DIY home insemination is, how it works, and its potential benefits and risks.

    What is DIY Home Insemination?

    DIY home insemination, also known as self-insemination, is the process of using a home insemination kit or homemade equipment to inseminate oneself or a partner at home. It involves collecting semen from a male partner or a sperm donor and inserting it into the cervix or vagina of a female partner using a syringe or other tools. The goal is to bring sperm closer to the cervix, increasing the chances of fertilization.

    How Does DIY Home Insemination Work?

    Before attempting DIY home insemination, it is crucial to understand the ovulation cycle and fertility window. This is when a woman is most likely to conceive, and it typically occurs 12-16 days after the first day of her last menstrual period. Tracking ovulation can be done through various methods, such as monitoring basal body temperature, using ovulation predictor kits, or keeping track of cervical mucus changes.

    Once the ovulation window is identified, the next step is to collect semen. This can be done through masturbation or using a special condom designed for semen collection. The collected semen is then transferred into a sterile container or a DIY home insemination kit, which typically includes a syringe or soft cup.

    Using the syringe, the sperm is inserted into the vagina, aiming towards the cervix. Alternatively, the soft cup can be placed in the vagina for a few hours to allow the sperm to swim towards the cervix. This method is similar to natural intercourse, where sperm travels through the cervix and into the fallopian tubes to reach the egg.

    Benefits of DIY Home Insemination

    at-home insemination kit with syringes, collection cups, and instructions on a pink background

    DIY Home Insemination: A Natural Alternative to IVF

    One of the significant benefits of DIY home insemination is that it is a less invasive and more affordable option compared to IVF. It also allows couples to have control over the insemination process and can be done in the comfort and privacy of their own home. Since it involves natural and unmedicated conception, DIY home insemination is also considered a more holistic option.

    Additionally, DIY home insemination can be an attractive option for same-sex couples or single women who wish to start a family. It allows them to conceive without the need for a sperm bank or a medical professional.

    Risks of DIY Home Insemination

    While DIY home insemination may seem like a straightforward and safe option, there are some potential risks involved. The main concern is the risk of infection if proper hygiene and sterilization procedures are not followed. It is crucial to ensure that all tools and equipment used are sterile and to avoid cross-contamination.

    There is also a risk of the sperm not surviving long enough to reach the egg or making it to the fallopian tubes. This can decrease the chances of conception, especially for those with fertility issues.

    Another risk to consider is the lack of medical supervision and guidance. Unlike IVF, DIY home insemination does not involve a medical professional monitoring the process or providing guidance on ovulation timing or sperm quality.

    Is DIY Home Insemination Right for You?

    DIY home insemination may be a viable option for couples or individuals who are struggling with fertility issues, have limited access to medical resources, or prefer a more natural and affordable method of conception. However, it is essential to consult with a healthcare provider to discuss any potential concerns and to ensure that it is a safe and suitable option for your specific situation.

    In conclusion, DIY home insemination can be a natural and alternative option for those looking to conceive. It is essential to fully understand the process, potential risks, and to consult with a healthcare provider before attempting it. With proper precautions and guidance, DIY home insemination can be a safe and empowering method of conceiving.

  • The Dos and Don’ts of DIY Home Insemination

    Blog Post: The Dos and Don’ts of DIY Home Insemination

    In recent years, DIY home insemination has become a popular option for individuals and couples looking to start a family. It allows them to bypass the high costs and waiting times of traditional fertility treatments and gives them more control over the process. However, while DIY home insemination may seem like a simple and convenient solution, there are certain dos and don’ts that need to be considered to ensure a safe and successful experience. In this blog post, we will discuss the key dos and don’ts of DIY home insemination.

    DO: Understand the Risks and Limitations

    Before embarking on DIY home insemination, it is important to understand the potential risks and limitations involved. DIY home insemination is not as effective as fertility treatments performed by medical professionals, and there is a higher chance of unsuccessful attempts or complications. It is crucial to consult with a healthcare provider and fully understand the risks and limitations before proceeding.

    DON’T: Use Unreliable or Unsafe Methods

    One of the biggest mistakes people make when attempting DIY home insemination is using unreliable or unsafe methods. This includes using homemade insemination devices or using unsterilized equipment. These methods can increase the risk of infection and decrease the chances of success. It is important to invest in high-quality, sterile insemination devices and follow proper hygiene practices to ensure a safe and successful insemination.

    DO: Track Your Ovulation Cycle

    Timing is crucial when it comes to home insemination. Unlike traditional fertility treatments, DIY home insemination does not involve monitoring by medical professionals. Therefore, it is important to track your ovulation cycle carefully. This can be done through tracking your basal body temperature, cervical mucus, or using ovulation predictor kits. Knowing when you are ovulating will increase the chances of success and reduce the number of attempts needed.

    DON’T: Use Unscreened Donors

    Using a donor who has not been properly screened for health and genetic conditions can pose serious risks to both the donor and the recipient. It is essential to use a trusted donor who has undergone proper medical and genetic screening. This will not only ensure the health and safety of all parties involved but also increase the chances of a successful insemination.

    Mosie Baby Kit with syringe and container, highlighting safety and usability features on a blue background.

    The Dos and Don'ts of DIY Home Insemination

    DO: Create a Comfortable Environment

    Creating a comfortable and stress-free environment is key to a successful DIY home insemination. This includes choosing a quiet and private location, playing soothing music, and using relaxation techniques before and during the insemination. Stress and anxiety can negatively affect fertility, so it is important to create a calm and comfortable atmosphere for the best chances of success.

    DON’T: Neglect Proper Communication with Your Partner

    DIY home insemination involves a lot of communication between partners. It is crucial to have open and honest discussions about the process, expectations, and concerns. It is also important to keep each other updated on the progress and to provide support and understanding throughout the journey. Neglecting proper communication with your partner can lead to misunderstandings and added stress, which can hinder the success of DIY home insemination.

    DO: Consider Seeking Professional Help

    While DIY home insemination can be a viable option for some, it is not suitable for everyone. It is important to consider seeking professional help if you have been unsuccessful after several attempts, have underlying medical conditions, or have concerns about the process. Fertility specialists can provide valuable insights and guidance to ensure the best chances of success.

    DON’T: Overlook Legal Considerations

    When using a donor for DIY home insemination, it is important to consider the legal implications. In some countries, the donor may have parental rights, and it is crucial to have a legal agreement in place to protect all parties involved. It is advisable to seek legal advice before proceeding with DIY home insemination to ensure all legal considerations are addressed.

    Summary:

    DIY home insemination can be a convenient and cost-effective option for starting a family, but it is important to understand the risks and limitations involved. It is crucial to use safe and reliable methods, track your ovulation cycle, and communicate openly with your partner. Seeking professional help and considering legal implications are also important factors to consider for a successful DIY home insemination experience.

  • The Ultimate Guide to DIY Home Insemination

    The Ultimate Guide to DIY Home Insemination: A Step-by-Step Process for Starting Your Family

    Are you and your partner considering starting a family but are unable to conceive naturally? Or perhaps you are a single person who wants to become a parent? In either case, home insemination may be a viable option for you. Many couples and individuals have successfully used DIY home insemination as an affordable and convenient way to start their families. In this ultimate guide, we will walk you through everything you need to know about DIY home insemination, from the basics to the step-by-step process.

    What is Home Insemination?

    Home insemination is the process of manually inserting sperm into the vagina in hopes of achieving pregnancy. It is commonly used by same-sex couples, single individuals, or couples with fertility issues. The process can be done at home with minimal equipment and is often more affordable than other fertility treatments.

    Step 1: Understanding Ovulation

    The first step in home insemination is understanding ovulation. Ovulation is the process in which a mature egg is released from the ovary and is available for fertilization. For home insemination to be successful, it is crucial to determine when you are ovulating. There are several methods to track ovulation, such as using ovulation predictor kits, tracking basal body temperature, or monitoring cervical mucus changes.

    Step 2: Collecting Sperm

    The next step is to collect the sperm that will be used for insemination. There are a few options for obtaining sperm, including using a sperm donor or asking a male friend to donate. It is essential to discuss the legal and emotional implications of using a sperm donor or a known donor beforehand. Another option is to purchase pre-packaged donor sperm from a sperm bank. Whichever method you choose, make sure to follow proper safety precautions, such as using sterile containers and avoiding exposure to air or extreme temperatures.

    Step 3: Preparing the Sperm

    syringe kit with a screw top lid and non-tip safety wall, designed for sperm insemination.

    The Ultimate Guide to DIY Home Insemination

    Once the sperm is collected, it needs to be prepared for insemination. The most crucial step in preparing the sperm is to keep it at the correct temperature. Sperm is sensitive to temperature changes, so it is best to keep it at room temperature before use. You can also warm the sperm by holding the container between your hands for a few minutes.

    Step 4: Inserting the Sperm

    Now comes the actual insemination process. The most common method for home insemination is to use a syringe without a needle. Fill the syringe with the prepared sperm and gently insert it into the vagina, aiming towards the cervix. It is recommended to remain lying down for 15 to 20 minutes after insemination to increase the chances of sperm reaching the cervix.

    Step 5: Monitoring and Waiting

    After insemination, it is essential to monitor your body for any changes and keep track of any potential pregnancy symptoms. It is also crucial to relax and give your body time to do its job. It takes about 6-10 days for a fertilized egg to implant in the uterus and for pregnancy hormones to be detected in a pregnancy test. If you do not get a positive result, you can repeat the process in your next ovulation cycle.

    Tips for Successful Home Insemination

    – Always use sterile equipment and follow proper safety precautions.
    – Track ovulation accurately to increase the chances of success.
    – Consider using a fertility-friendly lubricant to make the process more comfortable.
    – Keep sperm at the correct temperature and avoid exposure to air or extreme temperatures.
    – Remain lying down for 15-20 minutes after insemination to increase sperm’s chances of reaching the cervix.
    – Stay relaxed and positive throughout the process.

    Conclusion

    DIY home insemination can be a successful and affordable option for starting a family. By understanding the process and following the steps carefully, you can increase your chances of success. Remember to consult with a medical professional if you have any concerns or difficulties. With patience, preparation, and proper timing, you can achieve your dream of becoming a parent through home insemination.

    In summary, DIY home insemination is the process of manually inserting sperm into the vagina to achieve pregnancy. The first step is to track ovulation accurately, followed by collecting and preparing the sperm. The actual insemination is done using a syringe without a needle, and it is crucial to remain lying down for 15-20 minutes after the process. By following safety precautions and tips for success, you can increase your chances of achieving pregnancy through home insemination.