


Maximizing Fertility: A Step-by-Step Guide to Home Insemination
For many couples struggling with infertility, the options for starting a family can seem limited and daunting. However, with advancements in technology and medical procedures, there are now more options than ever before. One option that has gained popularity in recent years is home insemination. This method allows couples to try to conceive in the comfort and privacy of their own home. In this blog post, we will discuss the basics of home insemination and provide a step-by-step guide to help you maximize your chances of success.
What is Home Insemination?
Home insemination, also known as artificial insemination, is the process of placing sperm into the female reproductive tract in order to facilitate fertilization. This method is most commonly used by couples who are unable to conceive naturally due to male fertility issues or same-sex couples who wish to start a family. Home insemination can be done with fresh sperm from a known donor or purchased from a sperm bank.
Step 1: Determine Your Fertile Window
The first step in maximizing your chances of success with home insemination is to determine your fertile window. This is the time during your menstrual cycle when you are most likely to conceive. In a typical 28-day cycle, this is usually around days 12-16. However, every woman’s cycle is different, so it is important to track your menstrual cycle and monitor your ovulation using methods such as basal body temperature or ovulation predictor kits.
Step 2: Prepare Sperm
If you are using fresh sperm from a known donor, it is important to have a discussion about their health and fertility history. It is recommended to have the donor undergo a semen analysis to ensure the sperm is of good quality. If you are purchasing sperm from a sperm bank, make sure to do your research and choose a reputable bank.
Step 3: Prepare Your Body
Preparing your body for home insemination is crucial for increasing your chances of success. This includes maintaining a healthy diet and exercise routine, reducing stress, and avoiding alcohol and tobacco. It is also recommended to take a prenatal vitamin to ensure your body is getting all the necessary nutrients for a healthy pregnancy.
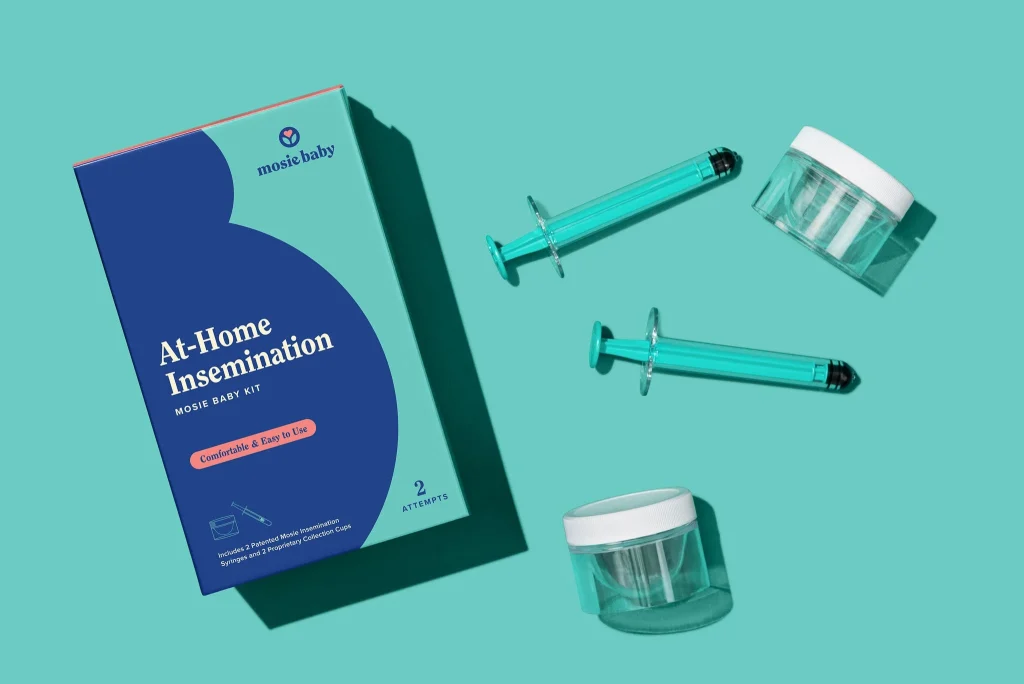
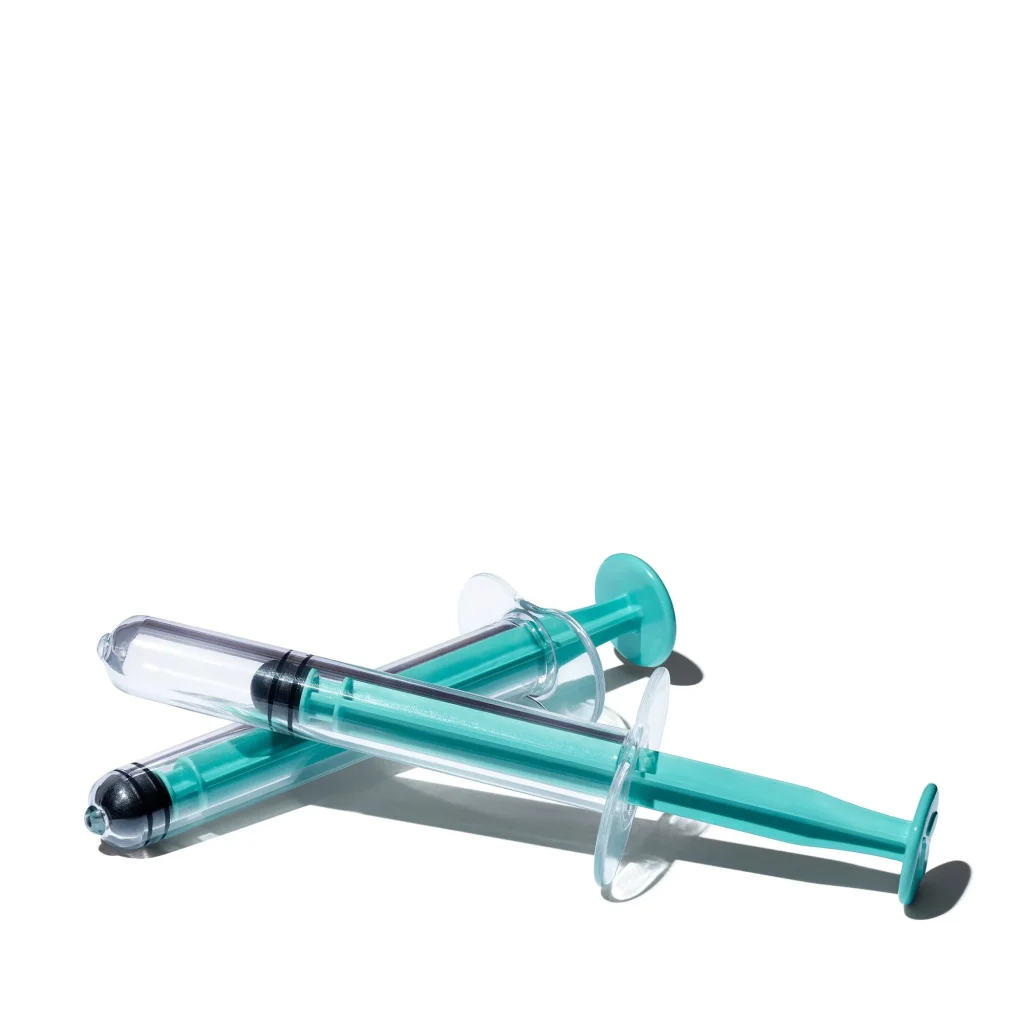
Step 4: Gather Supplies
Maximizing Fertility: A Step-by-Step Guide to Home Insemination
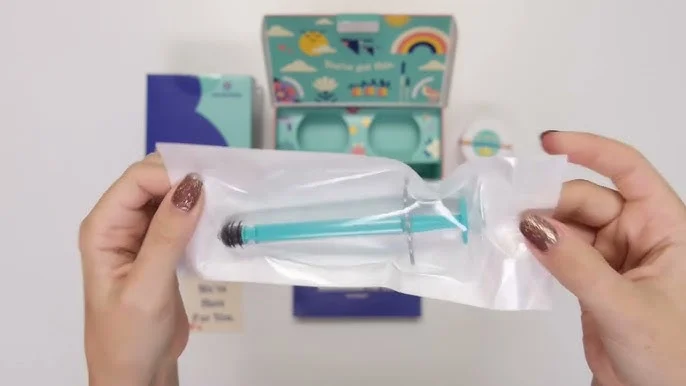
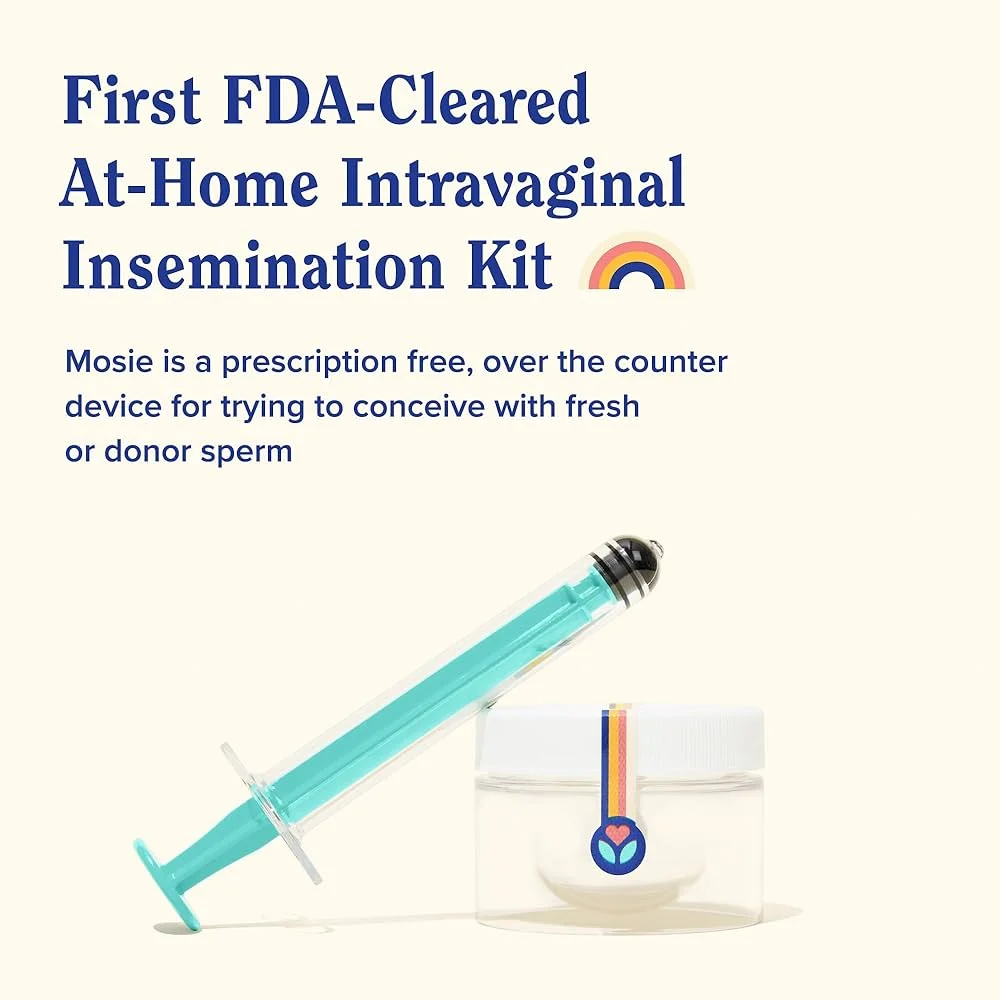
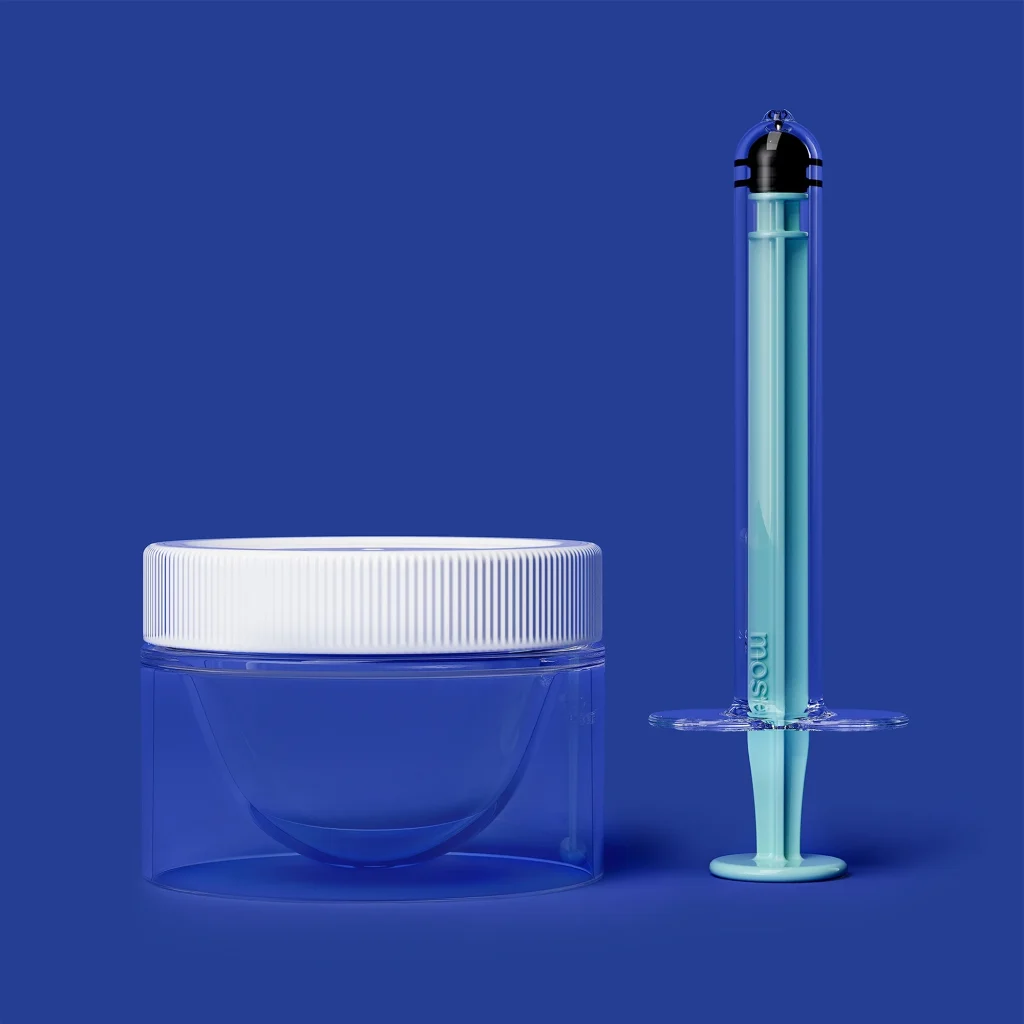
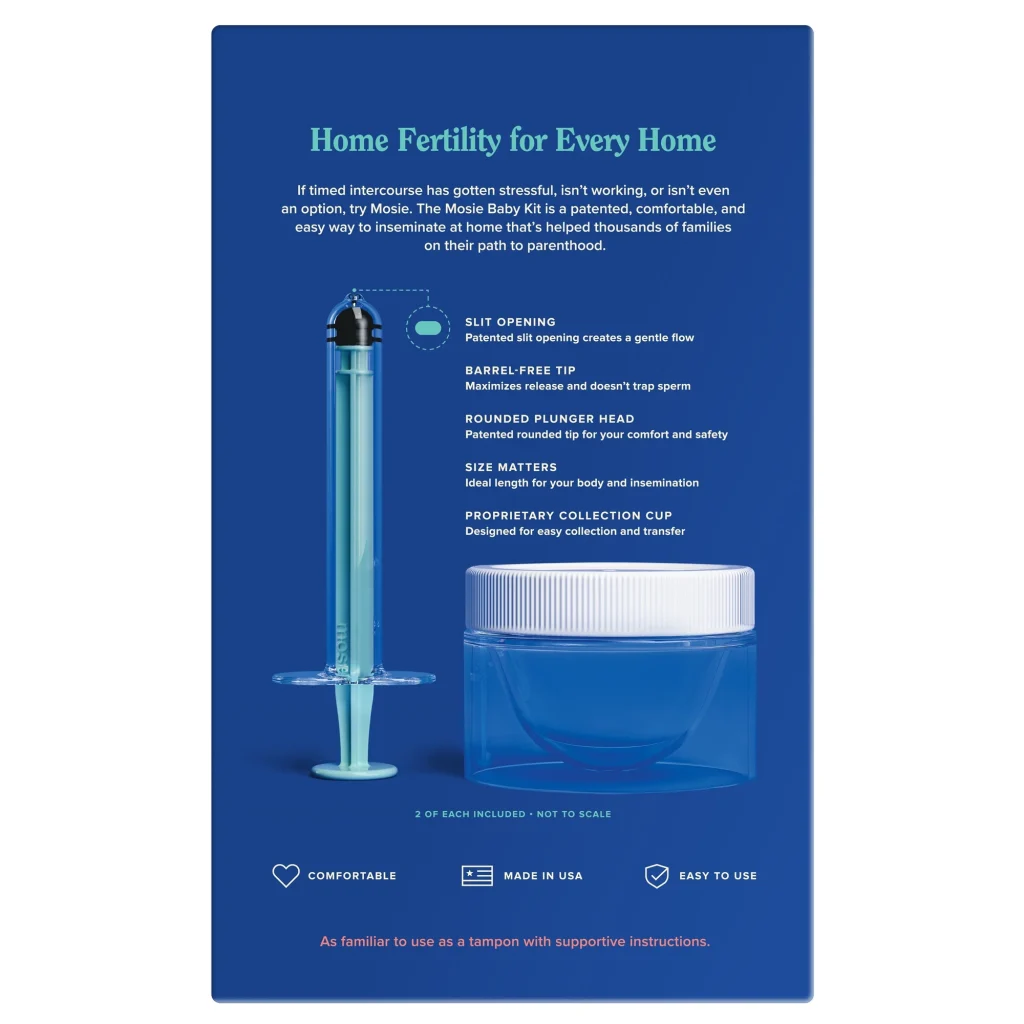
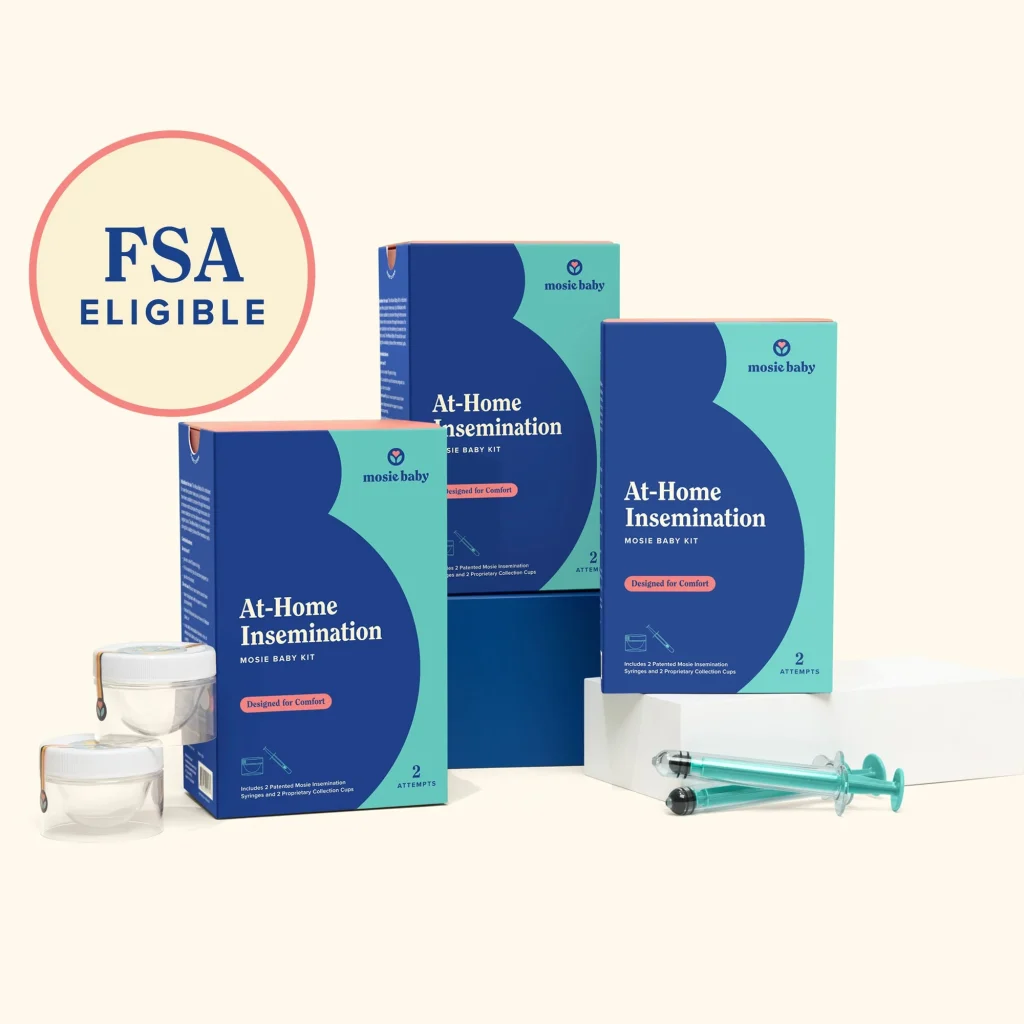
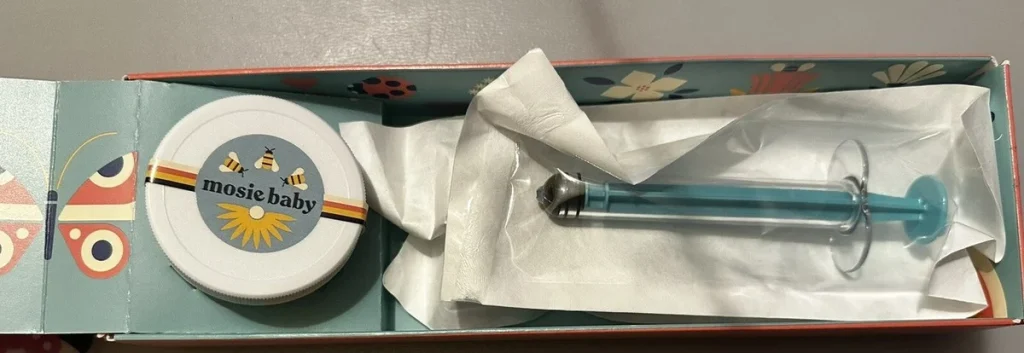
Before beginning the insemination process, make sure you have all the necessary supplies. This may include a sterile syringe or needleless syringe, a soft cup or menstrual cup, a timer, and any lubricants recommended by your doctor. It is important to use only sterile and medical-grade supplies to avoid any potential infections.
Step 5: Insemination Process
The actual insemination process is relatively simple and can be done in the comfort of your own home. Begin by having the sperm donor ejaculate into a sterile cup or container. If using fresh sperm, it is important to let it liquefy for 20-30 minutes before proceeding. Once the sperm is ready, use a sterile syringe or needleless syringe to collect the sperm and gently insert it into the vagina. Some couples may also choose to use a soft cup or menstrual cup to hold the sperm closer to the cervix. Set a timer for 30 minutes to allow the sperm to reach the cervix and then remove the cup or syringe.
Step 6: Rest and Relax
After the insemination process, it is important to rest and relax for at least 15-20 minutes. This will allow the sperm to swim towards the cervix and increase the chances of fertilization. Some couples may choose to elevate their hips or use a pillow under their lower back to help the sperm travel towards the cervix.
Step 7: Post-Insemination Care
After resting, it is important to take care of your body to increase the chances of conception. Avoid any strenuous activities or exercise and continue to eat a healthy diet. It is also recommended to avoid douching or using any vaginal products for at least 24 hours after insemination.
Step 8: Take a Pregnancy Test
After two weeks, take a home pregnancy test to see if the insemination was successful. If the test is positive, schedule an appointment with your doctor to confirm the pregnancy and begin prenatal care. If the test is negative, it is recommended to wait a few days and take another test before scheduling an appointment with your doctor.
Summary:
Home insemination is a popular and effective method for couples struggling with infertility. By determining your fertile window, preparing your body, gathering necessary supplies, and following a step-by-step guide, you can maximize your chances of success. Remember to rest and take care of your body after the insemination process and take a pregnancy test after two weeks. With patience and perseverance, home insemination can be a viable option for starting a family.